
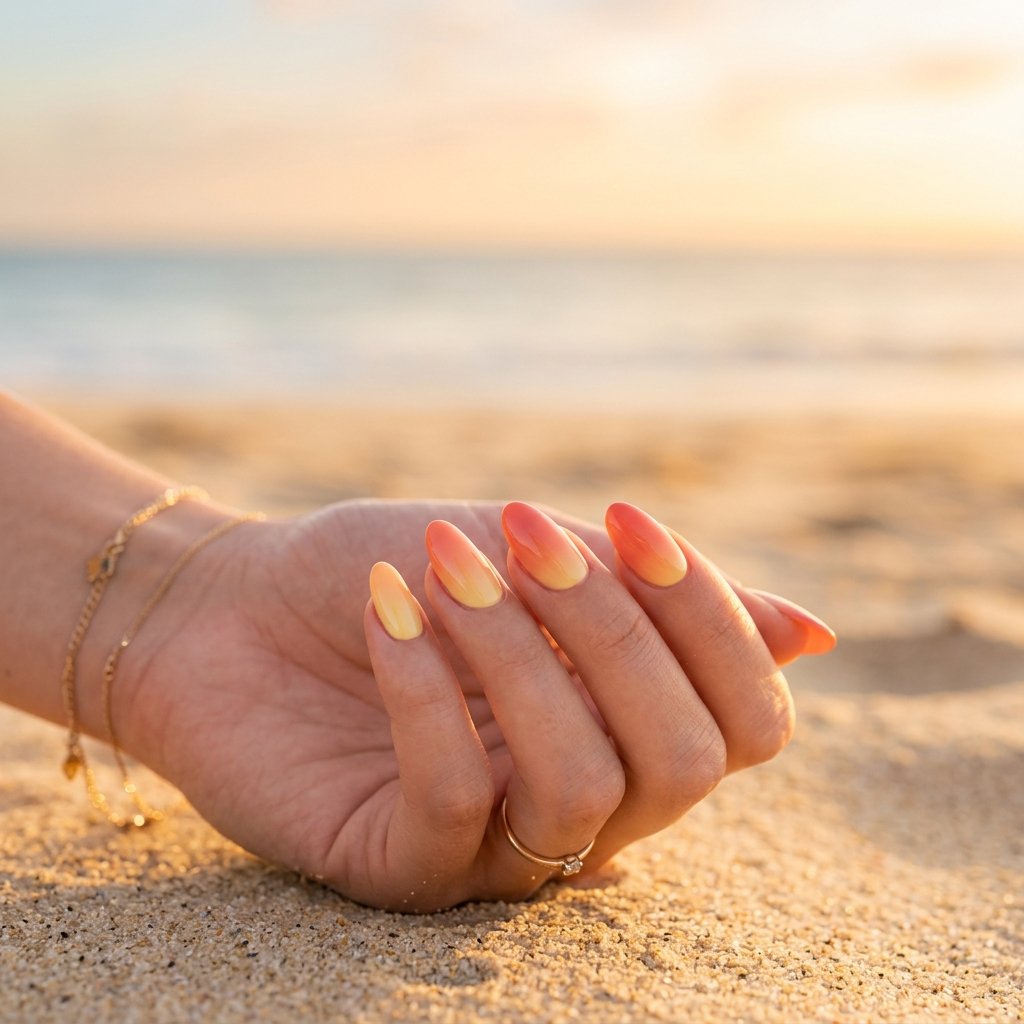
The first time I tried an ombre manicure at home, I ended up with what can only be described as a bruise. Two perfectly nice colors, one makeup sponge, and somewhere in the middle a murky brown stripe that looked nothing like the sunset photo I’d saved.
I gave up for about a year. Then a nail tech showed me the one thing I’d been doing wrong, which took roughly ten seconds to explain, and suddenly my gradients looked like actual sky.
So rather than starting with theory, let’s start with the good part. Here are the color combinations that genuinely work, then we’ll get into how to blend them without the mud.
Sunset Combinations Worth Copying
These are ordered roughly from easiest to trickiest, so if you’re new to this, start near the top.
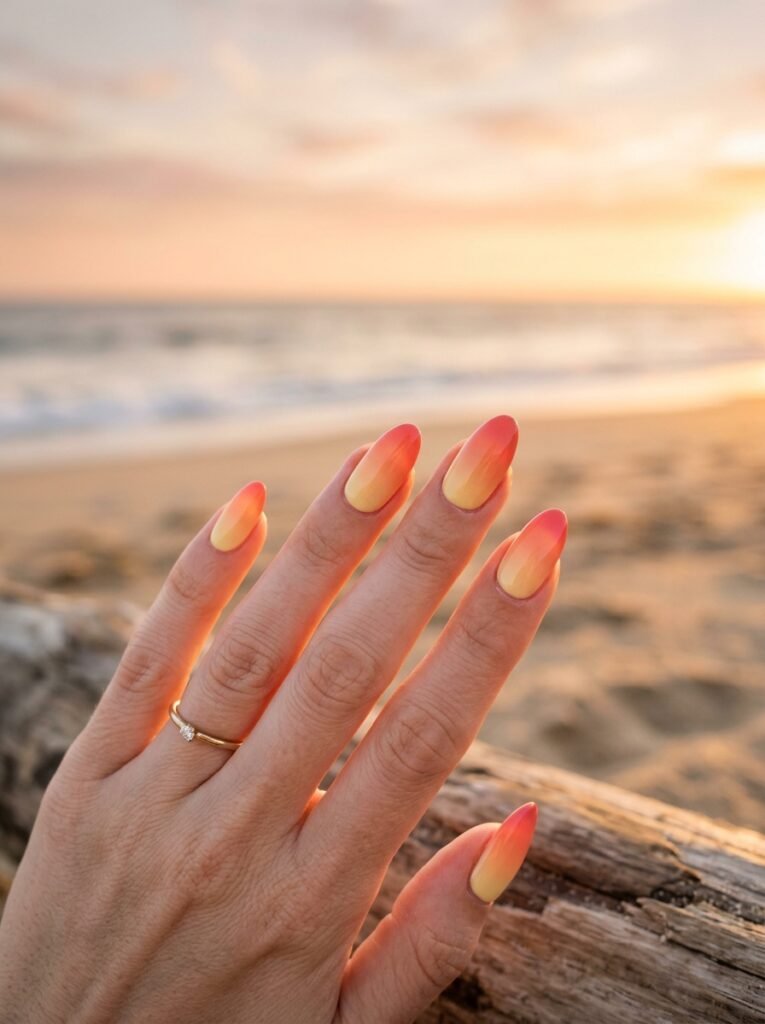
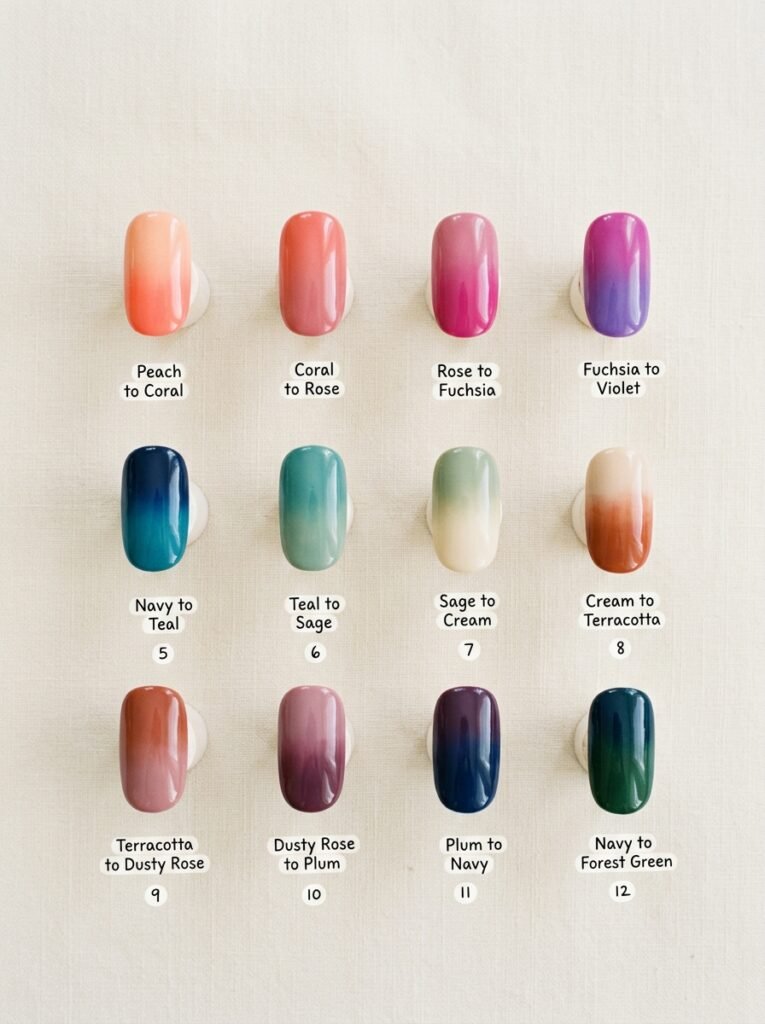
Peach into soft coral. The most forgiving combination in existence because the two shades are already related. Almost impossible to make look bad.
Butter yellow into warm apricot. Very late spring, very soft, very wearable to work. Add a sheer gold shimmer on top and it glows.
Blush pink into cream. Basically a colored French ombre. Neutral enough for a wedding, interesting enough not to be boring.
Tangerine into hot pink. This is the loud one. Peak sunset, peak summer, best on short square nails so it doesn’t get overwhelming.
Terracotta into dusty rose. The muted version for people who don’t want brights. It looks expensive and works beautifully in autumn too.
Lilac into peach. A slightly odd pairing on paper that comes out looking like the sky about twenty minutes after the sun drops. One of my favorites.
Coral into deep magenta. Rich, saturated, and stunning on longer almond shapes where the gradient has room to travel.
Navy into violet into fuchsia. The three color version, and genuinely harder. The trick is that violet is doing the bridging work between the other two. Skip it and you get a mess.
Burnt orange into plum. Moody, autumnal, and the closest thing to a sunset over water. Add a matte topcoat and it gets even better.
Teal into coral. Not the sun itself, but the sky on the opposite side of it. Unexpected and surprisingly balanced.
Amber into cherry red. Warm, glossy, and very flattering. Works well with a chrome finish.
Grey lilac into pale peach. The quietest option here. Nice for anyone who wants ombre nails that don’t announce themselves.
Pick one. Then let’s talk about why some of these blend cleanly and others fight you.
The One Thing That Makes a Gradient Look Smooth
Here’s what the nail tech told me, and it changed everything.
You are not blending two colors. You are creating a third color in the middle, and that middle needs to make sense.
When peach meets coral, the natural midpoint is a warm salmon, which is a color that exists and looks fine. When teal meets red, the natural midpoint is brown. That’s the bruise. It has nothing to do with your technique and everything to do with the two shades you chose.
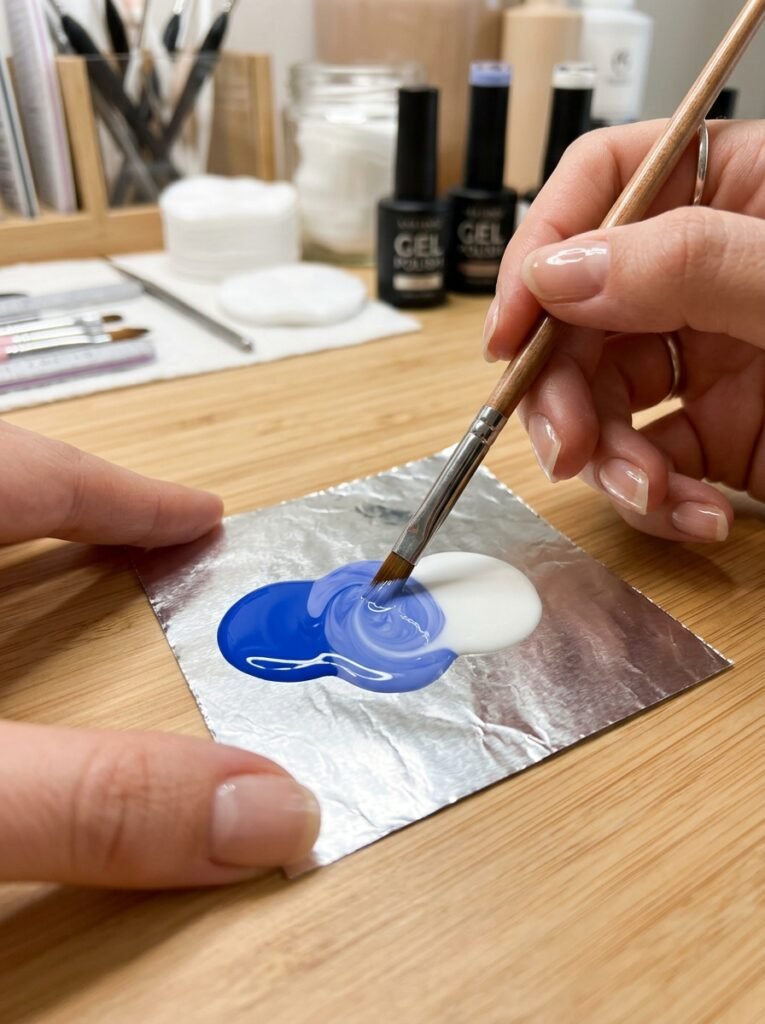
So before you touch a sponge, mix a tiny bit of both polishes together on a palette or a piece of foil. Look at the result. If you like that middle color, your gradient will work. If it looks like dirt, either change one shade or add a bridging color between them.
Bridging colors are the professional trick. Going from yellow to purple? Put a coral or a soft pink in between. Going from blue to orange? Add a lilac or a dusty pink to soften the jump. That third shade is doing all the heavy lifting.
The second principle is value, meaning how light or dark a color is. Gradients that go from light to dark look natural because that’s what actual sunsets do. Two colors of the exact same darkness sitting next to each other tend to look flat and stripey rather than blended.
The Sponge Method, Start to Finish
This is the standard at home approach and it works with regular polish or gel.
What you need: a dense makeup sponge (the wedge kind, not a fluffy beauty blender), a piece of foil or a plastic lid, a small brush, acetone, base coat, your colors, and a good top coat.
Steps:
- Apply base coat and let it dry fully.
- Paint the whole nail with your lightest color. Two thin coats. Let it dry completely. This is your foundation and it makes everything brighter.
- Protect your skin around the nail. Petroleum jelly, liquid latex, or a peel off barrier all work. This saves you fifteen minutes of cleanup later.
- On your foil, paint two thick stripes of color side by side, touching slightly in the middle. Light on one side, dark on the other.
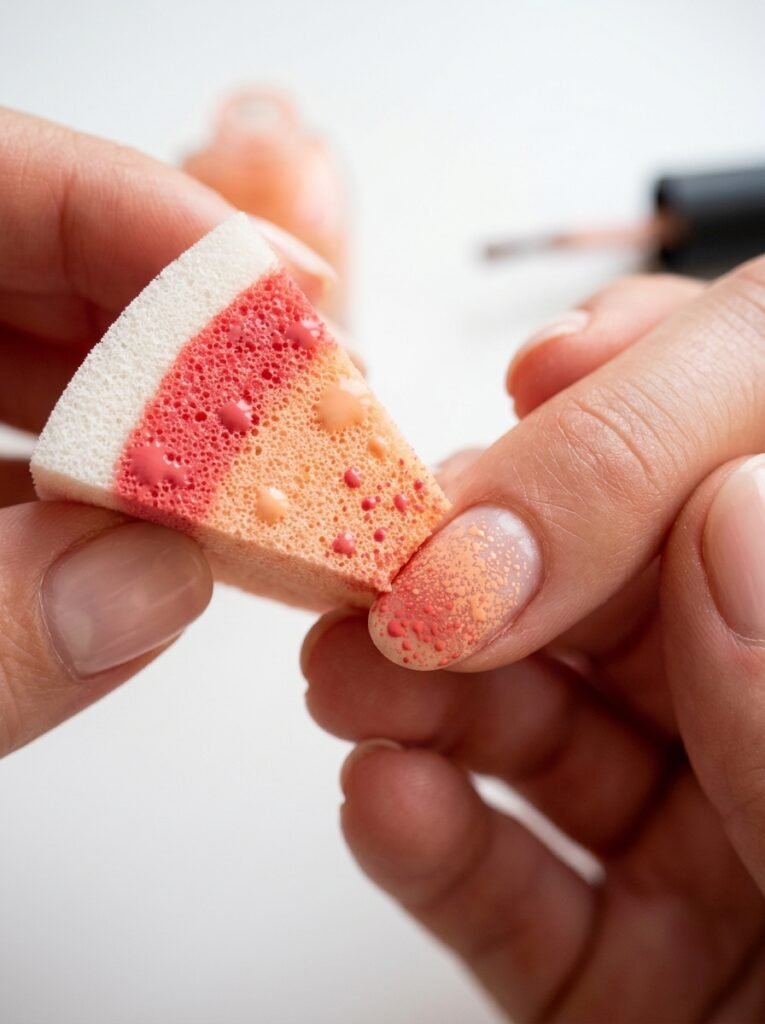
- Press the sponge into the polish so it picks up both stripes and the blurry middle.
- Dab, don’t swipe. Press the sponge onto the nail, lift, reposition slightly, press again. Six to eight dabs.
- Repeat with fresh polish on the foil. Between two and four rounds usually gets you full opacity.
- Between rounds, add a thin layer of top coat if the texture is looking rough. This smooths out the sponge stipple.
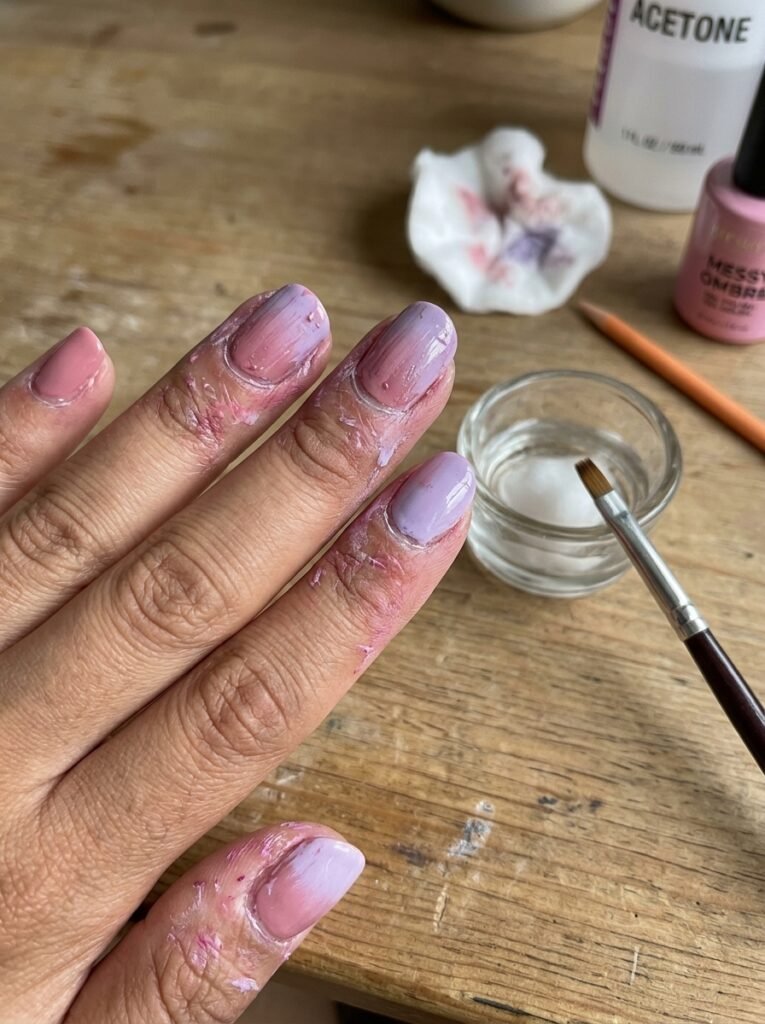
- Clean up around the nail with the small brush dipped in acetone.
- Finish with two coats of top coat. Ombre nails almost always need extra top coat because the sponging leaves a slightly bumpy surface.
The dabbing motion is what most people get wrong. Swiping drags one color across the other and creates streaks. Small quick presses build up color in layers.
Work fast with regular polish, because it starts to get tacky within about thirty seconds and tacky polish smears instead of blending. Repaint your foil stripes every round rather than trying to stretch one application.
Other Ways to Blend When the Sponge Isn’t Working
The sponge is not the only route, and honestly it’s not the best one for everyone.
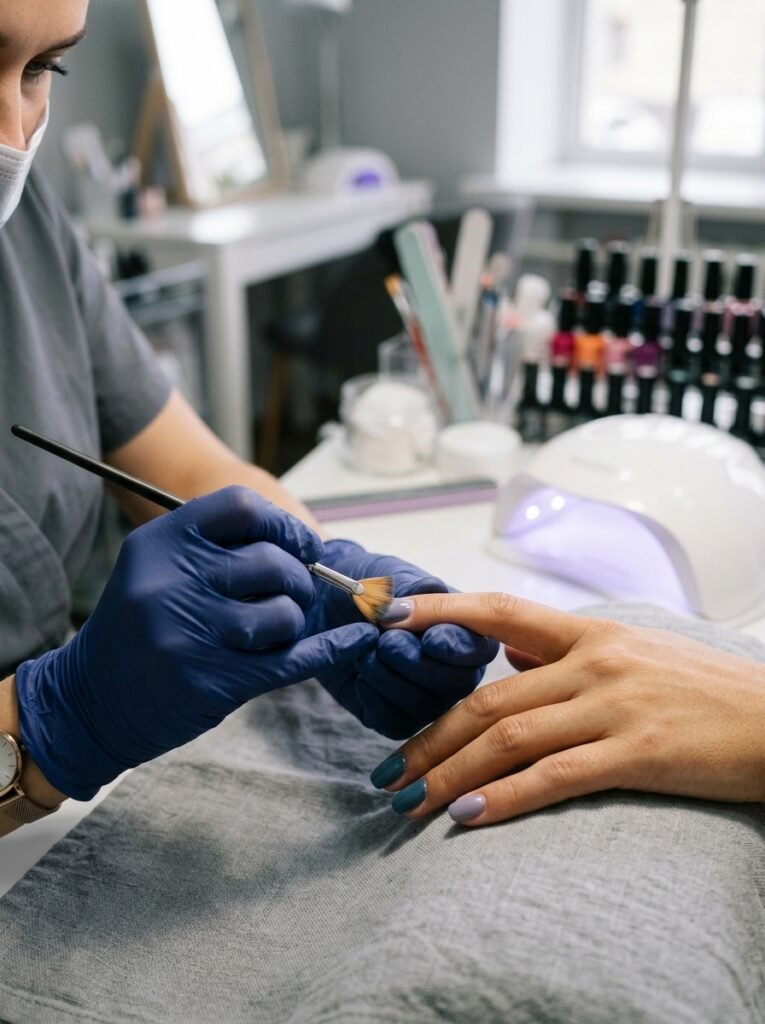
Gel blending with a fan brush. This is what most salons use, and it’s easier because gel doesn’t dry until you cure it. Paint a stripe of each color directly onto the nail, then use a soft dry fan brush to gently sweep back and forth over the join until it disappears. Wipe the brush on a lint free wipe between passes. Cure, then repeat for opacity.
Two brush blending. Apply both colors on the nail leaving a small gap, then use a slightly damp flat brush to pull one color into the other in tiny strokes. Takes practice but gives the smoothest result of any manual method.
Stippling with a stiff brush. Instead of a sponge, use an old stiff eyeshadow brush to tap color into the transition zone. Better control on small nails.
Airbrushing. Salon only, and the finish is genuinely flawless. Worth knowing exists if you have a big event coming up.
Powder ombre. Dip powders blended with a soft brush while wet. This is the technique behind most of those seamless French fade nails you see, and it produces the softest transitions of all.
If you’ve tried the sponge twice and hated it, switch methods rather than assuming you’re bad at nail art. Different hands get on with different tools.
Choosing Shades That Suit You
Sunset palettes lean warm by default, which is fantastic news for some people and slightly tricky for others.
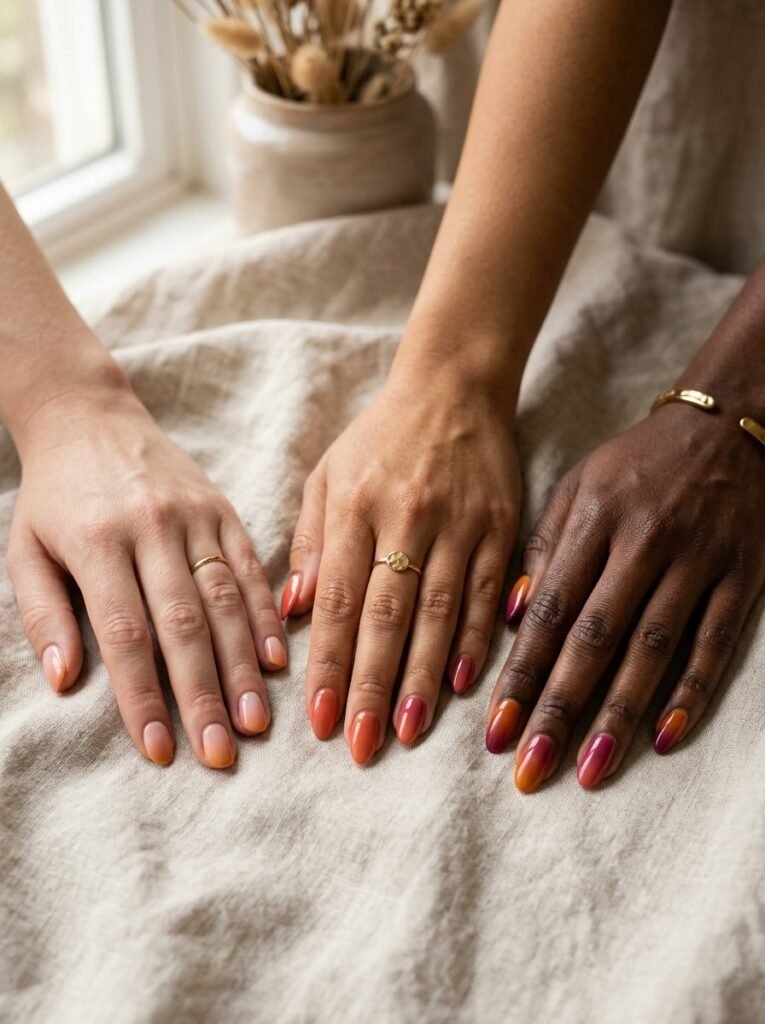
If warm oranges and corals make your hands look ruddy, shift the whole palette cooler. Swap tangerine for watermelon pink, swap amber for berry, swap butter yellow for a pale peachy nude. You keep the gradient effect and lose the clash.
Deeper skin tones tend to look incredible in saturated combinations like magenta into violet or amber into red, where lighter pastels can wash out. Very fair skin often does better with the softer end of the range, like blush into cream or lilac into peach.
None of this is a rule, and plenty of people ignore it happily. But if you’ve ever painted your nails a color you loved in the bottle and then felt weird about it on your hand, this is usually why. There’s a fuller breakdown of that logic in this guide to matching polish shades to your skin tone, which is worth a read before you buy three new bottles.
One practical shortcut: hold the bottles against the inside of your wrist in daylight. If the color makes your skin look brighter, it’s a yes. If it makes you look tired, put it back.
How Nail Shape and Length Change Everything
The same two colors look like two different manicures depending on the canvas.
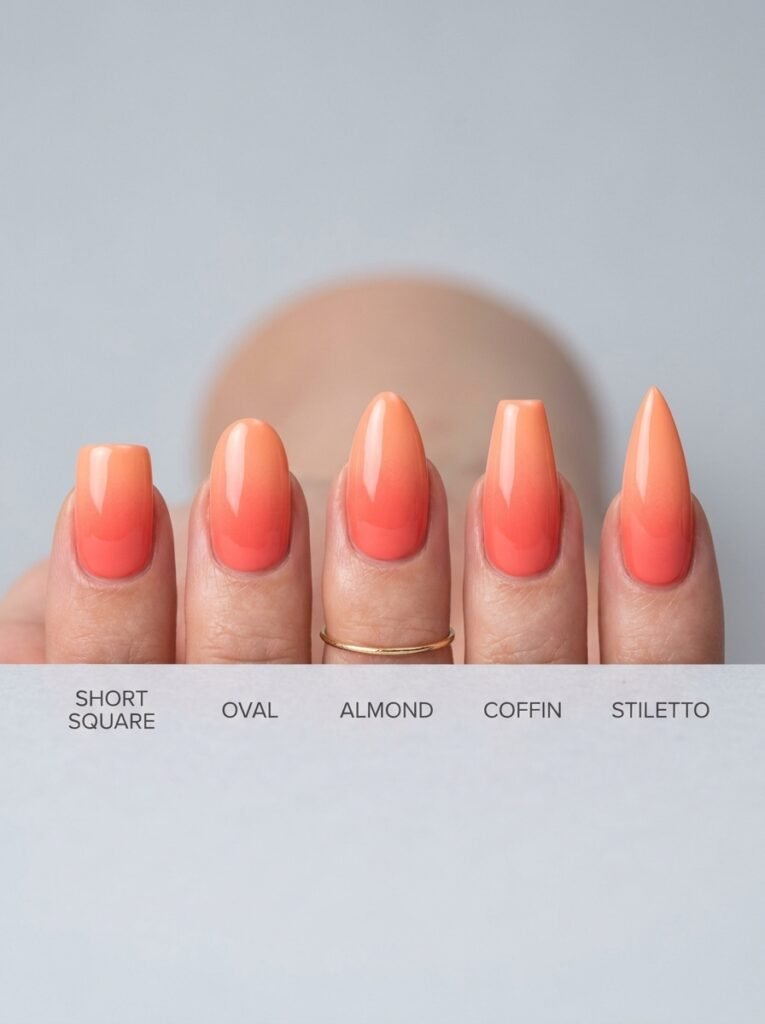
Short square or squoval nails. Less room, so keep it to two colors and place the transition higher up, closer to the tips. A gradient crammed into a small space reads as stripes.
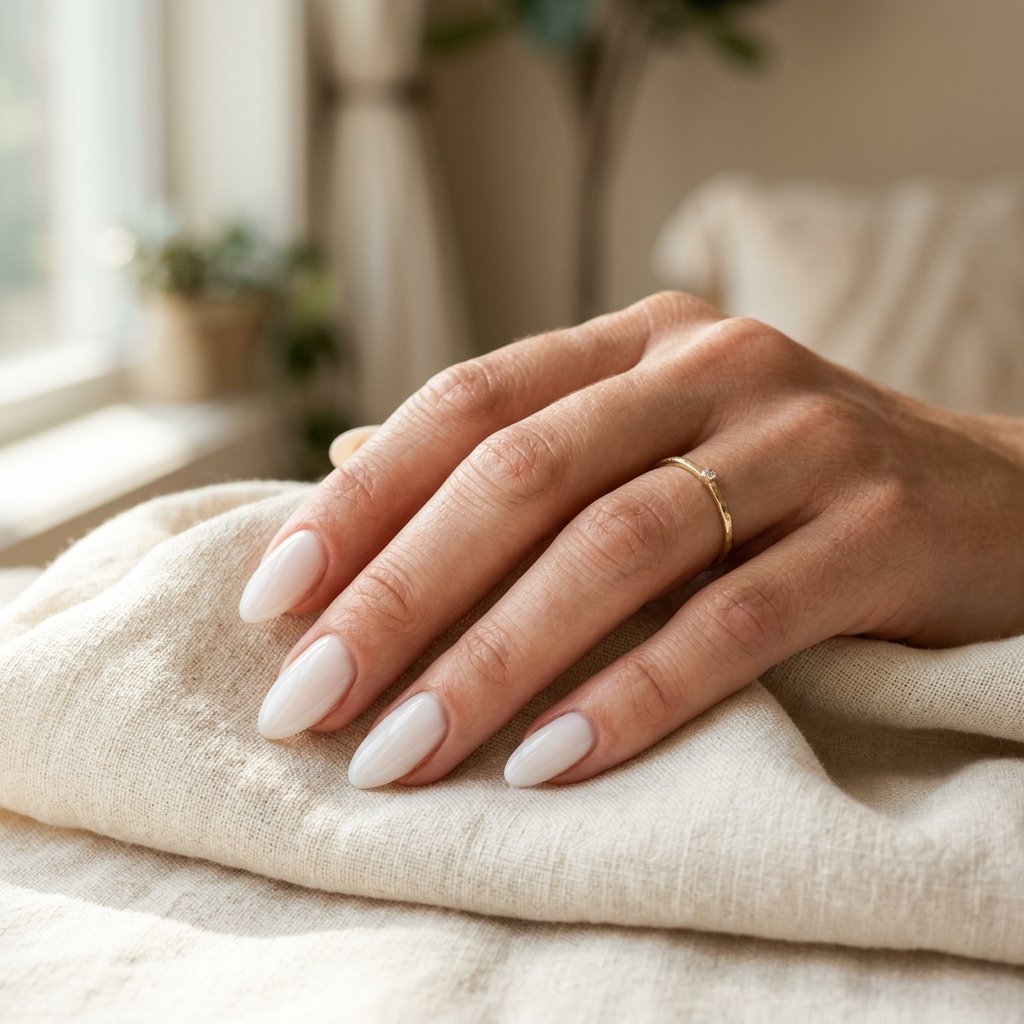
Almond and oval. The best shape for ombre by a wide margin. The taper gives the gradient a natural direction and makes even a simple two color fade look intentional.
Coffin and ballerina. Long enough for three colors. This is where those navy to violet to fuchsia sunsets really work.
Stiletto. Dramatic, and the gradient concentrates beautifully at the point. Works best going dark at the tip.
Very short or bitten nails. Try a vertical ombre instead, blending side to side across the nail rather than top to bottom. It reads better on a small surface and looks unexpected.
Direction is worth playing with generally. Most people default to light at the cuticle and dark at the tip, but reversing it, with the darkest shade at the base fading out to pale tips, looks softer and grows out far more gracefully.
Finishes That Take It Somewhere Else
Once you’re comfortable with the blend itself, the topcoat is where it gets fun.
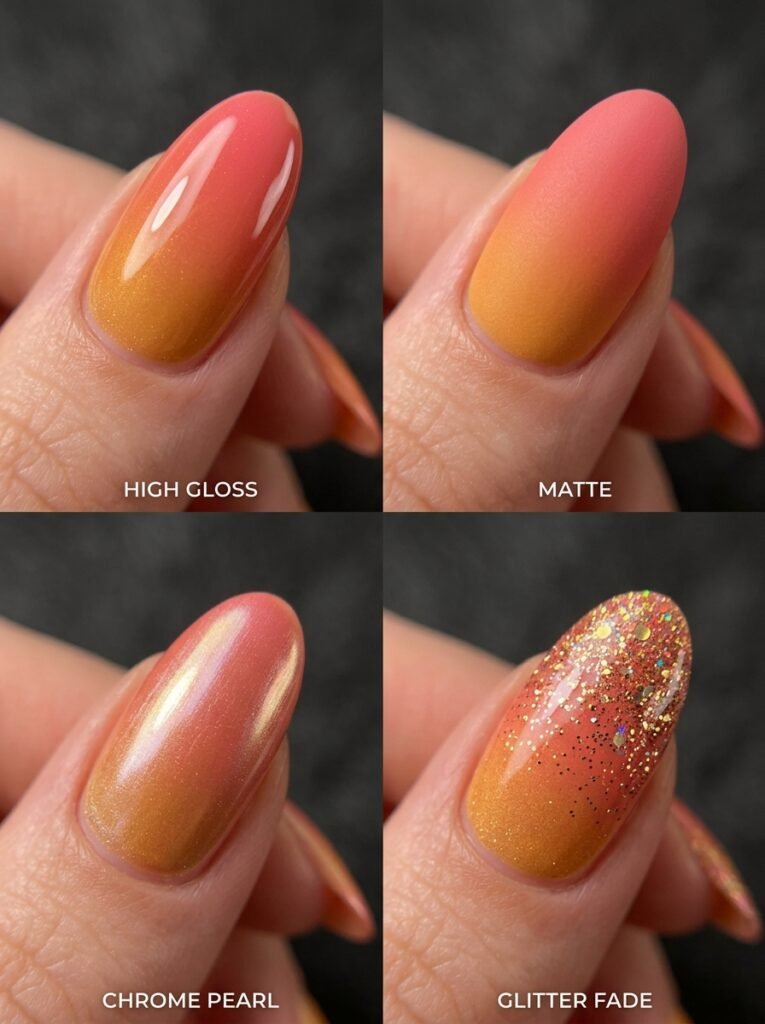
Glossy. The default, and the one that makes colors look most like actual sky. High shine top coats deepen the saturation noticeably.
Matte. Turns a bright sunset into something dusty and modern. Especially good over burnt orange, plum, and terracotta palettes.
Chrome or pearl powder. Rubbed over a cured gel gradient, this gives that liquid metal sheen. It also hides small blending imperfections, which is a genuine bonus.
Glitter fade. Instead of blending two solid colors, fade a fine glitter from the tip toward the middle over a solid base. Much easier than a color gradient and very forgiving.
Iridescent flakes. Scattered over the transition point, these catch light and distract the eye from any streaking underneath.
Micro shimmer in the polish itself. Choosing shades that already contain a subtle shimmer means the gradient blurs more naturally because light scatters across the join.
Sunset colors also shift well into other seasons if you change the palette. Warm ambers and deep plums carry straight into autumn, and cooler versions with silver shimmer work through winter. The same fade technique shows up in plenty of these festive nail designs that stay tasteful, just with a different color story.
At Home or at the Salon
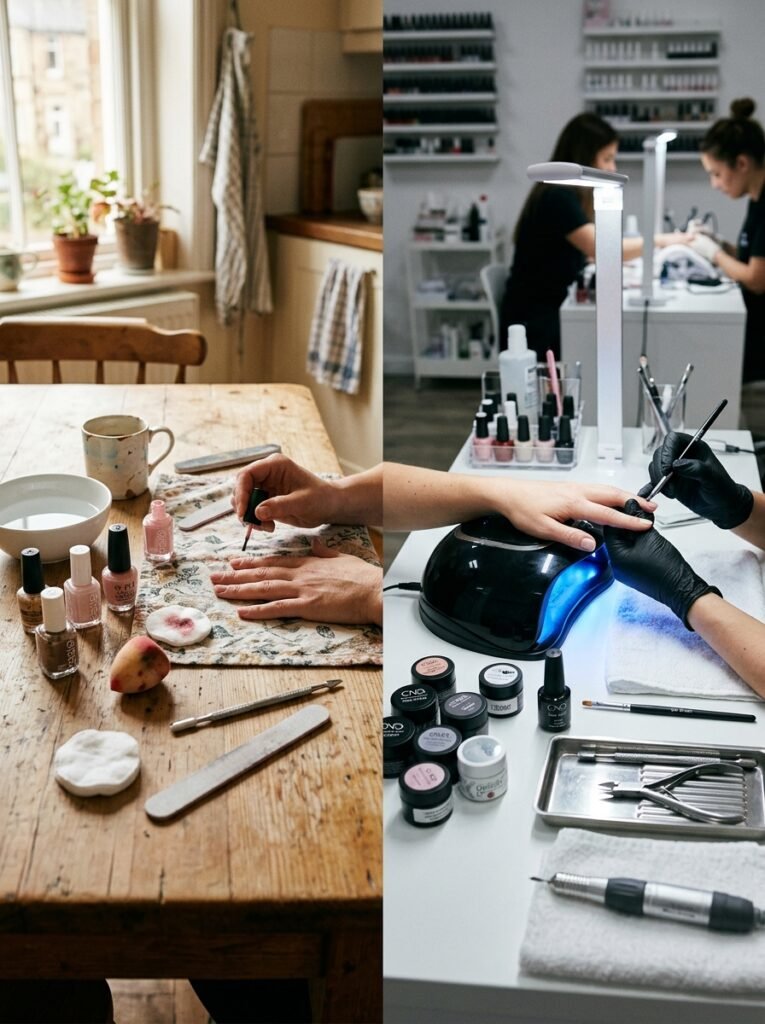
Both are reasonable, and it depends on what you’re after.
Doing it yourself costs almost nothing if you already own polish. Budget about forty five minutes for your first attempt and maybe twenty five once you’re used to it. Regular polish ombre typically lasts four to six days before chipping, which is shorter than a plain manicure because of the extra layers.
Salon gel ombre usually runs somewhere between forty five and eighty dollars depending on where you live, and lasts two to three weeks. Dip powder ombre sits in a similar range.
If you’re booking it, useful things to say:
- Show a photo. Always. Color names mean different things to different people.
- Say whether you want the transition soft and blurry or more defined.
- Mention where you want the darkest point, at the tip or at the cuticle.
- Ask for a slightly thicker top coat if your nails are prone to chipping.
For a wedding, holiday, or anything photographed, salon gel is worth it. For a random Tuesday, the sponge is fine.
Where It Goes Wrong and How to Fix It
The middle turned brown. Your two colors are too far apart on the color wheel. Add a bridging shade or pick a closer pair.
It’s streaky rather than blended. You swiped instead of dabbed, or your polish had already started drying. Fresh polish, quick dabs, more layers.
The texture is bumpy. Normal with sponging. A layer of top coat between rounds and two at the end solves it.
Polish is all over your fingers. Use a barrier next time. For now, a small angled brush dipped in acetone cleans it up in a couple of minutes.
The gradient looks patchy and see through. You skipped the solid base color underneath. Painting the full nail in the lightest shade first fixes this instantly.
One nail looks great and the others don’t. Extremely common. Do your dominant hand first while your patience holds, and accept that a small amount of variation is part of the handmade look.
It chipped in two days. Ombre has more layers than a normal manicure, so cap the free edge every single time, meaning swipe the top coat along the very tip of the nail.
Questions That Come Up a Lot
Do I need special polish for ombre nails?
No. Any regular polish works. Creams blend more smoothly than jellies or shimmers, so start there if you’re learning.
How many colors should I use?
Two for your first few attempts. Three once you’ve got the technique down. More than three on a natural length nail usually looks crowded.
Can I do ombre on short nails?
Yes. Keep it to two shades, place the fade higher, or try a side to side gradient instead of tip to cuticle.
What’s the difference between ombre and French fade?
French fade, sometimes called baby boomer nails, is just a specific ombre using a sheer pink and a white. Same technique, softer palette.
Why does mine look nothing like the salon photos?
Salon versions are usually gel or powder, which allow far more working time. Comparing a first attempt in regular polish to a professional gel set isn’t a fair fight.
How do I stop the sponge soaking up all my polish?
Dampen it very slightly with water first and squeeze it out. Damp sponges absorb less product.
Can I do this over gel extensions at home?
You can, but blending on top of a curved extension takes more layers. Use a barrier and expect to do an extra round or two.
Start With Two Colors and One Sponge
If this all sounds like more than you signed up for, ignore most of it and just do this. Buy a peach and a coral. Paint the peach on the whole nail. Sponge the coral onto the tips. Add top coat.
That’s a sunset gradient, it takes fifteen minutes, and nobody will ask you what technique you used.
The complicated stuff is there when you want it. The simple version already looks good.


Leave a Reply