
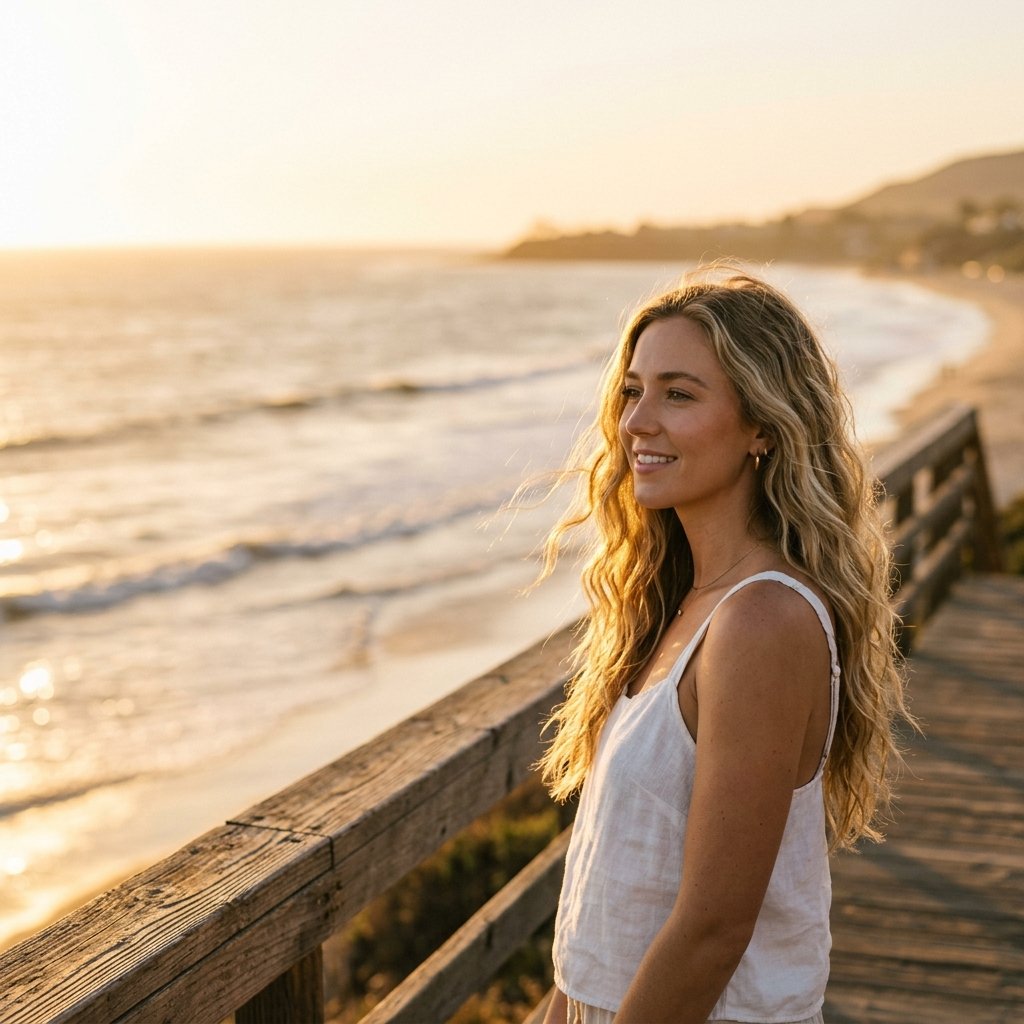
Here’s a scenario you might recognize. You spend forty minutes curling your hair before a summer barbecue. It looks incredible in your bathroom mirror. You step outside, walk to the car, and by the time you arrive your waves have turned into three sad bends and a lot of frizz.
I did this every summer for years before figuring out what was actually going wrong. Spoiler: it was almost never the curling iron.
Beach waves are one of those looks that sound easy and turn out to be surprisingly technical. The good news is that once you understand the handful of things that make them hold, you can get them in fifteen minutes flat with whatever tool you already own. Let’s start with the fast version, because sometimes you just need hair that works in the next twenty minutes.
The Rushed Version When You Have Fifteen Minutes
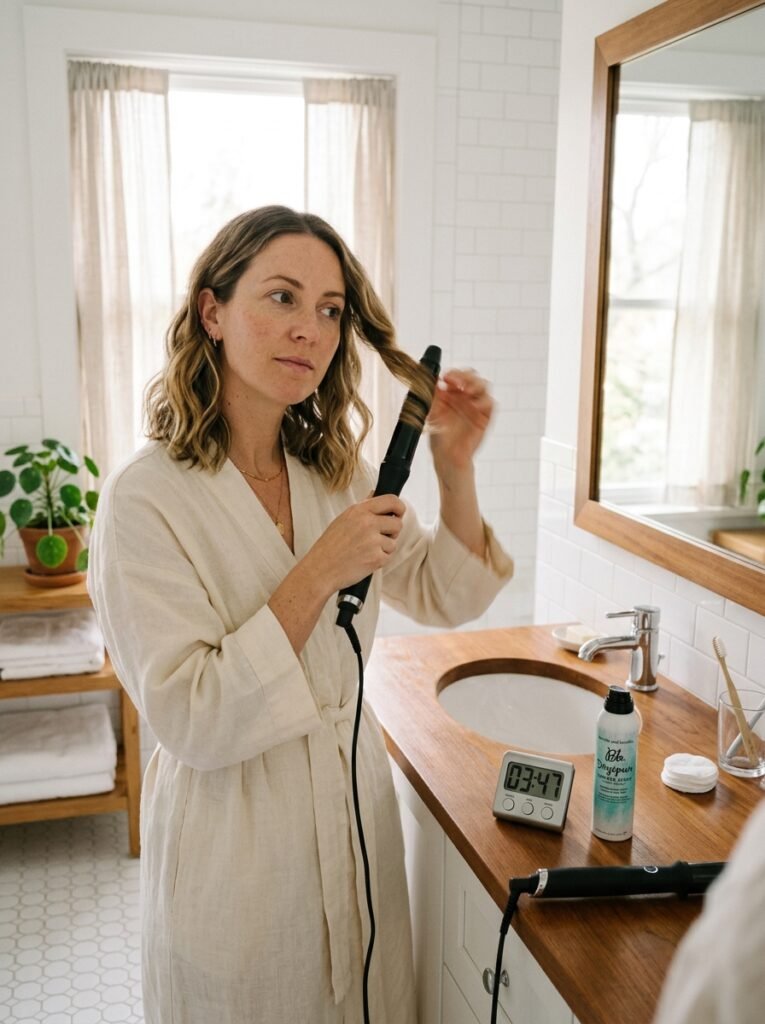
If you’re short on time and just need something that reads as beachy, do exactly this.
- Start with dry hair, ideally second day hair. Clean freshly washed hair is slippery and won’t hold.
- Spray a light texturizing spray or dry shampoo through the mid lengths. Scrunch it in with your hands.
- Split your hair into two sections, one on each side of your head.
- Take a one and a half inch curling wand. Wrap a two inch wide piece of hair around it, leaving the last two inches of hair out. Hold for six seconds.
- Alternate the direction of every wrap. One away from your face, the next toward your face, and keep switching.
- Do about six to eight pieces per side. You do not need to curl every strand.
- Let everything cool completely. This is the part people skip and it’s the part that matters most.
- Once cool, shake it out with your fingers, add a light mist of flexible hold spray, and stop touching it.
That’s the whole thing. If you only take one detail from this article, make it the cooling step. Hair sets into its shape as it cools, not while it’s hot. Brushing or moving warm curls is why they collapse an hour later.
Now for the reasons this works, plus a few other routes to get there.
Why Your Waves Keep Falling Out
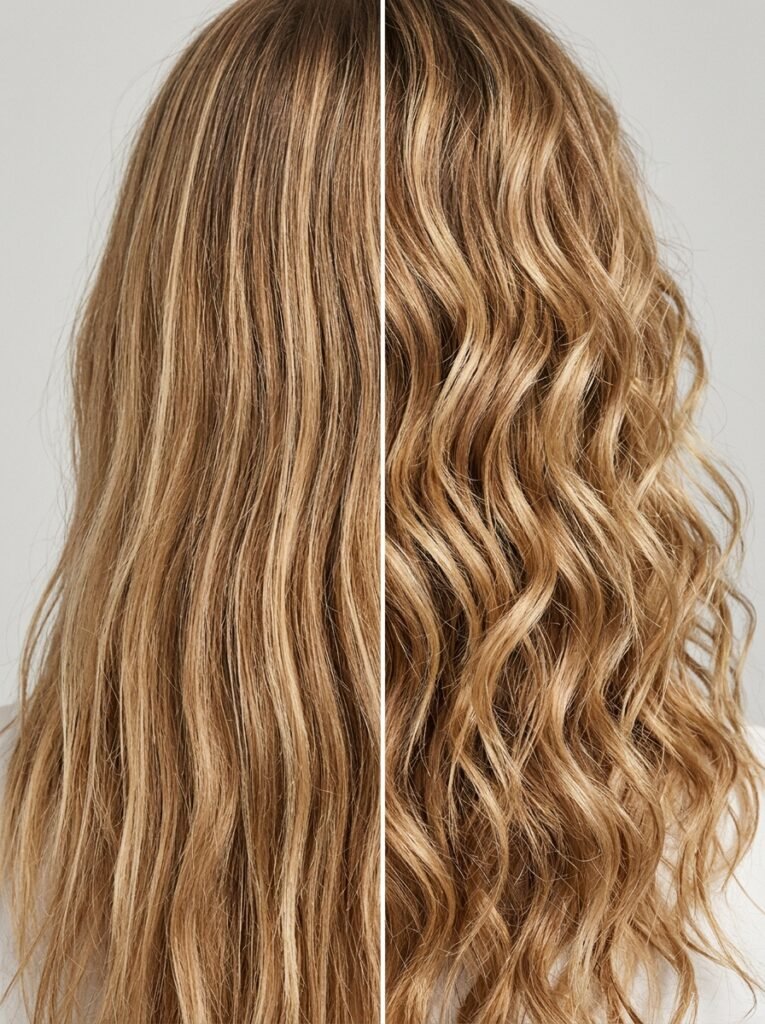
Before more tutorials, it helps to know what’s actually undoing your effort. There are usually four culprits.
Your hair is too clean. Freshly washed hair with conditioner on the lengths has almost no grip. Waves need a bit of texture to hold onto. Day two hair, or clean hair with texturizing product added back in, holds hours longer.
Your iron is too cool or too hot. Too cool and the hair never sets. Too hot and you damage the cuticle without improving hold. Fine hair generally does well around 300 to 330 degrees Fahrenheit. Medium hair sits around 350. Coarse or very thick hair may need 375 to 400. Guessing high is not a shortcut.
Your sections are too big. A chunky three inch section wrapped around a wand cooks on the outside and stays untouched in the middle. That middle part is what drops first.
You’re brushing too aggressively at the end. A hard brush through finished waves flattens them into a single wavy sheet. Fingers or a wide tooth comb, used lightly, keep the separation.
There’s a fifth factor nobody can fully control, which is humidity. Damp air swells the hair shaft and pulls out the shape you set. You can fight it with product and technique, but on a genuinely humid day you’ll get softer waves than you would in dry weather, and that’s just physics. The same problem shows up at outdoor weddings, and a lot of the tricks in this guide to hairstyles that survive a long, humid day apply just as well to a beach afternoon.
Prep Does More Than the Curling Iron
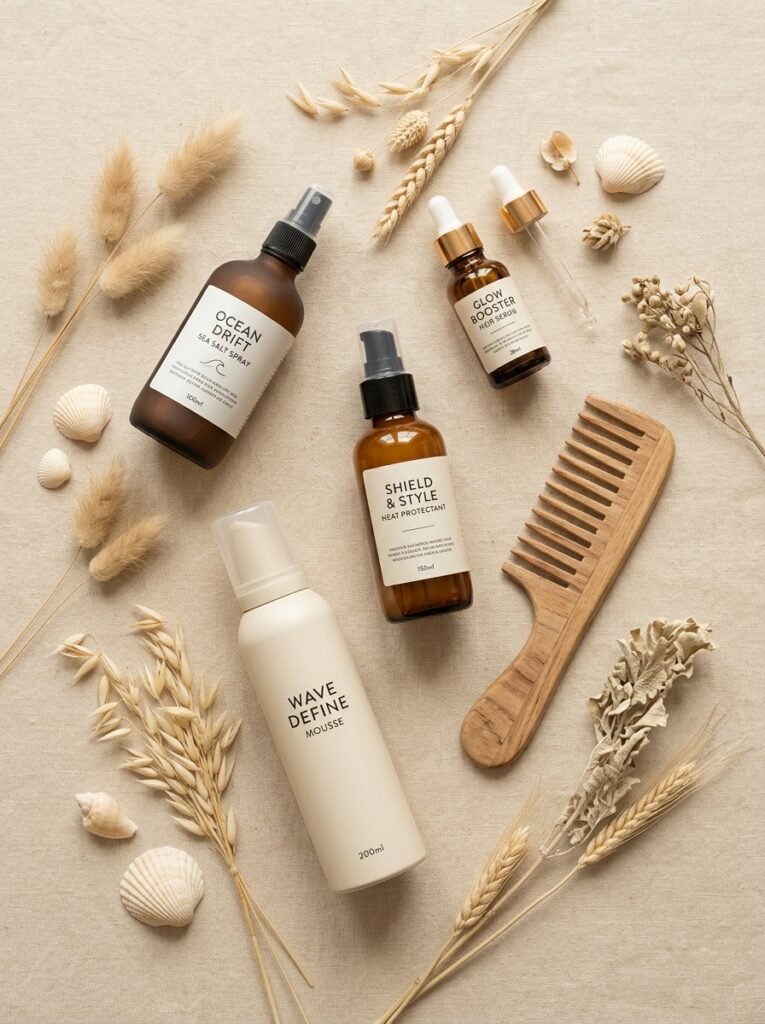
I’d argue prep accounts for about sixty percent of the result. Here’s the sequence that works.
Wash the night before, not the morning of. If you must wash the same day, skip conditioner on your roots and go light on the lengths.
Rough dry with a bit of tension. Blow drying with your fingers, tipping your head side to side, builds body at the root. Flat roots make waves look limp no matter how good the curl pattern is.
Add product to damp hair, then again to dry hair. This is the trick most tutorials leave out. A mousse or sea salt spray on damp hair builds the base. A light texturizing spray on dry hair before curling adds grip. Two thin layers beat one heavy one every time.
Always use heat protectant. Not optional if you plan to do this more than once a summer.
Products worth having on hand:
- Sea salt spray for texture and that slightly gritty beach feel
- Light mousse for fine hair that needs body
- Dry texture spray for grip and volume between the roots and mids
- A flexible hold hairspray, not a firm one, since stiff waves look like they’re from 2004
- A pea sized amount of hair oil or serum for the ends only, applied at the very end
A quick warning on sea salt spray. It’s brilliant for texture and drying to your hair over time if you overdo it. Twice a week is plenty, and follow with a hydrating mask on wash day.
Method One: The Curling Wand Wave
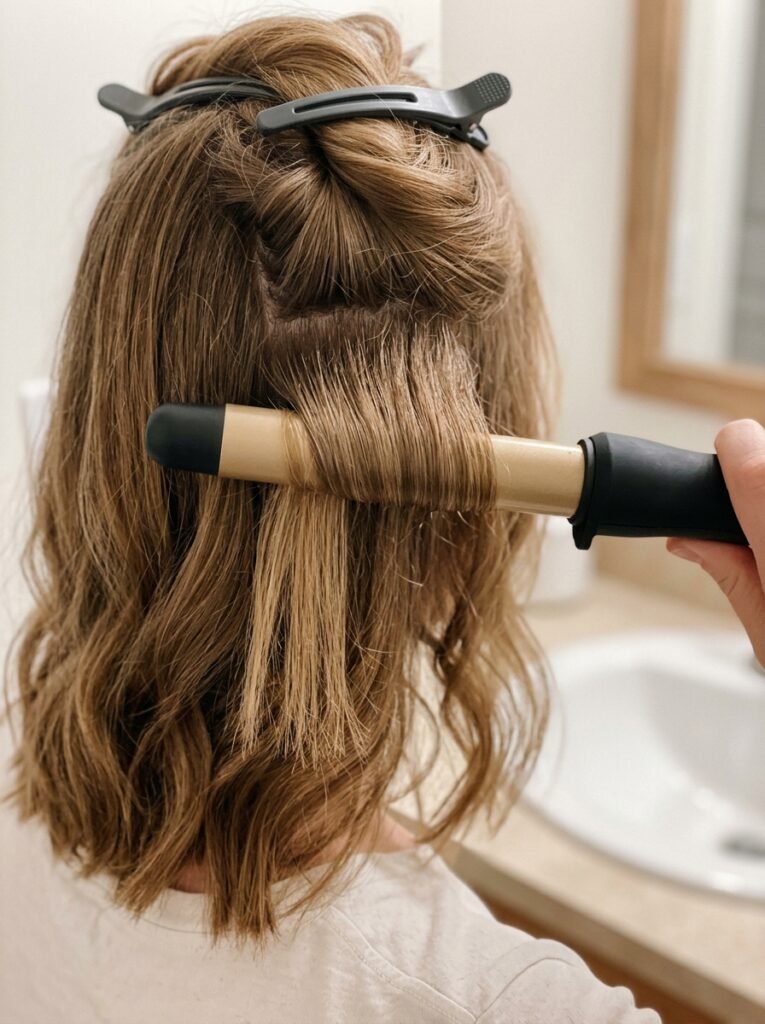
This is the most reliable version and the one I use most often.
What you need: a one to one and a quarter inch clipless wand for tighter, bouncier waves, or a one and a half inch for looser, softer ones.
Steps:
- Section your hair into three horizontal layers, clipping the top two up.
- Starting at the bottom layer, take a piece about one to two inches wide.
- Wrap it around the barrel, away from your face, keeping the wrap flat so the hair doesn’t overlap on itself.
- Leave the last one to two inches of hair out of the wrap. This is what creates the straighter ends that make waves look beachy instead of formal.
- Hold five to eight seconds depending on your hair thickness.
- Release the curl into your palm, hold it there for a few seconds while it cools, then let it drop.
- Alternate direction with every single piece.
- Work up through the layers, doing the same thing.
- When you reach the front pieces around your face, always wrap those away from your face. It opens up your features and photographs better.
Once everything is fully cool, tip your head upside down, shake gently with your fingers, and flip back up. Mist lightly with hairspray from about ten inches away.
Alternating direction is genuinely the thing that separates “beach waves” from “prom curls.” When every curl spirals the same way they stack into ringlets. When they alternate they collapse into each other and look natural.
Method Two: The Flat Iron Bend
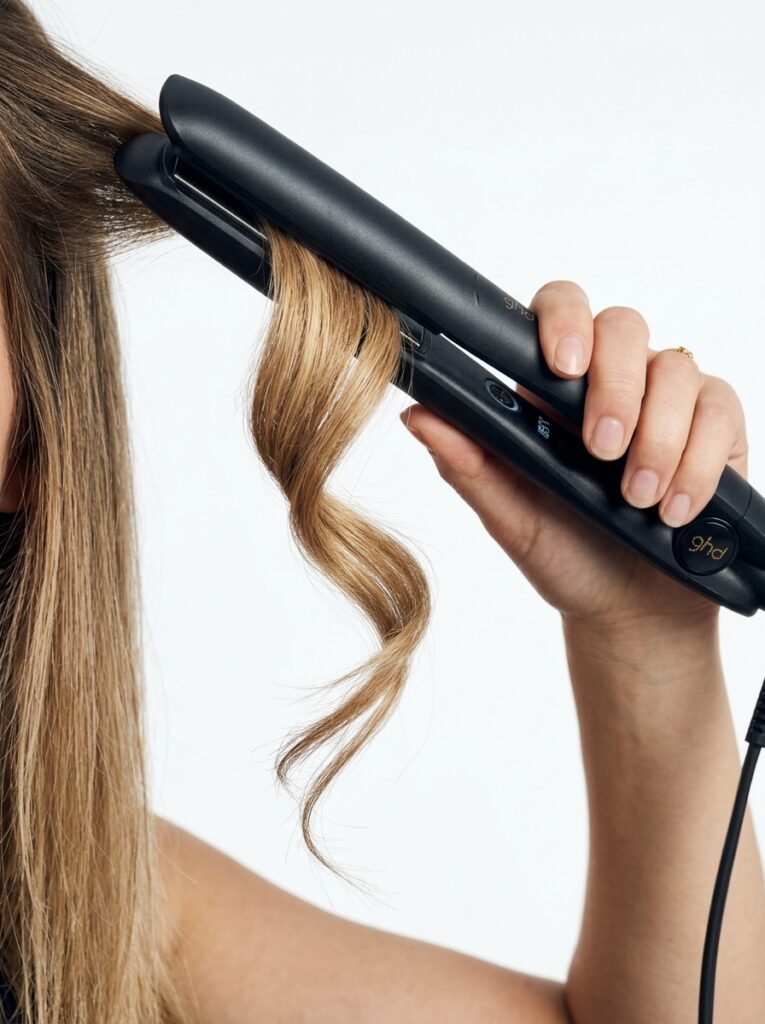
If you own a straightener and nothing else, you can still get there. Some people prefer this version because the waves come out flatter and more editorial.
- Clamp the flat iron near the root of a two inch section.
- Turn the iron a half rotation so the hair bends around it.
- Glide down slowly, about two inches, then flip the rotation the other way.
- Keep gliding and flipping as you move toward the ends, like you’re drawing an S shape down the hair.
- Leave the last inch or two straight.
- Repeat, alternating your starting rotation direction on each new section.
Move slowly and steadily. Rushing gives you kinks in random places rather than a smooth wave pattern. This method has a learning curve, so practise on a back section where mistakes hide.
Method Three: Overnight Braids With No Heat At All
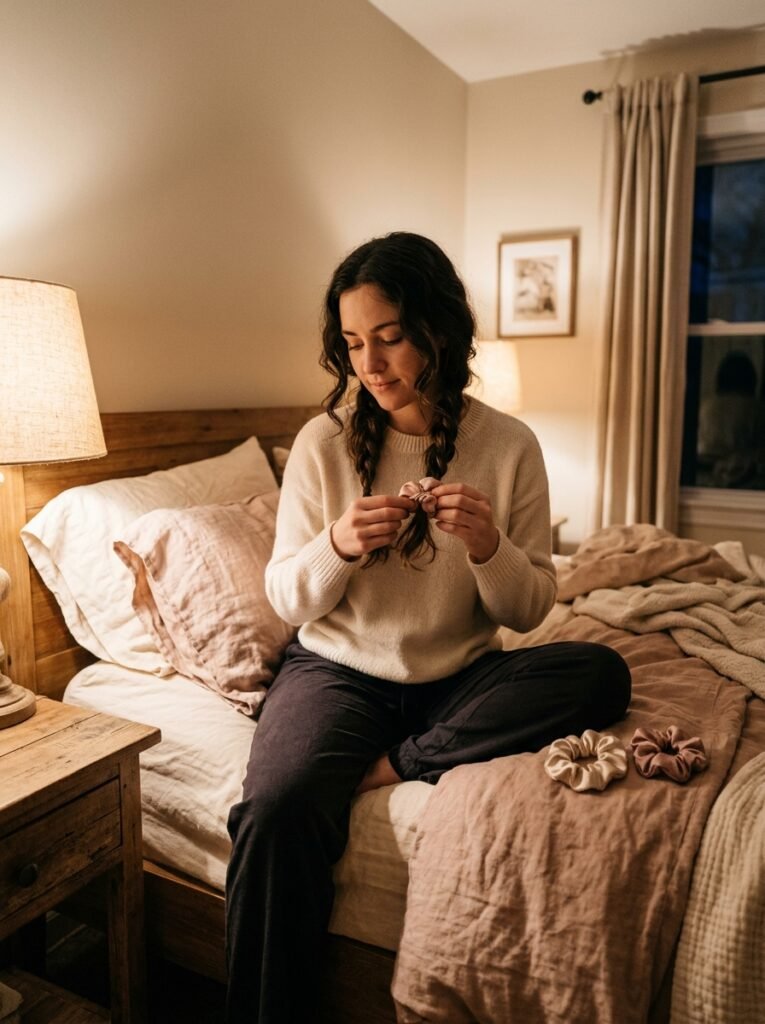
Perfect for hot days when the idea of standing over a hot tool is unbearable, and much kinder to your hair.
- Start with hair that’s about eighty percent dry. Soaking wet hair won’t dry fully overnight and you’ll wake up with damp, limp braids.
- Apply a light mousse or leave in cream.
- Split into two or four sections.
- Braid loosely, starting the braid at ear level rather than at the scalp. Braiding tight to the root creates a crimped look at the top that’s hard to fix.
- Secure with soft fabric ties, not tight elastics.
- Sleep on a silk or satin pillowcase if you have one.
- In the morning, undo the braids, separate with your fingers, and mist with texture spray.
Fewer, chunkier braids give looser waves. More, thinner braids give tighter texture. Two braids is usually the sweet spot for a natural beachy result.
A variation worth trying: wrap slightly damp hair around a soft headband or a robe belt and secure the ends. It creates a rounder, bouncier wave than braids do.
Method Four: Air Dried Waves for Naturally Wavy Hair
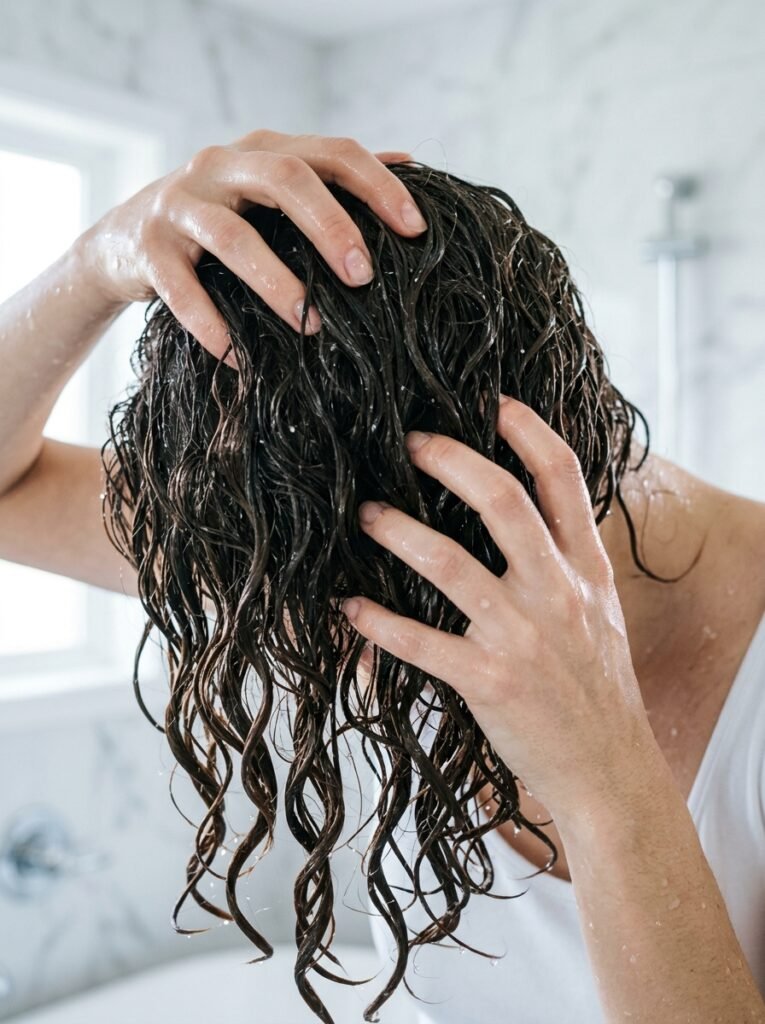
If your hair already has some natural movement, working with it is easier and looks better than overriding it.
- After washing, apply a curl cream or light mousse to soaking wet hair.
- Scrunch upward toward your scalp about twenty times. Yes, that many.
- Add a sea salt spray on top and scrunch again.
- Do not touch your hair while it dries. Every touch creates frizz.
- Once completely dry, scrunch out the crunch with clean hands. A drop of oil on your palms helps.
- If a few pieces dry oddly, touch up only those with a wand.
The hardest part is genuinely leaving it alone. If you can’t resist, a diffuser on low heat and low speed, held still under each section, speeds things up without wrecking the pattern.
Adjusting for Your Hair Length and Type
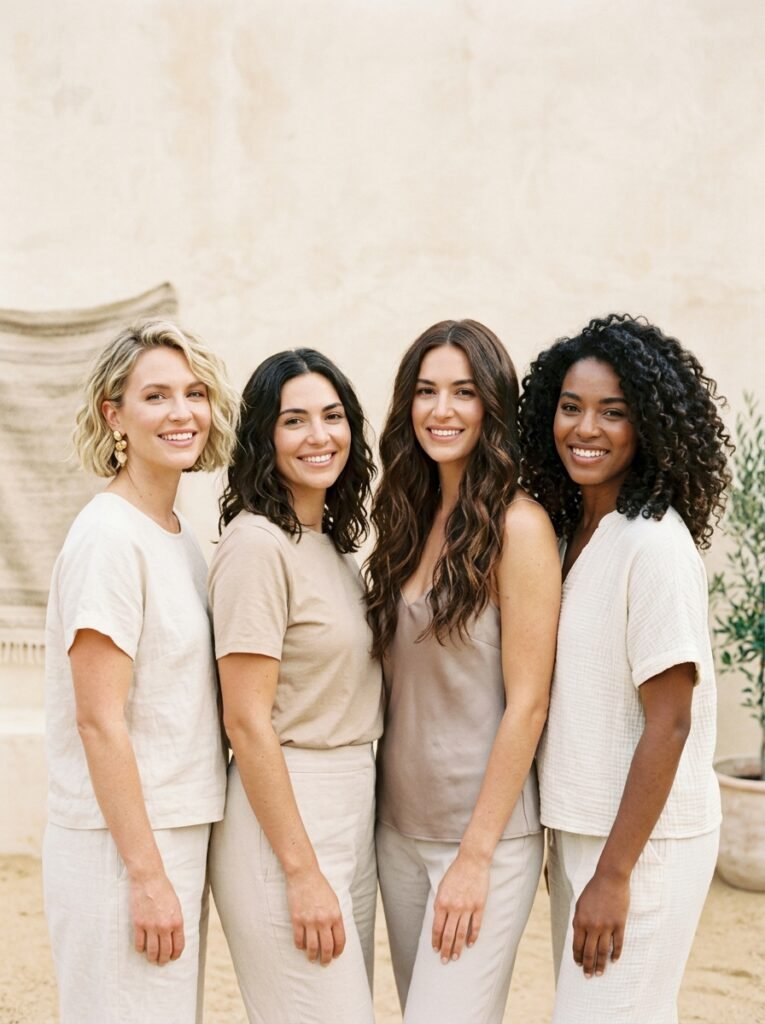
Beach waves are not one technique. Here’s how to shift things.
Fine or thin hair. Use a smaller barrel, around one inch, because bigger barrels barely register on fine hair. Curl closer to the root for the illusion of thickness. Skip heavy oils and creams entirely.
Thick or coarse hair. Take smaller sections and be patient. Higher heat, longer hold. Consider curling in more layers than you think you need, because the underneath sections carry the weight.
Short hair and bobs. Use a small wand, half inch to one inch, and only bend the mid to ends. Too much curl on short hair reads as a set rather than a wave. A flat iron bend often looks better than a wand at this length.
Long hair. Gravity is not on your side. Curl in more sections, alternate carefully, and consider setting the curls in flat pin curls against your head while they cool for extra hold.
Fringe or face framing pieces. Curl these last, always away from the face, and with less heat exposure so they stay softer than the rest.
Face shape. Where you place volume changes the whole effect. Waves starting higher up widen the top of your face, waves starting lower widen the jaw area. If your face is narrower toward the chin, this breakdown of what works for heart shaped faces explains the placement logic in more detail.
Fixing Things Mid Style
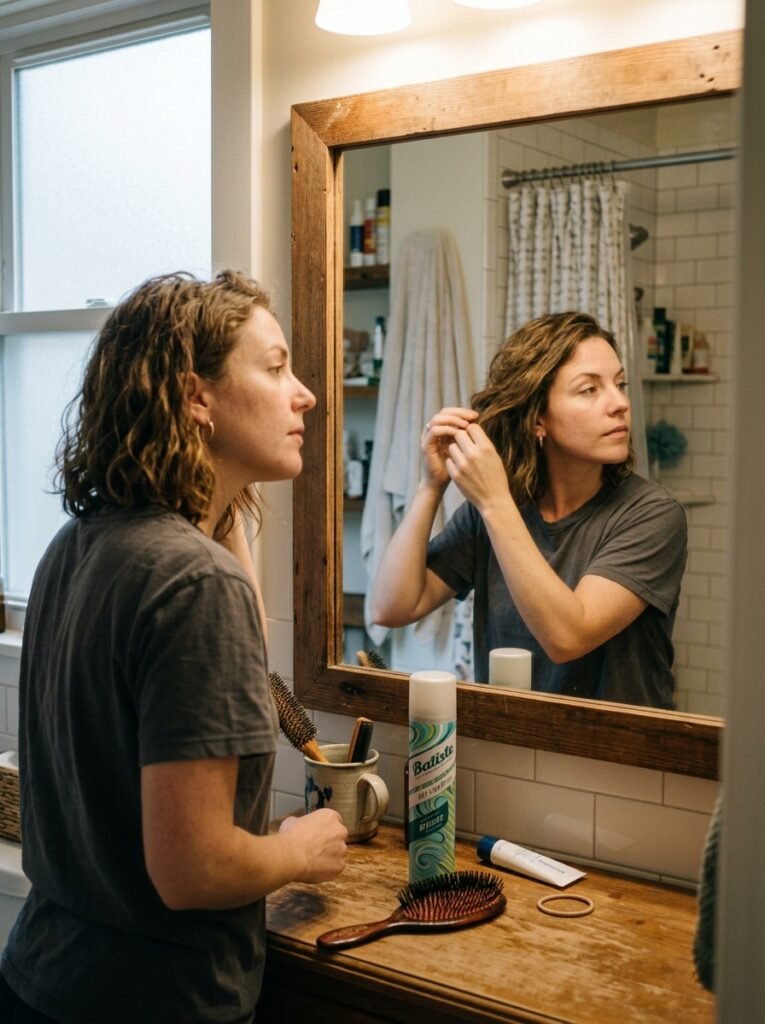
Not everything goes to plan, and most problems have a quick fix.
Waves came out too curly. Wait until fully cool, then pull each wave gently downward with your fingers, or brush lightly with a boar bristle brush. This loosens them without erasing them.
Waves dropped almost instantly. Your hair was too clean, your iron too cool, or you brushed while warm. Add dry texture spray at the roots and re curl a few key pieces around your face.
One side looks better than the other. Extremely normal. Most people’s dominant hand does better work. Curl your weaker side first while your patience is highest.
Frizz appeared out of nowhere. Rub the smallest amount of oil between your palms and smooth over the surface only. Never rake it through.
It looks flat at the roots. Tip your head over, spray dry shampoo at the roots, massage briefly with your fingertips, flip back.
It looks too styled and stiff. Break it up with your hands. Real beach hair has some pieces that don’t cooperate, and that’s part of the look.
Making Them Last Into Day Two and Three
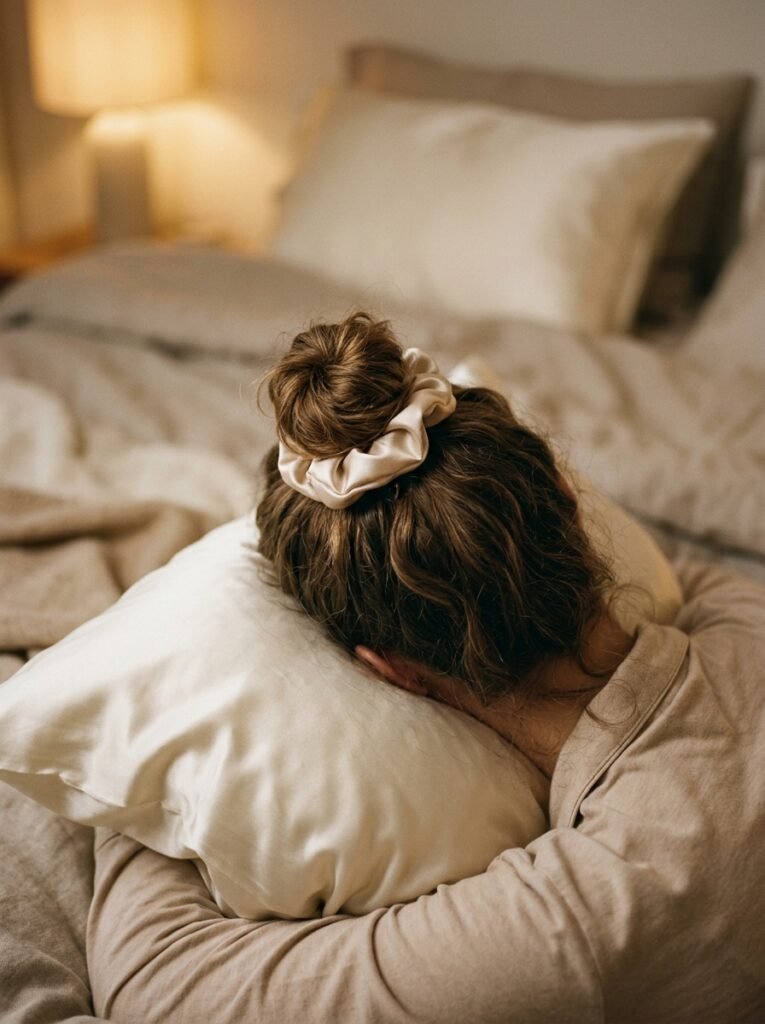
Getting waves is half the job. Keeping them is the other half.
At night, loosely pile your hair into a soft bun on top of your head and secure with a scrunchie. Sleeping with hair spread across a pillow flattens one side. A silk pillowcase reduces friction and frizz noticeably.
In the morning, shake it out and hit the roots with dry shampoo. If a few pieces have gone limp, re curl only those. Rarely do you need to redo the whole head.
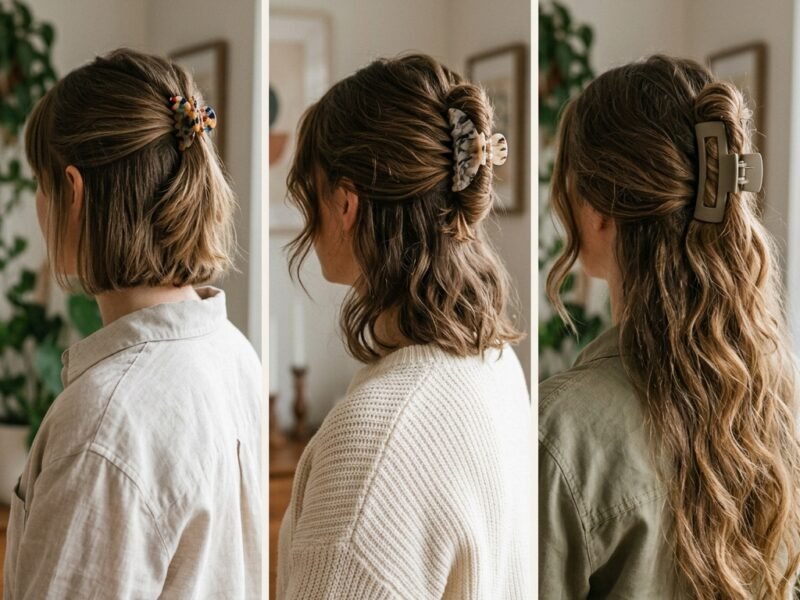
By day three, waves usually loosen into something softer, which is often when they look their best. That’s also the perfect moment for a low ponytail or a half up style, since the texture holds a claw clip better than smooth hair ever will.
If you’re swimming, wet your hair with fresh water and add a leave in conditioner before you get in. Hair that’s already saturated absorbs less chlorine or salt water.
Questions People Ask About Beach Waves
How often is it safe to heat style?
Two or three times a week with heat protectant is generally fine for most hair. If yours is colour treated or damaged, rotate in the no heat braid method to cut the total heat exposure.
Can I get beach waves without any products?
You can get waves, but they won’t last. Product is what gives hair the grip and memory it needs. Even just dry shampoo makes a real difference.
Why does my hair go flat within an hour?
Usually clean, slippery hair combined with insufficient cooling time. Try styling on day two hair and let everything cool fully before touching it.
What barrel size should I buy if I’m only buying one?
A one and a quarter inch clipless wand is the most versatile for medium length hair. It handles both loose and defined waves depending on how long you hold.
Do curling irons with a clamp work?
Yes, though you’ll get a crease where the clamp sits. Use it further down the hair shaft and leave the ends out to minimize it.
Is sea salt spray bad for your hair?
Not in moderation. It is drying with heavy repeated use, so pair it with a conditioning treatment once a week and skip it on days you’re not styling.
My waves look nice but not beachy. What’s missing?
Almost always the ends. Leaving the last inch or two straight is what makes the difference between polished curls and casual beach texture.
Getting Comfortable With Imperfect
The best beach waves I’ve ever had were the ones I rushed, half finished, and then gave up on. Something about not fussing produced exactly the effect I’d been chasing on the days I tried hard.
Give yourself two or three practice runs on a normal weekday before an occasion that matters. You’ll learn how your specific hair responds, which section size works, and how long your waves realistically last. That knowledge is worth more than any tool.
And if a few pieces refuse to cooperate, leave them. That’s what the look is supposed to be.


[…] Anyone experimenting with these looks can pair a cut with a matching routine, and this beach wave styling tutorial covers the tools and techniques that keep waves defined between salon visits. The key to styling […]
[…] of this overlaps directly with technique used for holding a wave pattern through a full day, since root treatment during the drying process affects how long any wave or curl set actually […]
[…] fringe read as part of an overall textured look rather than a separate, oddly-timed section. A simple approach to loose waves works well here, since it blends length differences across the whole head rather than isolating the […]
[…] but still wants shape around the face. If you enjoy this type of texture, Soreva Style’s beach wave hairstyle tutorial covers different ways to build loose waves with hot tools, flat irons, braids, or natural texture. […]