
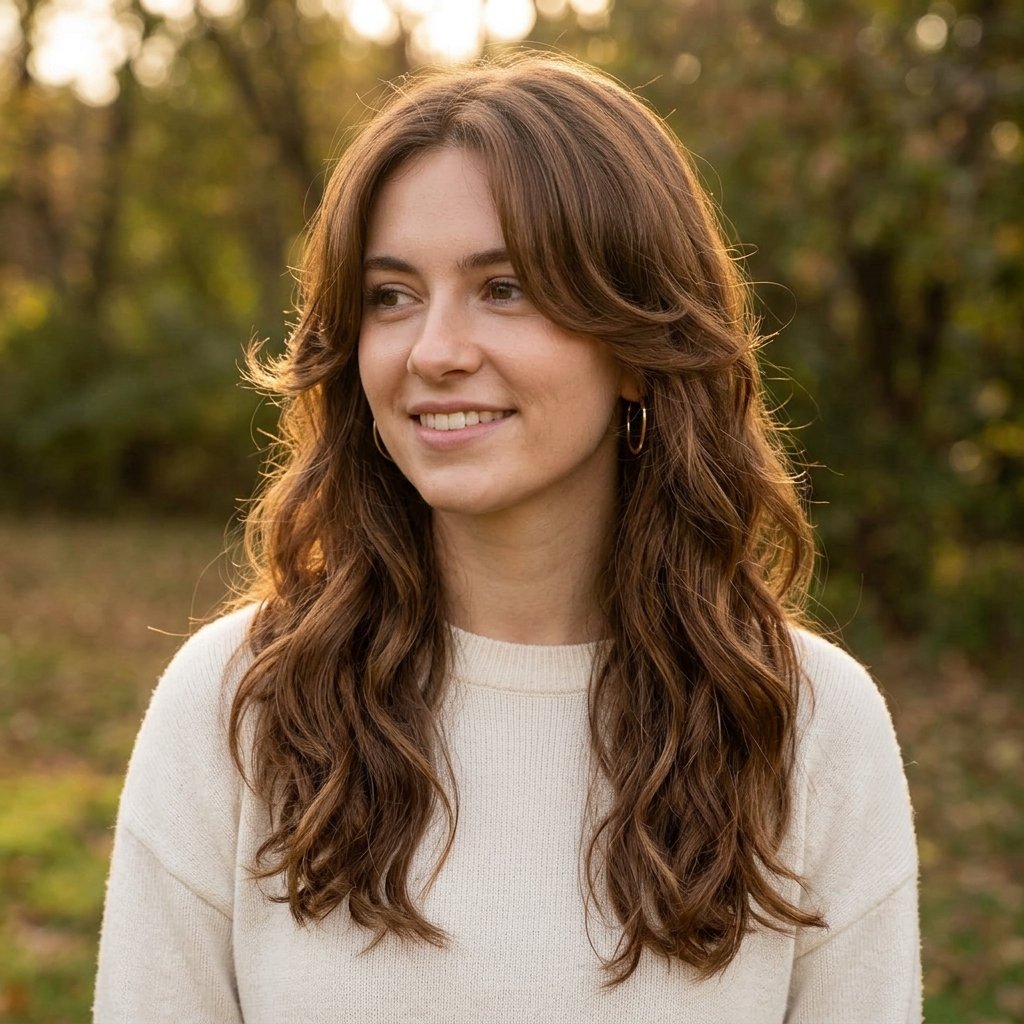
Long hair already has plenty of visual impact, but the way it falls around the face can completely change a photograph. A few shorter pieces near the cheekbones can catch light, create movement, and give loose hair more shape. The same pieces can also disappear entirely if they are too straight, too heavy, or blended so gradually that the camera cannot pick them up. That is why face-framing hair can look noticeably different in a photograph than it does in the mirror.
The goal is not necessarily to make the framing dramatic. In many cases, the most flattering effect comes from small pieces that curve gently around the face while the rest of the hair remains long and flowing.
Long hair with face-framing pieces also gives you plenty of styling options. You can wear the hair straight, add soft waves, create a half-up style, pull it into a ponytail, or leave the layers loose around the cheeks.
The best approach depends on how much movement you want the photograph to show.
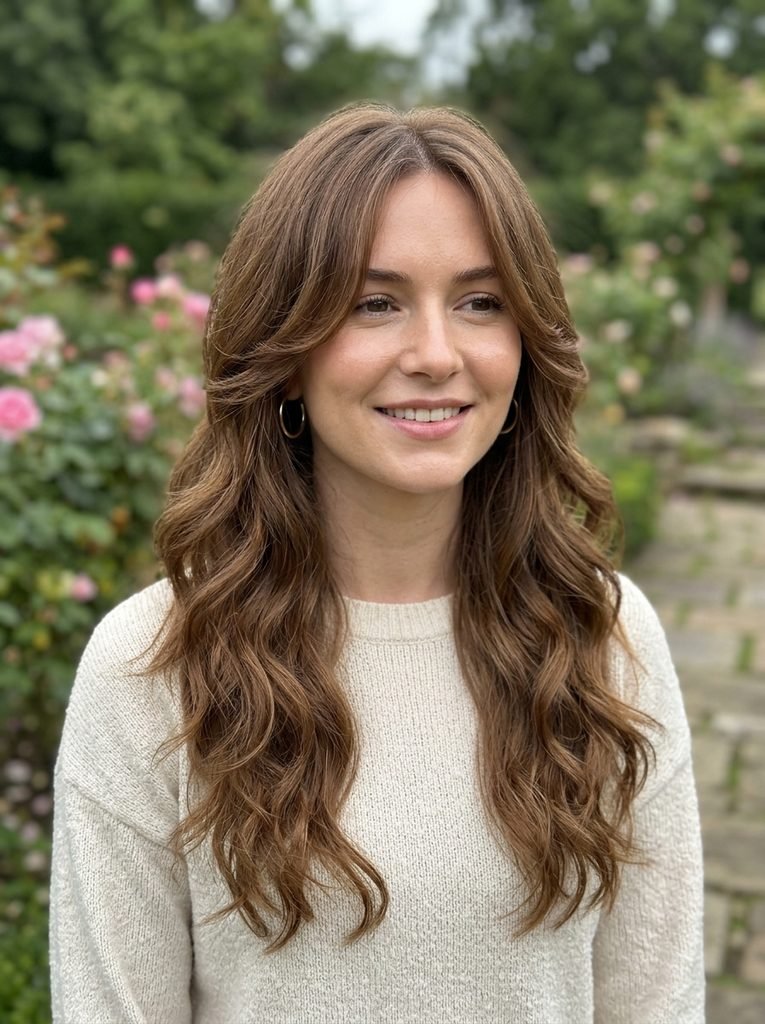
What Makes Face-Framing Hair Photograph Well?
A good photograph needs some separation between the hair and the face. When every section falls in one solid curtain, the face-framing pieces can disappear into the rest of the hair. A slight bend or change in direction helps create a visible outline.
Several details make a difference:
- A clear starting point around the cheekbone or jaw
- Slightly shorter pieces at the front
- Soft movement rather than rigid curls
- Some separation between the front layers and the back length
- Enough shine to catch light
- A part that allows the framing to fall naturally
- Texture that remains visible after the hair settles
This does not mean the layers need to be heavily curled. In fact, extremely defined curls can sometimes hide the shape of the cut. A softer bend often photographs better because the viewer can still see where the shorter pieces end and the longer hair begins.
Long Hair With Soft Cheekbone Framing
Cheekbone-length pieces create one of the clearest framing effects without taking away much from the overall length. The shorter section begins around the cheekbone and gradually connects into the longer hair. For photographs, style these pieces slightly away from the face. The movement creates a small opening around the cheeks while the rest of the hair remains loose. This works particularly well with:
- Straight long hair
- Slightly wavy hair
- Center parts
- Middle parts with soft bends
- Long layers that continue below the shoulders
The key is to avoid making the front pieces too stiff. A little separation makes them visible without making the hairstyle look overly styled.
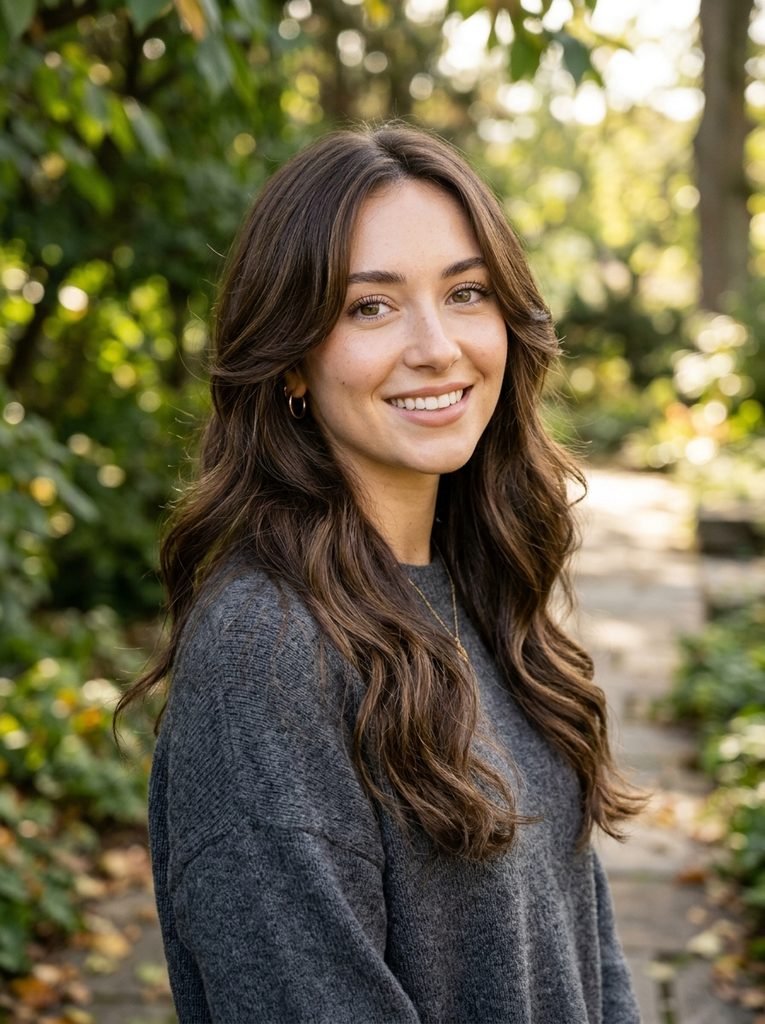
Long Straight Hair With Curved Face-Framing Layers
Straight hair can make face-framing pieces especially noticeable because there is less overall texture competing with them. Instead of curling the entire head, keep the lengths straight and add a gentle curve only to the sections around the face. Use a round brush or styling tool to direct the shorter pieces slightly outward.
This creates a clean contrast: straight lengths + curved framing
The result feels polished and works particularly well for portraits where the face is the main focus.
A small amount of shine product can help catch the light, but avoid applying too much near the roots. The hair should still look light and movable.
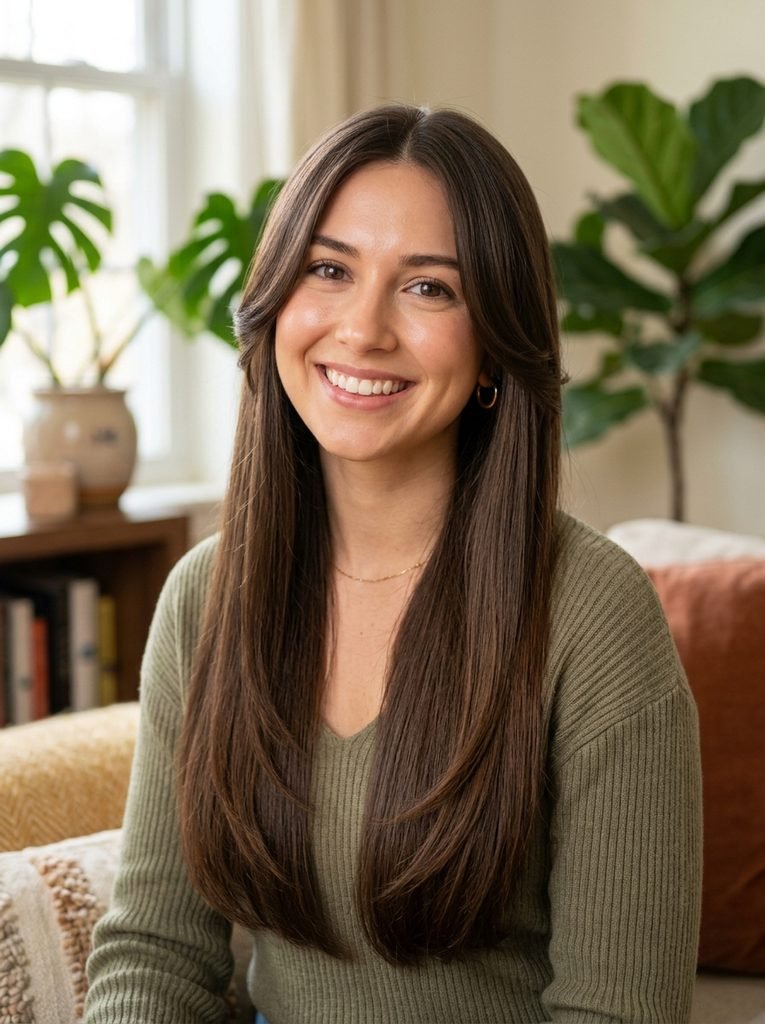
Long Soft Waves With Face-Framing Pieces
Soft waves are one of the easiest ways to make long face-framing layers visible in photographs. The waves create movement through the length while the shorter pieces provide structure around the face. For a relaxed finish, alternate the direction of the waves instead of curling every section identically. Keep the front pieces slightly looser. If the face-framing sections are curled too tightly, they can become visually separate from the rest of the hairstyle. After the hair cools, gently loosen the waves with your fingers. The final shape should have movement rather than a collection of obvious curls. Soreva Style already covers beach waves as a styling topic, so this article does not need to repeat a full beach-wave tutorial. Here, the emphasis is on how controlled movement changes the appearance of face-framing pieces in photographs.
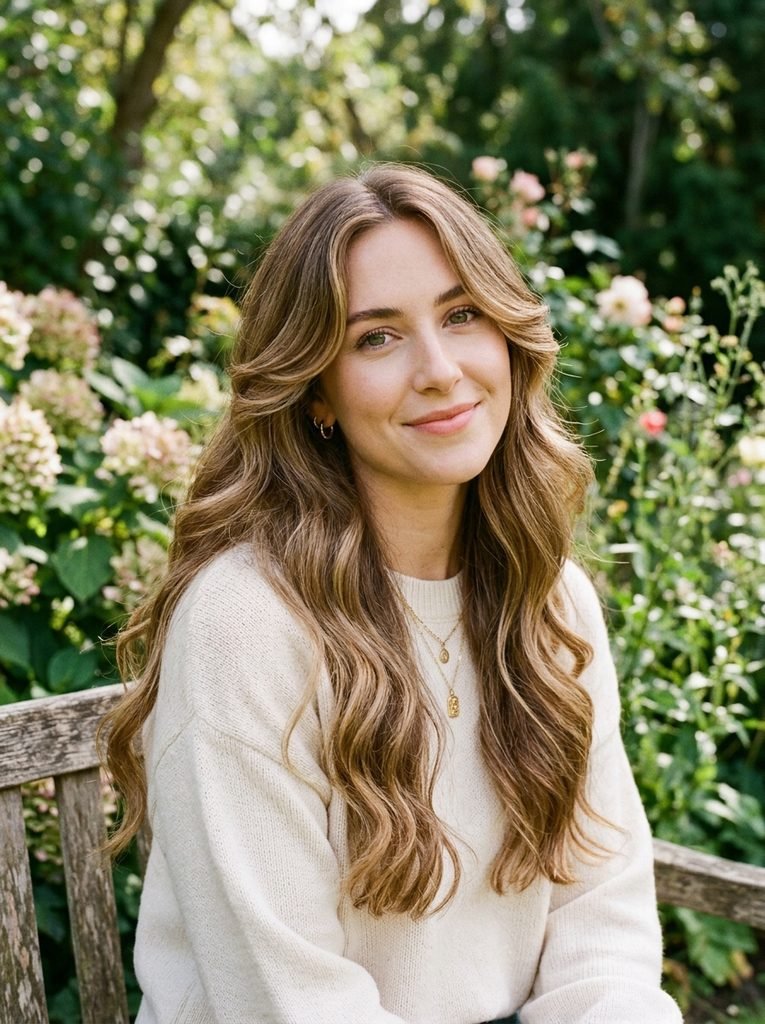
Center-Parted Long Hair With Open Face Framing
A center part gives both sides of the face-framing hair equal space. This can create a balanced photograph, especially when the front pieces are slightly shorter and curve away from the cheeks. The important detail is not to make the part excessively precise. A naturally clean center part tends to look softer than a perfectly flattened line. Let the first sections around the face fall naturally before shaping them. You can then add a slight outward bend from around the cheekbone downward. This creates an open effect without requiring dramatic volume.
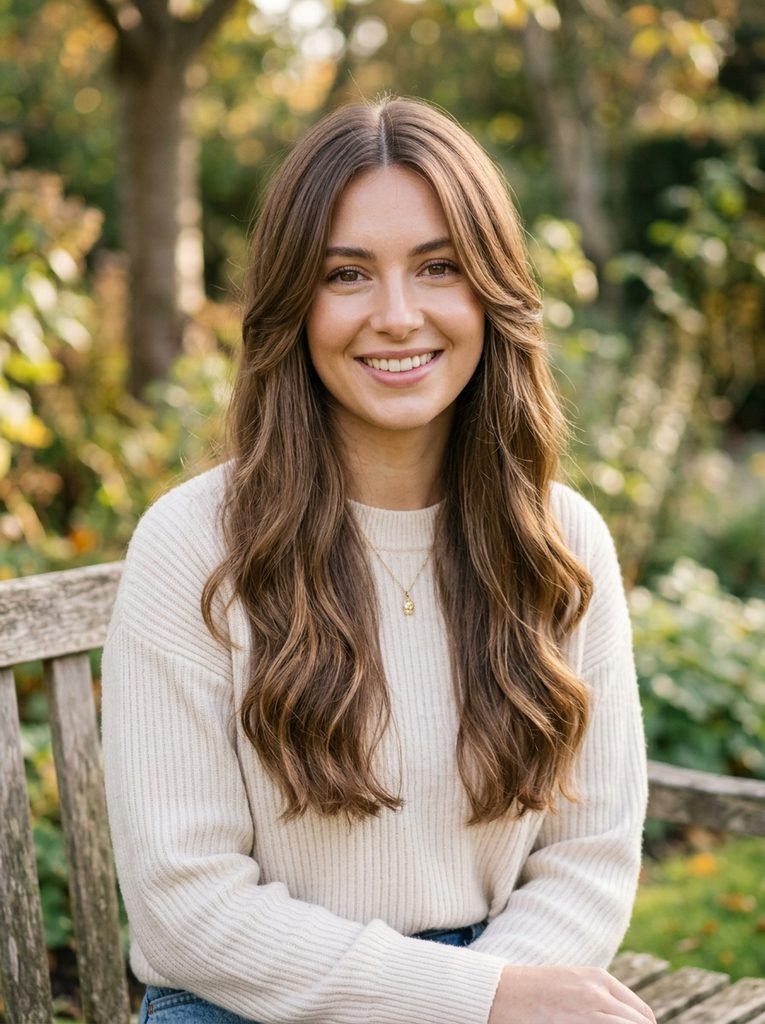
Side-Parted Long Hair With One Visible Sweep
A side part changes the way face-framing pieces fall. Instead of creating equal framing on both sides, one side can become more prominent. Sweep the larger front section across the forehead and allow it to curve along the cheek. The opposite side can be tucked behind the ear or allowed to fall naturally. This creates asymmetry, which can be especially interesting in photographs. It also works well when you want one side of the face to remain more visible. Keep the sweep soft. If the hair is pulled too tightly across the forehead, the result can look more formal than intended.
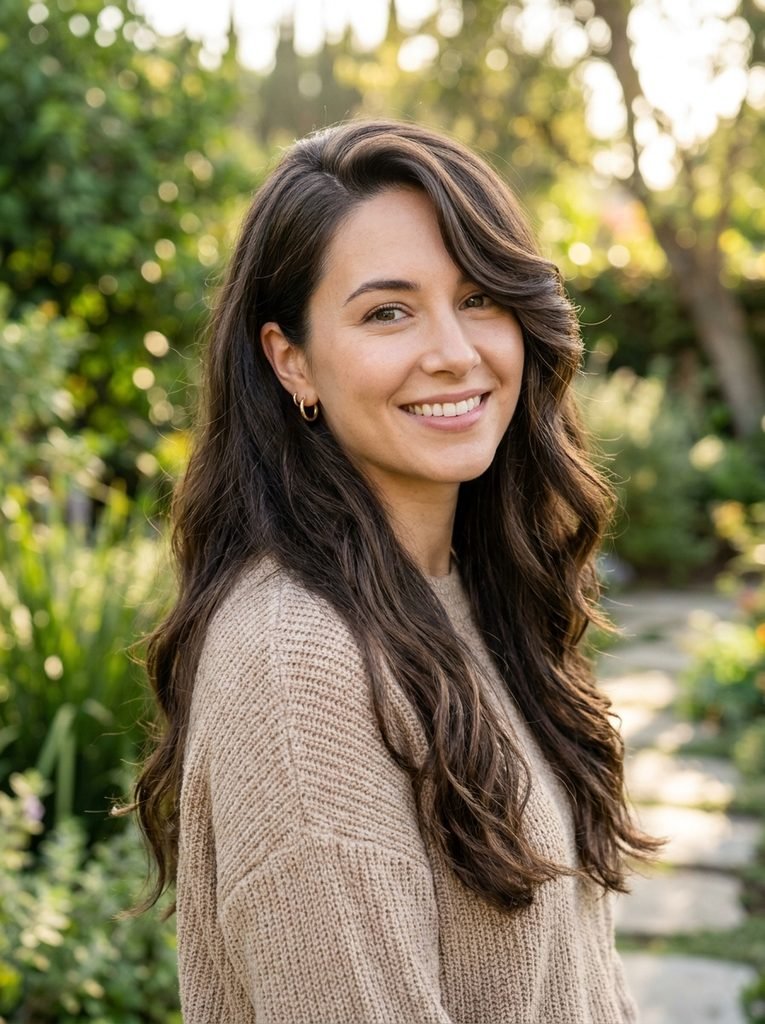
Long Hair With Face-Framing Layers and a Blowout
A soft blowout gives face-framing pieces enough lift to separate from the rest of the hair. The trick is to concentrate the round-brush work around the front. The long lengths can remain relatively smooth. For the face-framing pieces, direct the brush away from the face and allow the ends to curve gently. This creates a soft frame rather than a dramatic 1990s-style blowout.
The finished effect is particularly useful for:
- Birthday photographs
- Wedding guest portraits
- Dinner photos
- Professional headshots
- Fashion content
- Pinterest-style outfit photos
A little volume around the face helps the layers remain visible even after the hair settles.
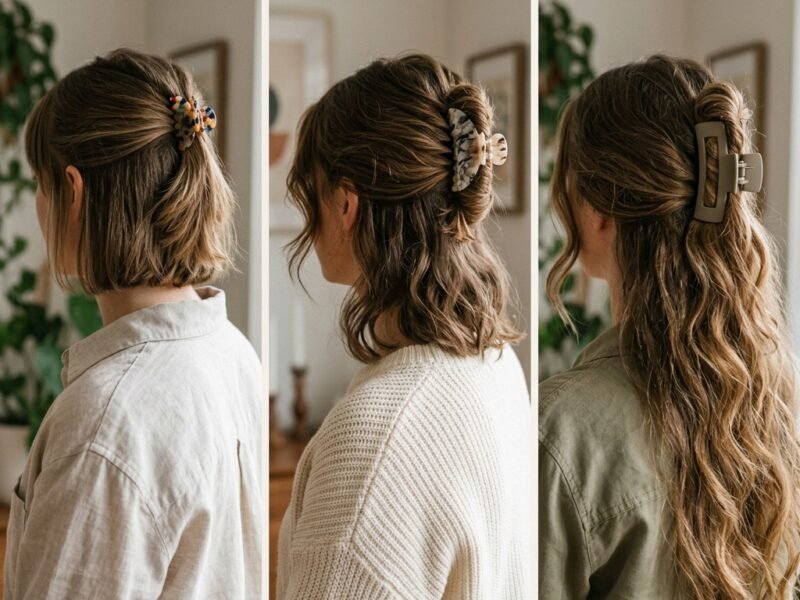
Half-Up Long Hair With Loose Face-Framing Pieces
Pulling long hair away from the face can actually make the framing more noticeable.
Gather the upper section into a loose half-up style while leaving the shorter front pieces outside the tie. The contrast between the secured hair and the loose pieces makes the framing stand out. For a softer result, create a small bend through the loose pieces. You can keep the back straight or give the lengths a loose wave. Avoid pulling the half-up section too tightly. A little height at the crown and some softness around the temples will keep the photograph from looking overly severe.
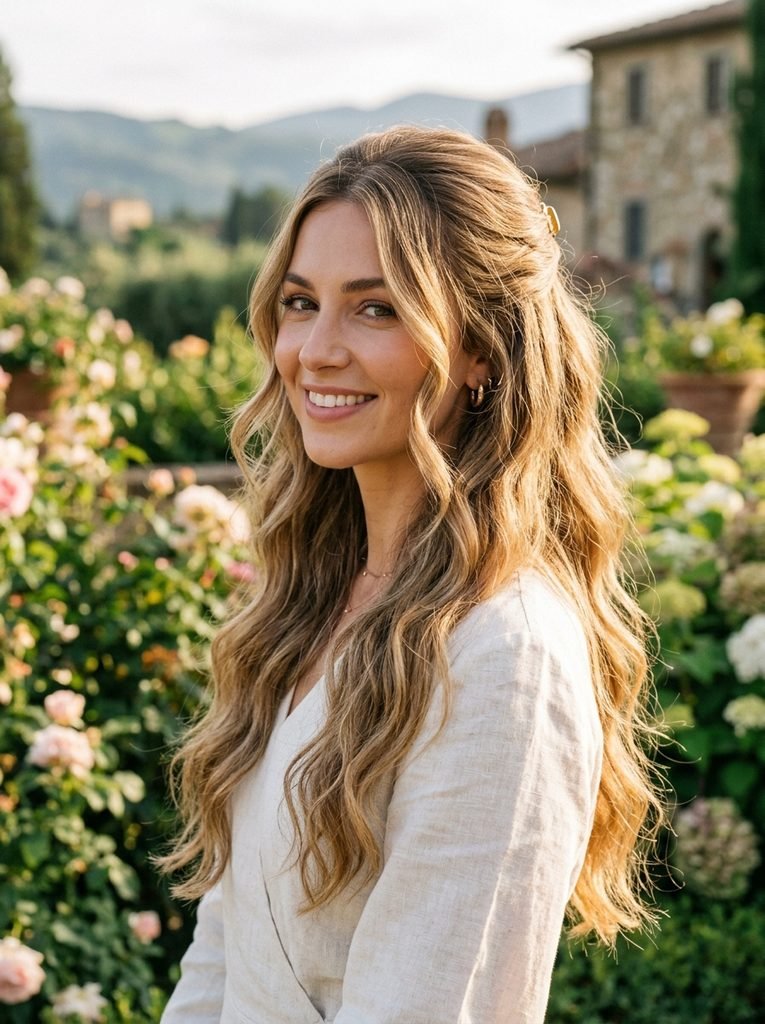
Long Ponytail With Face-Framing Pieces
A ponytail can make face-framing layers much more obvious. When the majority of the hair is pulled backward, the shorter sections remain around the face as a deliberate detail. A low ponytail creates a softer effect. A high ponytail feels more energetic and gives the front pieces more lift. For an elegant photograph, try a mid-height ponytail with the base kept smooth and the face-framing pieces left loose. You can curl those pieces very slightly away from the face. The important part is keeping them relaxed. If they are curled into tight ringlets, they can look disconnected from the ponytail.
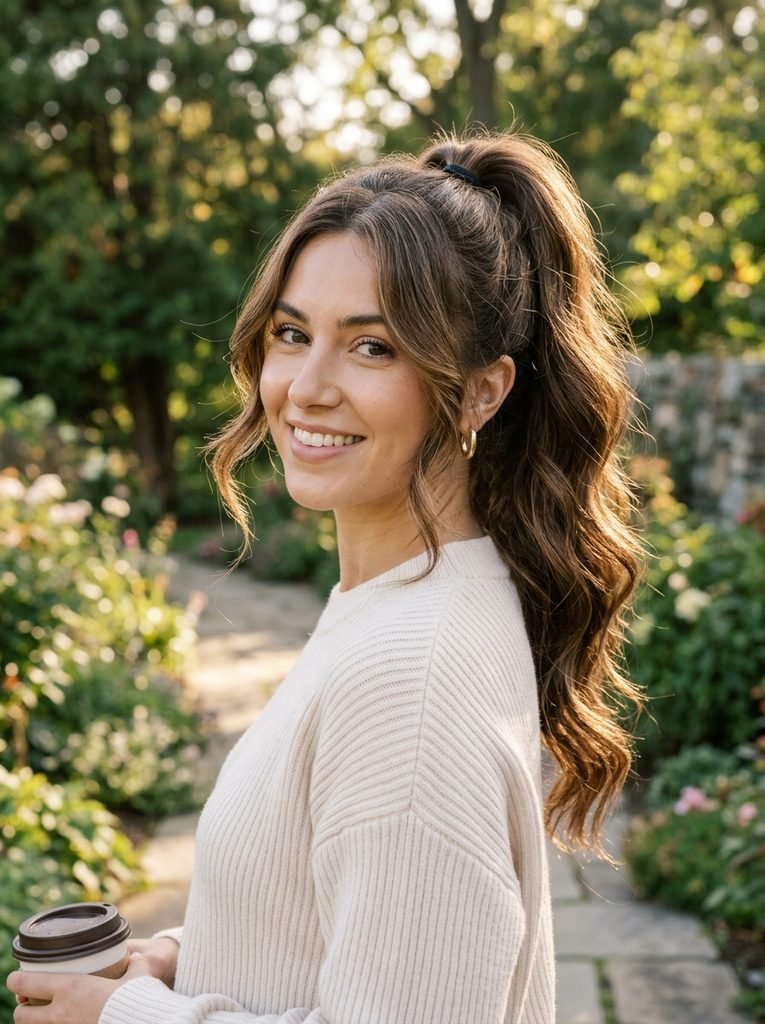
9. Long Hair With a Single Face-Framing Bend
You do not always need visible layers on both sides. For a more understated style, keep the hair mostly straight and create one noticeable bend around each side of the face. The bend can start around the cheekbone and continue into the longer lengths. This works particularly well when the haircut already has subtle front layers.It also creates a clean silhouette in photographs because the movement is concentrated near the face rather than spread across the entire hairstyle.
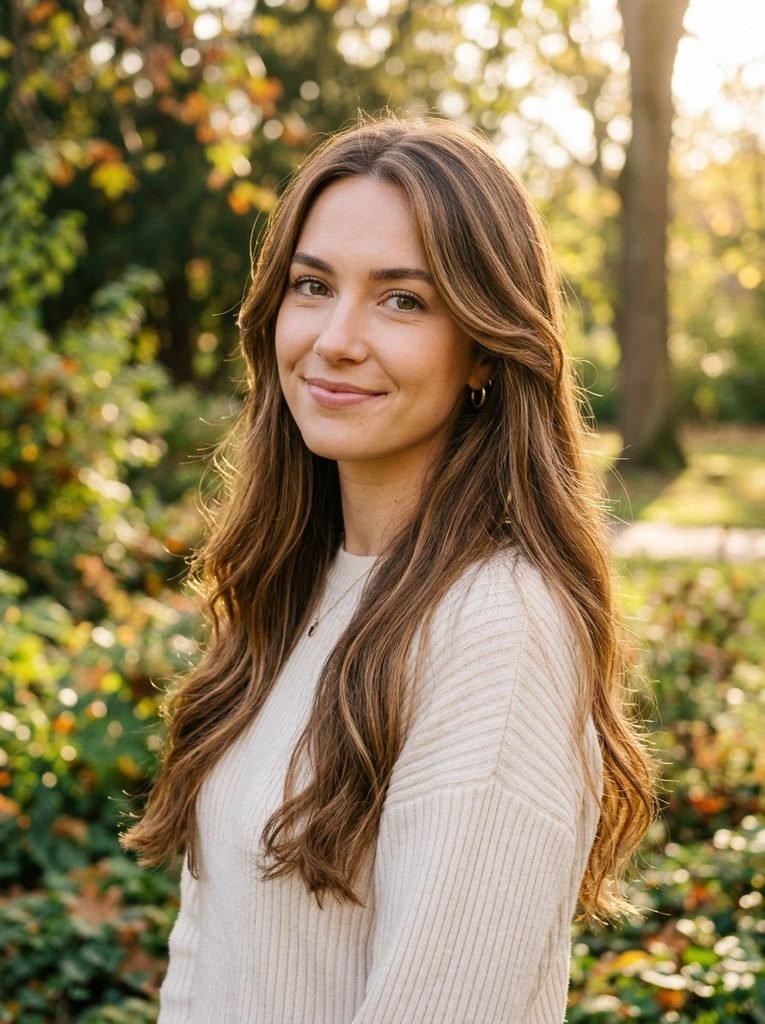
Long Hair With Face-Framing Layers and Natural Texture
Natural texture can be particularly beautiful in photographs because every section catches light differently. If your hair is naturally wavy, avoid straightening the face-framing pieces separately from the rest. Instead, encourage their natural bend. Use a lightweight styling product and shape the front pieces with your fingers while the hair is damp. Once dry, separate any pieces that have stuck together. The result should feel soft rather than perfectly arranged. This approach is especially effective for outdoor photographs where natural light emphasizes texture.
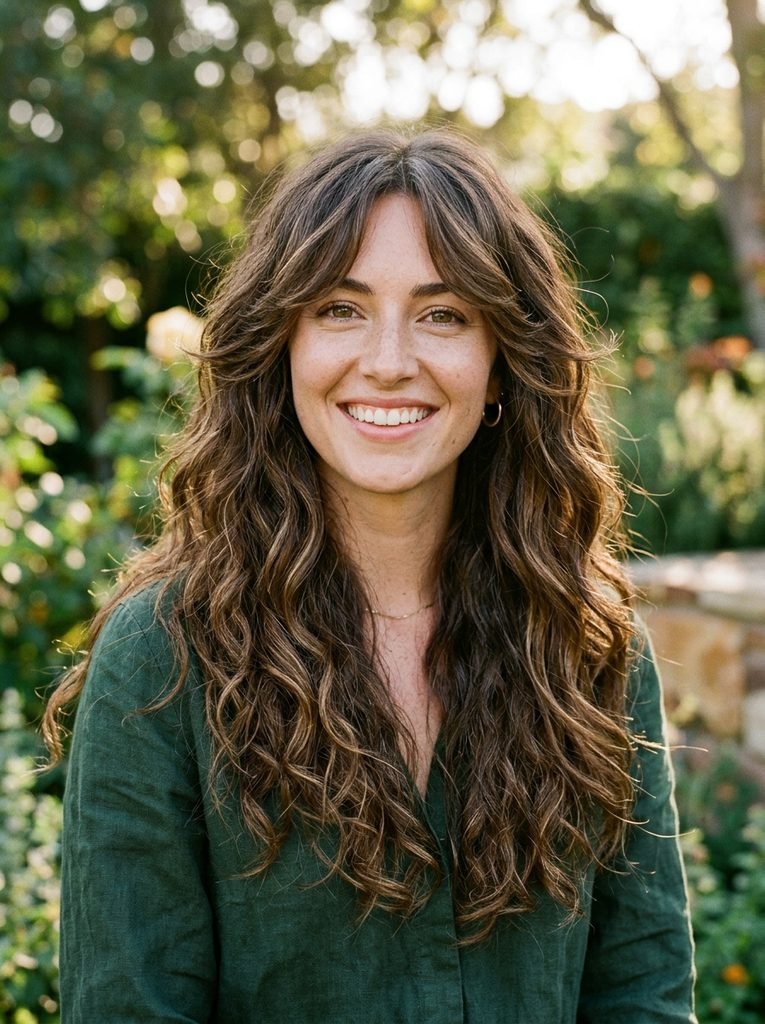
Long Layers With a Soft Jawline Frame
If cheekbone-level framing feels too short, a jawline starting point offers a subtler alternative. The shortest pieces sit lower, so they create less visual interruption. This can be useful if you prefer your hair to remain mostly long while still wanting some definition around the face.
The jawline pieces can be:
- Curved inward
- Turned slightly outward
- Waved loosely
- Tucked behind one ear
- Left straight with a slight bend at the ends
Because the framing is longer, it tends to blend easily into the rest of the haircut. Soreva Style’s existing layered-hair content similarly describes face-framing as a limited form of layering that keeps most of the back length intact and allows the shorter pieces to blend into the longer hair.
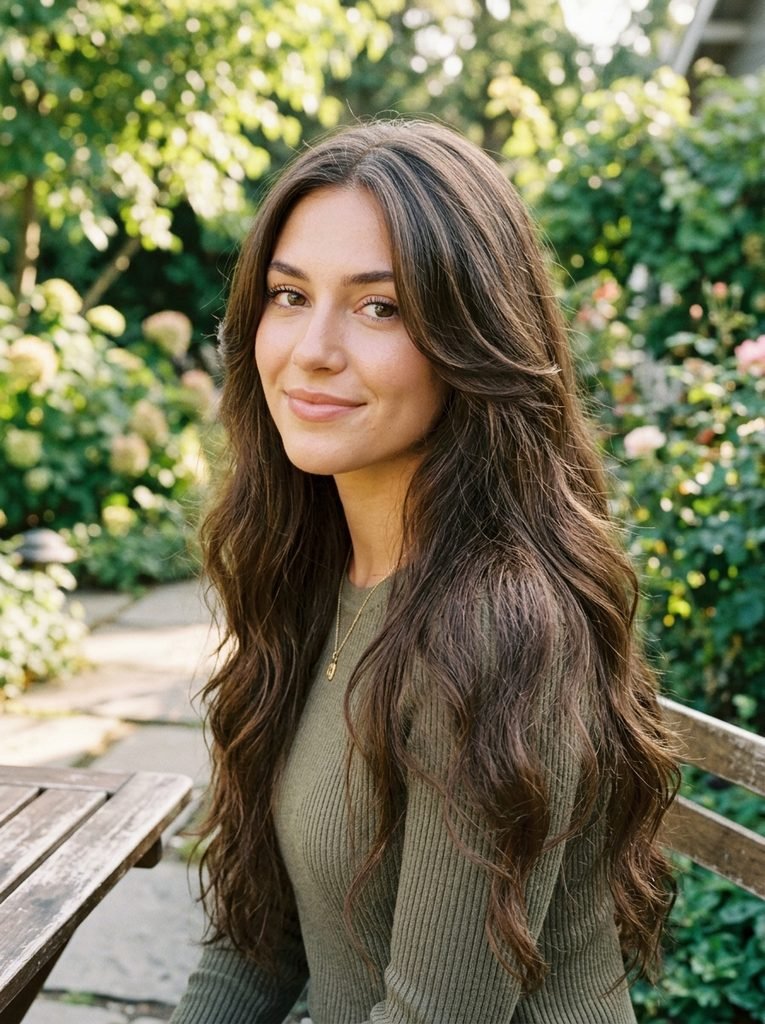
Long Hair With Face-Framing Pieces Behind One Ear
For a more editorial look, tuck one side behind the ear while leaving the other side loose. The tucked side exposes the cheekbone and ear, while the loose side shows the face-framing shape. This creates an interesting difference between the two sides of the photograph. A simple earring can add another point of light. The rest of the hair can remain straight or softly waved. This style is particularly useful when photographing an outfit because it exposes more of the neckline and collar.
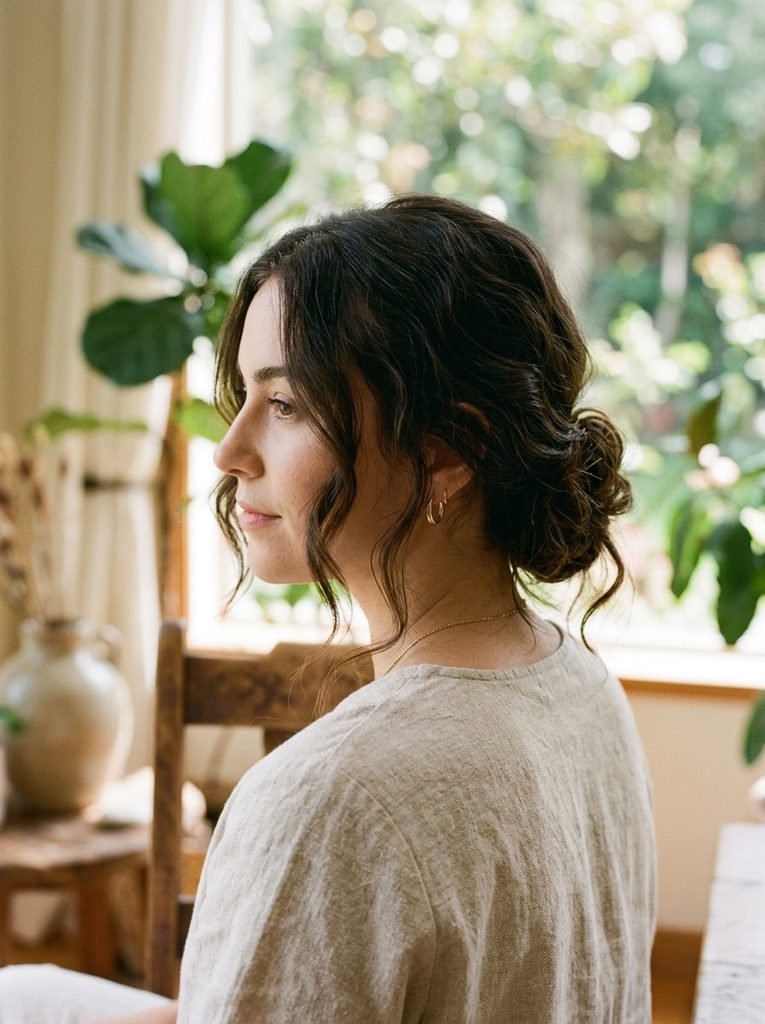
Long Hair With Loose Face-Framing Pieces in a Low Bun
Face-framing hair does not need to stay loose with the rest of the hairstyle. A low bun can create a beautiful contrast. Gather the long lengths into a low, relaxed bun while leaving the shorter pieces around the face. Then add a soft bend to those pieces. Do not make the bun too tight. A slightly relaxed base allows the front framing to feel connected to the overall hairstyle. This is especially useful for formal photographs because the face remains visible while the hairstyle still has softness.
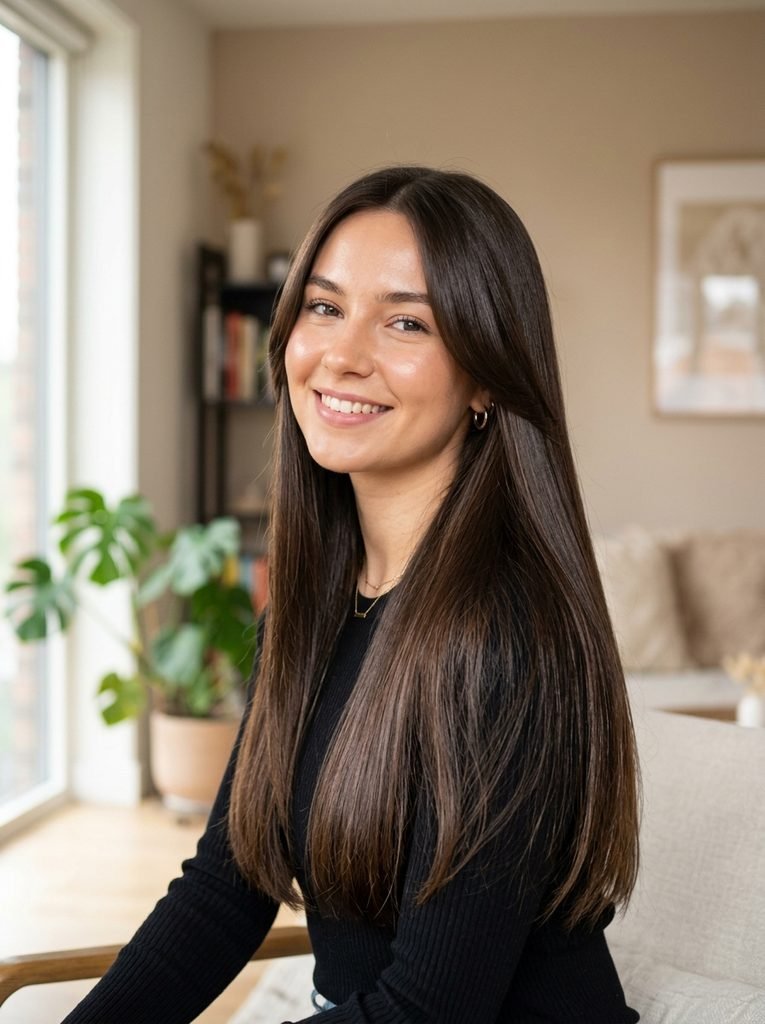
Long Hair With a Soft Curtain-Like Opening
A center part with two long front pieces can create a curtain-like opening around the face without becoming a dedicated curtain-bang hairstyle. The distinction is important. The pieces should remain long and blend into the rest of the hair. Style them away from the face with a gentle bend, then let the longer lengths fall naturally. This gives you the visual effect of an open frame while maintaining substantial length. Because Soreva Style already has a dedicated article about curtain bangs and their grow-out, this version should remain focused on long blended framing, not recreating that bang shape.
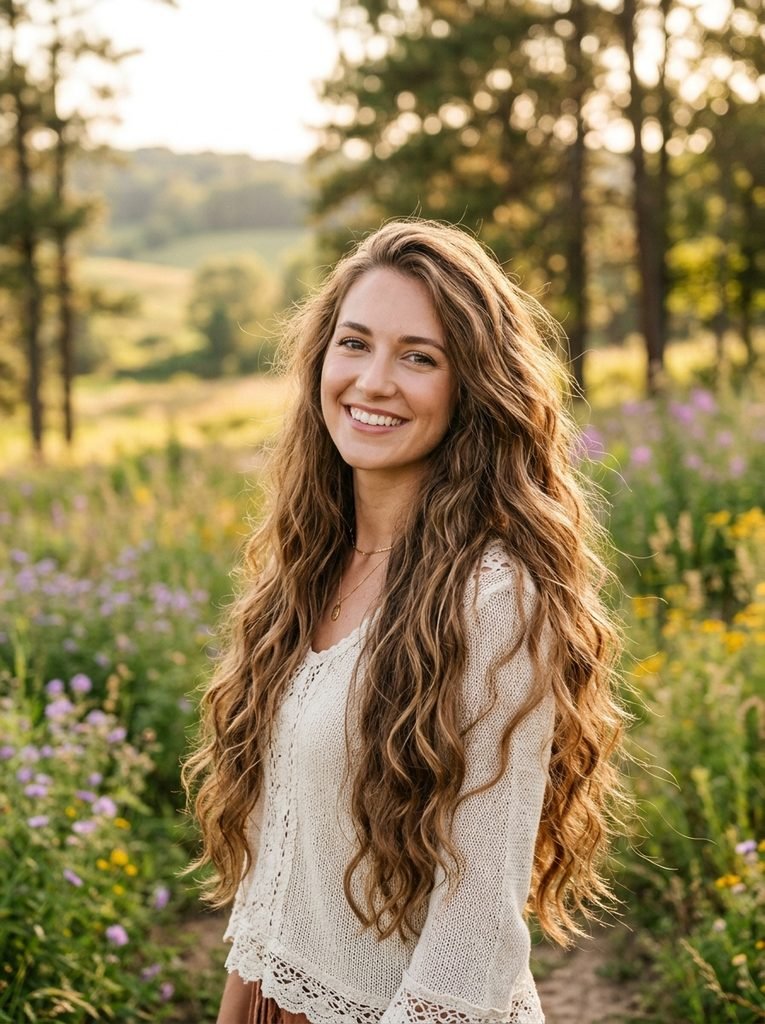
Long Hair With Face-Framing Layers and Glossy Straight Ends
For a cleaner fashion-editorial photograph, keep the lengths smooth and straight. The face-framing pieces can have a very subtle bend while the ends remain sleek. This works particularly well with dark brunette, black, chocolate, and glossy blonde hair because the light creates a clear line along the length. The hairstyle does not need lots of volume. In fact, too much volume can hide the clean framing effect.
Focus instead on:
- Smooth surface
- Controlled ends
- Soft front movement
- Clean part
- Minimal flyaways
The result is understated but highly photographable.
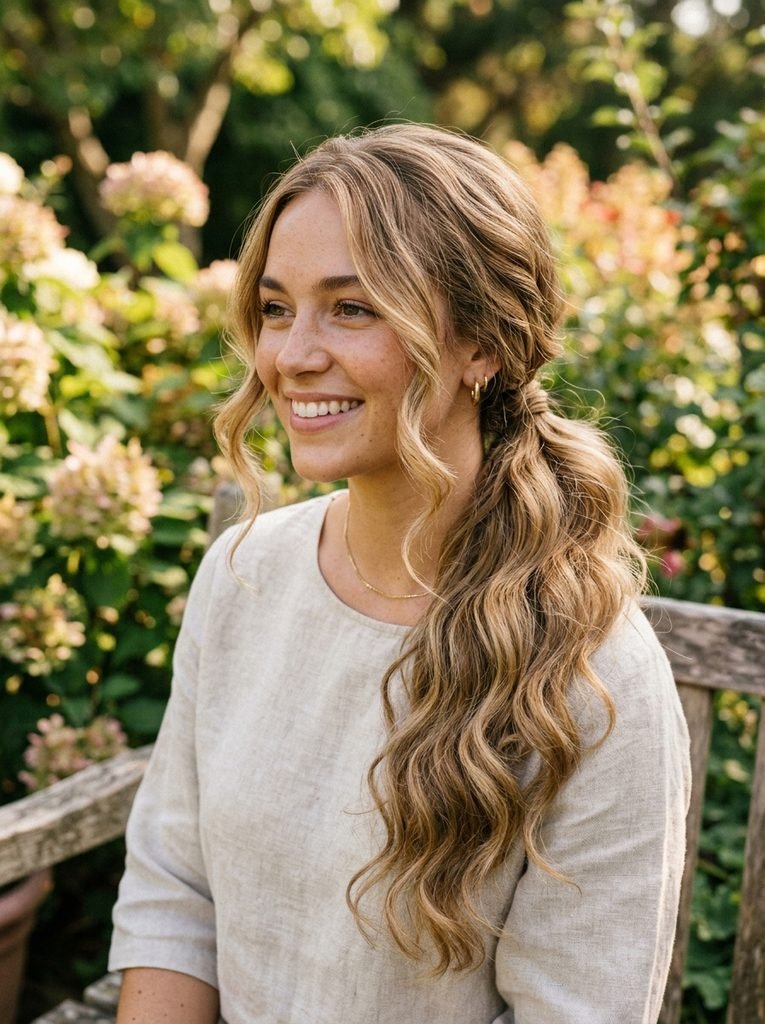
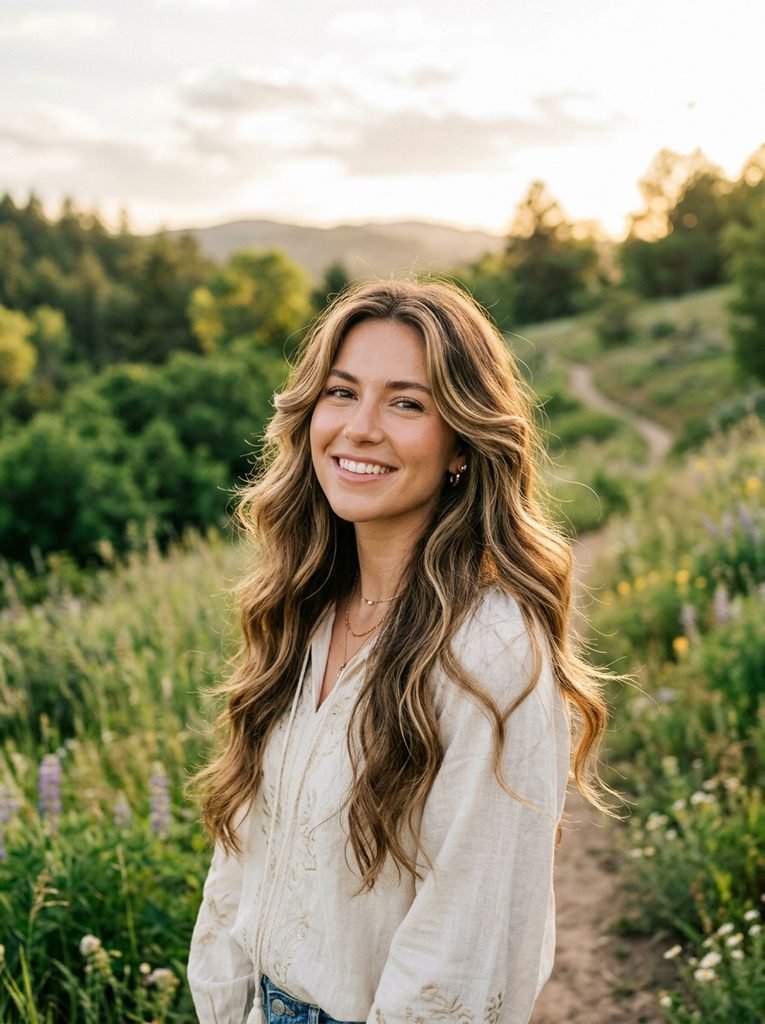
Long Hair With Face-Framing Waves for Outdoor Photos
Outdoor photographs often benefit from movement. If the hair is completely straight and the weather is calm, it can sometimes sit too close to the body. Soft waves help create separation. The face-framing pieces should remain slightly lighter than the rest of the hair. You can achieve this by using a larger barrel or simply bending them once rather than wrapping them several times. Allow a little natural movement. Wind can actually make this style more interesting because the shorter pieces move independently from the longer lengths.
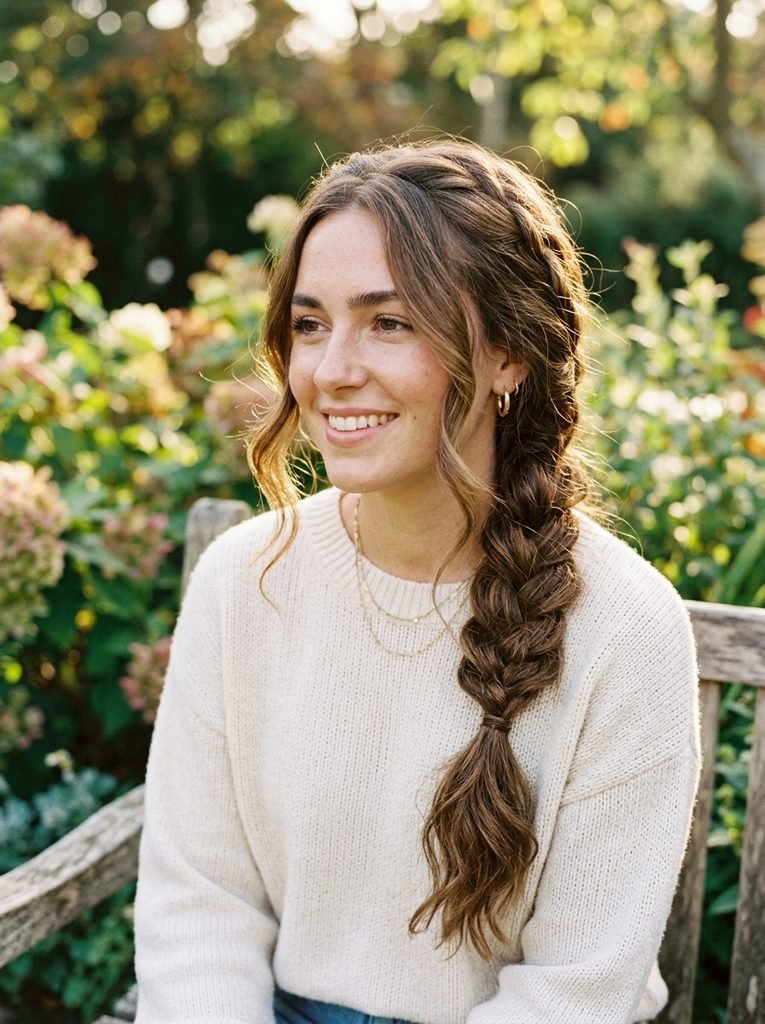
Long Hair With a Loose Braid and Face-Framing Pieces
A braid can create an entirely different texture behind the face. Try a loose three-strand braid or a relaxed side braid while leaving the front pieces free. The braid gives the back of the hairstyle structure while the framing keeps attention around the face. This works particularly well for photographs where you want to show both your hairstyle and an outfit. A few soft bends through the face-framing pieces can prevent the braid from looking too casual.
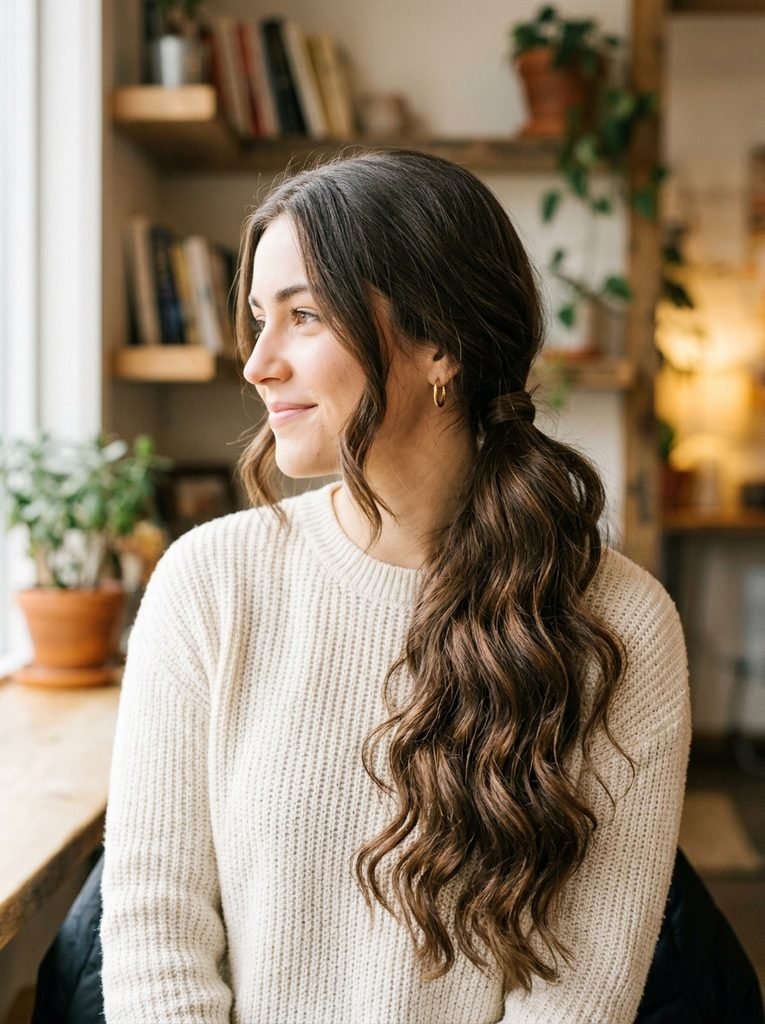
Long Hair With a Low Side Ponytail
A side ponytail naturally creates an asymmetrical frame. Gather the hair loosely toward one shoulder and leave the shorter front pieces around the face. You can straighten the hair for a clean look or add waves for something softer. The side placement also exposes one side of the neck and shoulder, which can work beautifully with dresses, off-shoulder tops, and statement earrings. Keep the elastic hidden with a small section of hair wrapped around the base.
Why Face-Framing Pieces Can Look Different in Photos
Hair does not always behave the same way in a photograph as it does in real life. A mirror gives you movement and three-dimensional depth. A photograph freezes one moment. That means a face-framing piece that looks obvious while moving may almost disappear in a still image. Lighting also matters. Front lighting can flatten the hair and make the layers less visible. Side lighting can create shadows and highlights that reveal the different lengths. This is why a slight bend is often more useful for photographs than perfectly straight hair. The bend creates a small shadow and catches light along the edge of the shorter section.
Where Should Face-Framing Pieces Start?
There is no single correct starting point. The placement changes the visual effect.
Around the Cheekbone
Creates a noticeable frame and draws attention toward the middle of the face.
Around the Jaw
Creates a softer, longer transition.
Below the Chin
Keeps the framing subtle and preserves more length around the face.
Multiple Graduated Pieces
Creates more movement but requires more careful blending. The best choice depends on the haircut and the amount of change you want. If your priority is versatility, longer starting points are usually easier to style in several directions.
How to Style Face-Framing Pieces for Better Photos
You do not need a complicated routine.
Step 1: Start With a Clean Part
Choose the part that best matches the photograph you want. A center part creates symmetry. A side part creates movement.
Step 2: Separate the Front Pieces
Before styling the rest of the hair, pull out the sections around the face. This prevents them from being accidentally curled in the same direction as the long lengths.
Step 3: Create a Gentle Bend
Use a round brush, curling iron, or flat iron.
Do not create a tight curl.
Step 4: Let the Hair Cool
Allowing the bend to cool helps it settle into its final shape.
Step 5: Separate With Your Fingers
Gently loosen the piece so it does not look overly polished.
Step 6: Check From the Camera Angle
Take a quick test photo. The framing may look perfect in the mirror but disappear from a three-quarter angle. A small adjustment can make a big difference.
Common Mistakes That Make Face-Framing Hair Look Awkward in Photos
Making Both Sides Too Perfect
Perfect symmetry can make the hairstyle look rigid. Slight differences in movement often look more natural.
Curling the Pieces Too Tightly
Tight curls can make the shorter sections look disconnected.
Using Too Much Product
Heavy product can flatten the hair and remove the movement that makes the framing visible.
Starting the Layers Too High
Very short face-framing pieces create a much stronger change in shape. If you want subtle framing, start lower.
Ignoring the Back
The front may look beautiful while the long lengths are flat and shapeless. A little movement through the back helps the entire hairstyle feel connected.
Over-Brushing the Waves
Too much brushing can remove the separation between layers. Use your fingers instead.
Face-Framing Hair for Different Photo Types
Portraits
Keep the framing visible and soft. A center part with gentle bends works particularly well.
Outfit Photos
Consider a ponytail, half-up style, or one-sided tuck so the hair does not completely cover the clothing.
Wedding Photos
Soft waves and loose framing create movement while keeping the face visible.
Outdoor Photos
Natural texture and loose waves work well because wind can add movement.
Professional Photos
A smoother finish with controlled face-framing pieces usually photographs cleanly without distracting from the face.
Social Media Photos
A side part, asymmetrical sweep, or half-up style can create more visual interest in a vertical frame. Soreva Style’s existing coverage of hairstyles on camera also emphasizes that framing and movement behave differently in a photograph than they do in person, particularly because a still frame freezes the hair at one specific moment.
How to Keep Long Face-Framing Layers Looking Fresh
Because the back of the hair retains most of its length, face-framing layers can sometimes become the first part of the haircut that needs attention.
Watch for:
- Ends losing their shape
- One side becoming noticeably longer
- Layers no longer blending smoothly
- Front pieces becoming too heavy
- Excessive split ends around the face
You do not necessarily need a major haircut. A small trim around the front can restore the shape while preserving the long lengths. If your goal is to keep the overall length, tell your stylist clearly that the back should remain as intact as possible.
Long Face-Framing Hair Without Heat
Heat is not required every time. On damp hair, twist the front pieces away from the face and let them dry in that direction. You can also use large rollers or soft overnight methods to create a gentle bend. The important part is keeping the result loose. The purpose is not to create a perfect curl. It is simply to give the front pieces enough direction to remain visible in the photograph.
Choosing Between Straight and Wavy Styling
Both can photograph beautifully.
Choose straight styling when you want:
- A clean silhouette
- Glossy lengths
- Minimal movement
- A fashion-editorial effect
- Strong contrast between the front and back
Choose waves when you want:
- Softness
- Movement
- More visible layers
- A romantic finish
- A relaxed photograph
You can also combine the two. Straighten the long lengths and add a soft bend only around the face. That is one of the simplest ways to make the framing noticeable without making the entire hairstyle heavily styled.
The Most Photograph-Friendly Formula
If you are unsure how to style long hair before taking photos, try this combination:
Clean part + soft face frame + gentle movement + natural finish
It works because each part has a job. The part gives direction. The shorter pieces define the face. The movement prevents the hair from looking flat. The natural finish keeps everything from appearing overly arranged. That balance is especially useful for Pinterest-style images, where the hairstyle needs to look polished enough to catch attention but still believable and wearable.
Final Thoughts
Long hair does not need dramatic layers to look beautiful in photographs. Often, the smallest pieces around the face create the most noticeable difference. A cheekbone-length section can open the face. A longer jawline piece can create a softer frame. A gentle bend can make layers visible where completely straight hair might disappear into one solid shape. The best styling depends on the photograph you want.
For a clean portrait, smooth lengths with curved front pieces can work beautifully. For outdoor photos, soft waves create movement. For outfit photography, a half-up style or ponytail can keep the hair from covering the clothes while still showing the framing. The main idea is simple: let the face-framing pieces have their own direction.
They do not need to be dramatic. They just need enough shape, separation, and movement to remain visible when the camera freezes the moment.

Leave a Reply