
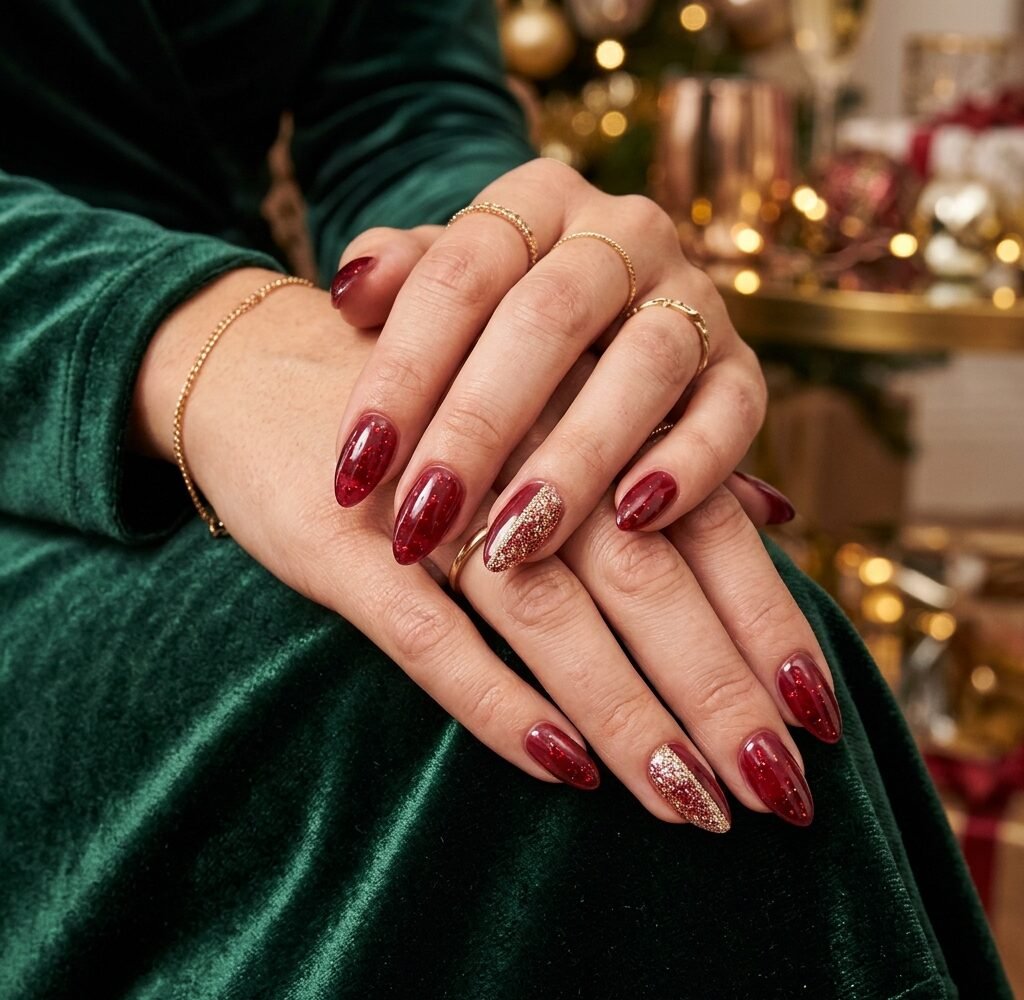
Glitter has a habit of arriving before the party does. It turns up on the bathroom counter, in the car footwell, along the edge of a pillowcase, and occasionally on a coworker who stood too close during the office toast. For many people, that trail of sparkle is the reason a glitter manicure stays on the wishlist instead of getting booked.
The mess is not built into glitter itself, though. It comes from three specific choices: how the sparkle is applied, how it is sealed, and how it is taken off weeks later. Change those, and glitter nail ideas for party season become far more practical, for anything from a December dinner to a birthday night out.
This guide starts with where glitter mess really comes from, then compares the main formats and offers designs that keep the sparkle contained. It finishes with application, wear, and removal advice.
Where Glitter Mess Actually Comes From
Glitter trouble shows up in three separate stages, and each one calls for a different fix.
The first is application. Loose particles drift off the brush, bounce away from the nail, and settle across the table, the cuticles, and the surrounding skin. A few grams can travel surprisingly far.
The second is wear. Glitter that sits proud of the surface, especially near the tip, rubs against sleeves, hair, and handbag straps. A rough, gritty finish is the one most likely to catch on a knit or a silk cuff, and tiny particles can shed along the way.
The third is removal. Sparkle that was easy to apply can be stubborn to take off, with specks clinging to the nail, the skin, and the cotton pad long after the soak is done.
Because every stage has its own cause, the format chosen at the start matters more than any later trick. Glitter that is already suspended inside a layer of polish or gel skips the loose-particle stage altogether.
Choosing a Glitter Format Before Choosing a Design
Different products carry different amounts of mess. This comparison gives a rough sense of what to expect, though individual brands vary.
| Format | Mess during application | How it feels once finished | Removal |
|---|---|---|---|
| Loose glitter pressed into a layer | Highest | Smooth only if sealed thoroughly | Slow and fiddly |
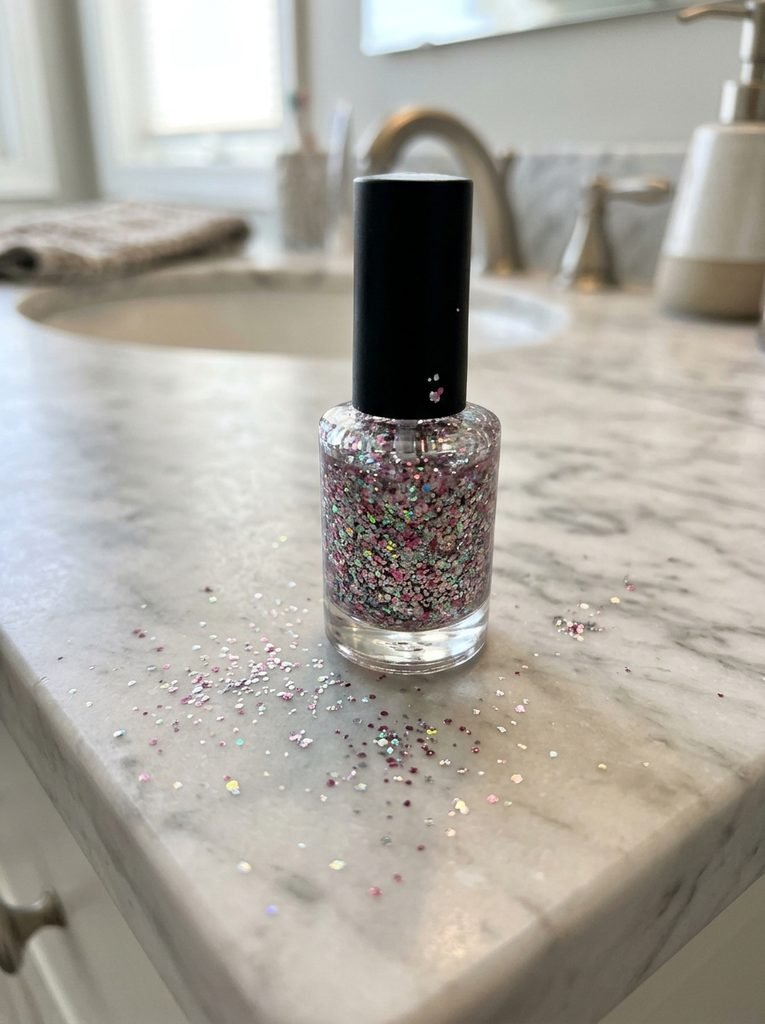
| Glitter polish | Low to moderate | Slightly gritty unless topped | Often stubborn without prep |
| Glitter gel polish | Low | Smooth once cured and topped | Needs a proper soak-off |
| Glitter topper over colour | Low | Depends on the topper | Matches the polish beneath |
| Stickers, foils, and wraps | Very low | Flat, usually sealed with top coat | Varies by product |
| Glitter press-ons | Lowest | Sealed by the manufacturer | Follows the press-on instructions |
Anyone who wants minimal fuss will generally have the easiest time with glitter that comes already suspended in polish or gel, or built into a press-on. Loose glitter gives the most control over placement, but it asks for the most cleanup.
The glitter itself is worth a quick thought. Much traditional craft and cosmetic glitter is plastic-based, which is why the European Commission restricted the sale of loose plastic glitter from 17 October 2023, with transitional periods for some cosmetic uses. According to the Commission, the aim is to replace plastic glitter with more environmentally friendly types rather than to remove glitter altogether, and biodegradable, natural, or inorganic glitter falls outside the restriction. The Commission’s explanatory page on the microplastics restriction has the details. Rules differ between countries, so product labels are the best guide to what a particular polish contains.
Glitter Designs That Keep the Sparkle Contained
These ideas rely on polish, gel, decals, and clever placement instead of loose powder, so the sparkle stays where it is put.
Glitter Jelly
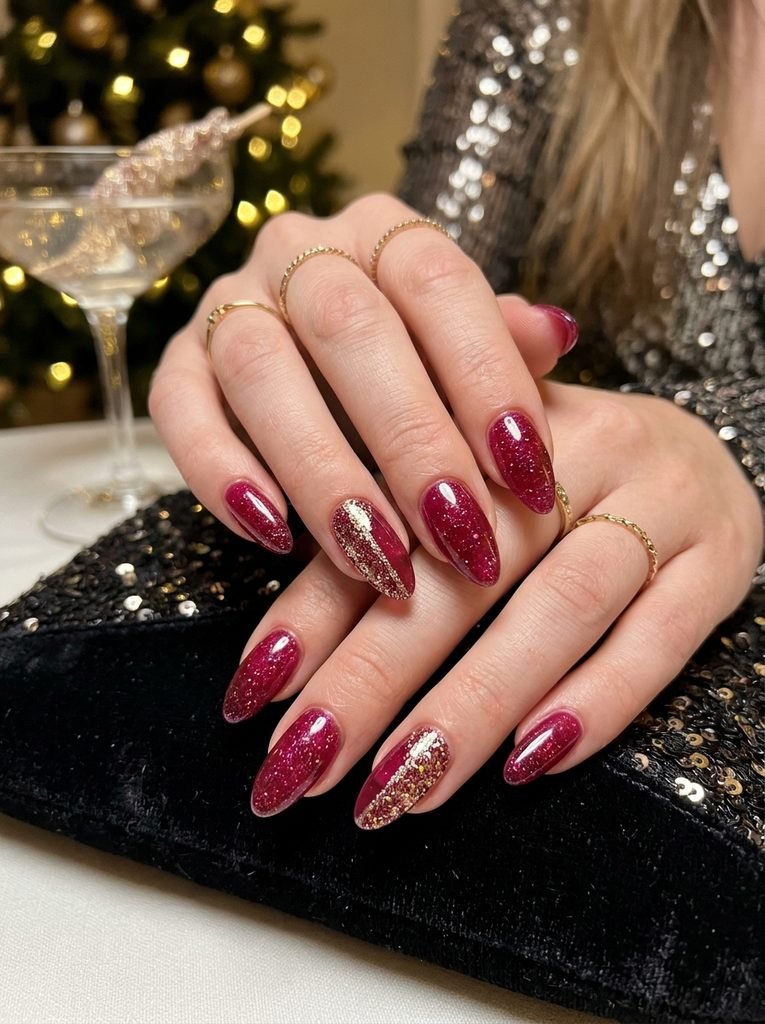
A sheer, tinted jelly base with glitter held in suspension, in shades such as cranberry, plum, smoky green, or rosy amber. The colour glows through the layer a bit like stained glass, and the glitter floats inside it instead of sitting on top. Two thin coats are usually enough, and a glossy top coat leaves the surface smooth. The translucent look also sits softly on short nails.
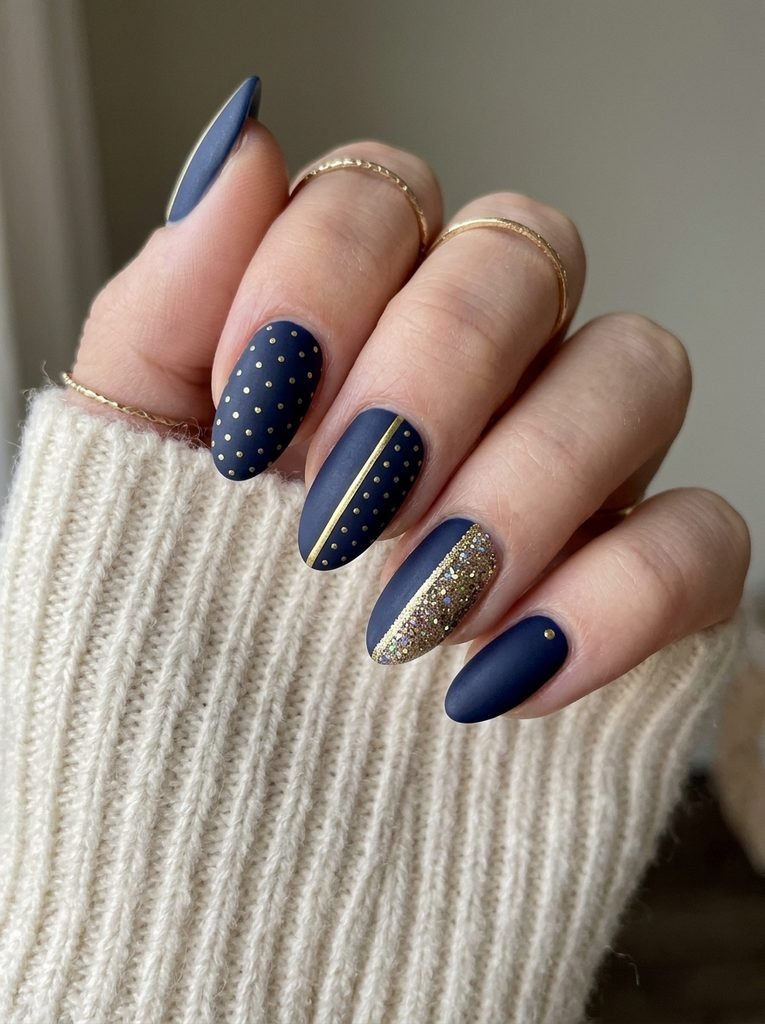
Matte Base With a Glitter Veil
Start with a deep colour under a matte top coat, then dab a sheer glitter topper over only part of the nail. Finish just the glittered patch with a thin glossy coat so it stays smooth. The contrast between velvety matte and bright sparkle feels more dressed up than all-over glitter, and the flat finish keeps the overall look calm.
Glitter Polka Dots
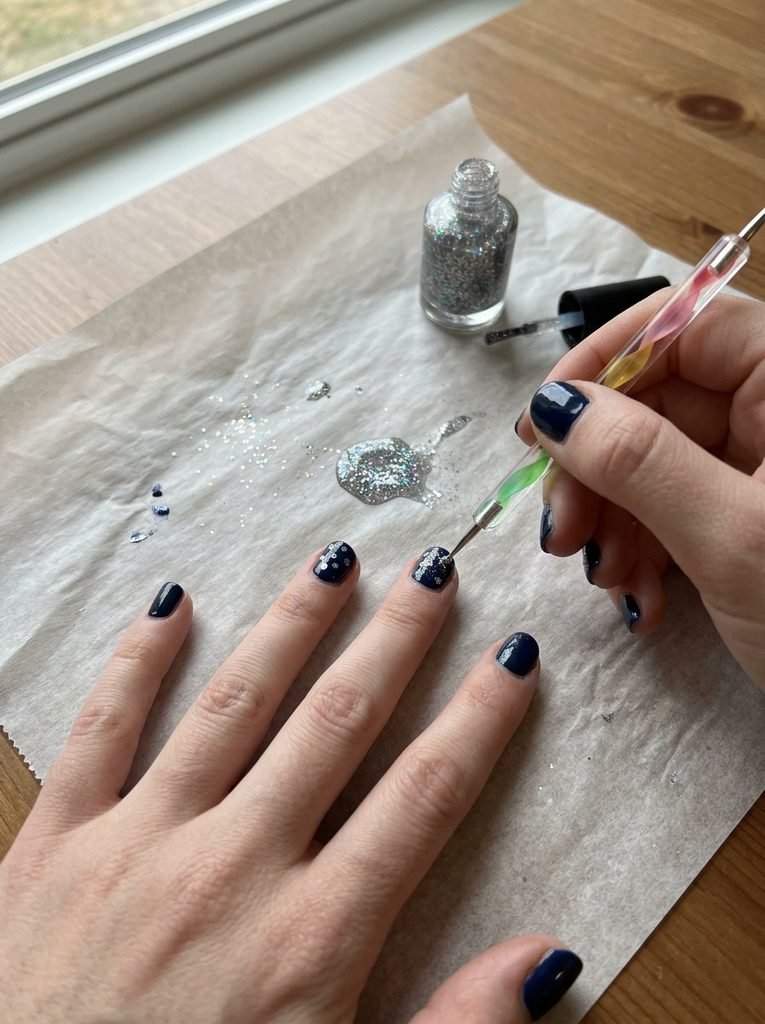
A dotting tool or a toothpick dipped into glitter polish leaves small, self-contained drops of sparkle that cannot scatter. Try rows of dots in graduating sizes over a nude or wine base. The design is forgiving, because slightly uneven dots look charming rather than wrong. Dotting pens and similar helpers are covered in this guide to beginner nail art designs and the tool each one needs.
Diagonal Glitter Split
Half of each nail is glitter and half is solid colour, divided by a crisp diagonal line made with tape or a guide sticker. The glitter is confined to one triangle, and the straight edge looks sharp against the flat colour. Black with silver, navy with gold, and cream with rose gold all work well.
Glitter Frame
A thin line of glitter polish traces the side walls of the nail, leaving the centre in a solid shade. It needs a fine brush and a steady hand, but the result outlines the shape neatly and keeps sparkle away from the middle of the tip, where fabric rubs most. It suits people who want shimmer without the full-coverage look.
Single Glitter Stripe
One narrow line of glitter polish runs down a solid-colour nail, either dead centre or slightly off to one side for a more modern feel. A thin striping brush or a strip of tape guides the line. It is a restrained design, which makes it one of the more office-friendly choices on this list.
Glitter Stickers and Foil Accents
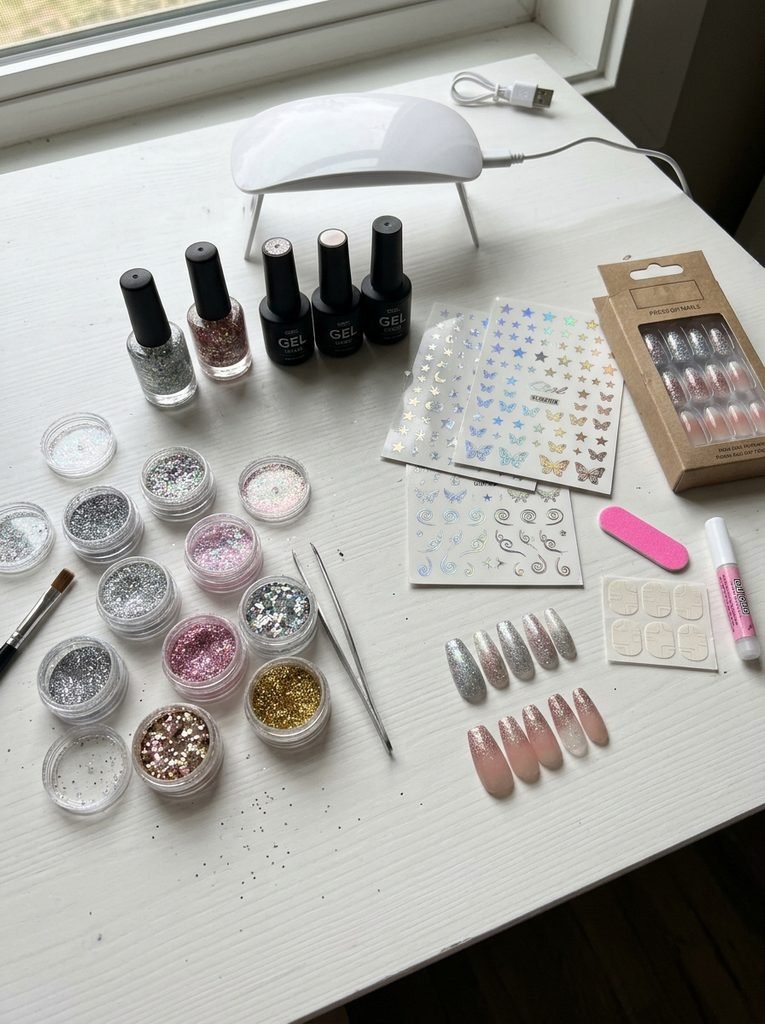
Pre-made glitter decals and holographic foils deliver sparkle with no loose particles at all. Placed on one or two accent nails, they look neat and deliberate. Sealing the edges with top coat keeps them from lifting during the evening.
Glitter Press-Ons
Press-on sets in glitter finishes involve no application mess, because the sparkle is built in and sealed. Short, rounded shapes tend to catch less on fabric than very long ones. They are also a practical option for anyone who has an event coming up and no time for an appointment.
Applying Glitter Without the Fallout
Preparation does most of the work here. A few simple habits keep glitter on the nails and off the furniture.
- Set up a catch. Work over a tray, a shallow box lid, or a sheet of baking paper so stray particles land somewhere easy to gather up.
- Finish the base colour first. Let polish dry fully, or cure gel completely, before any glitter layer goes on.
- Dab, do not swipe. Pressing glitter polish onto the nail with a sponge or the tip of the brush places the particles without dragging them across the surface.
- Tidy before sealing. Brush stray specks off the skin with a small brush dipped in remover, and lift any strays from the nail with a piece of sticky tape.
- Seal in thin layers. Two thin coats of top coat cover glitter more evenly than one thick coat, and capping the free edge helps hold everything in place.
A lint roller or a strip of tape picks up whatever landed on clothing and surfaces. Anyone working with gel will find the curing and layering basics in this guide to gel manicures at home.
Keeping Glitter on Your Nails and Off Everything Else
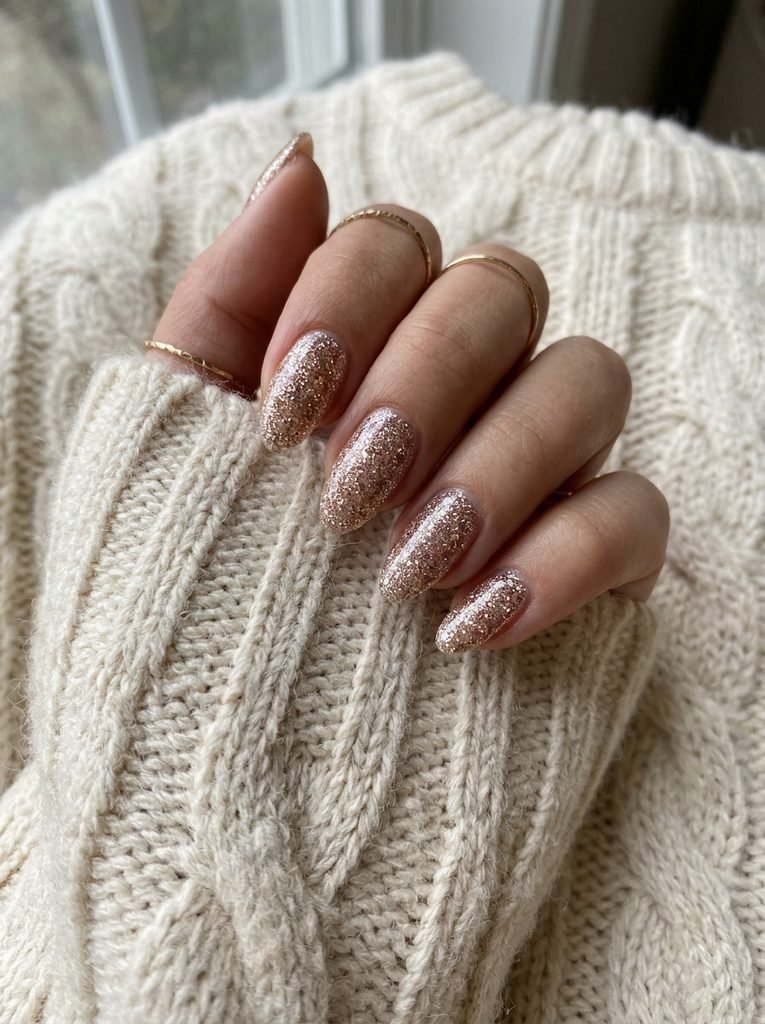
A glitter manicure can look flawless and still feel like sandpaper, which is the version that snags knitwear and sheds into hair. A smooth finish is the fix.
A quick check after sealing is to drag a cotton pad lightly across a nail. If fibres catch, the surface is still rough, and another thin layer of top coat will settle it. Chunkier glitter benefits most from this extra step.
Placement helps too. Keeping larger pieces of glitter away from the free edge reduces rubbing, and finer particles are gentler on delicate fabrics. Designs such as the stripe, the frame, and the polka dots naturally keep heavy sparkle off the tip. On polish manicures, a fresh layer of top coat can renew gloss and smoothness partway through the week.
Matching Glitter Nails to the Party
Party season covers a lot of ground, and the right amount of sparkle changes with the room.
| Occasion | Glitter idea | Why it fits |
|---|---|---|
| Office party | Single glitter stripe or glitter jelly | Polished enough for a desk the next morning |
| Family dinner | Matte base with a glitter veil | Festive without being loud near a table |
| Birthday night out | Diagonal split or polka dots | Playful and clearly planned |
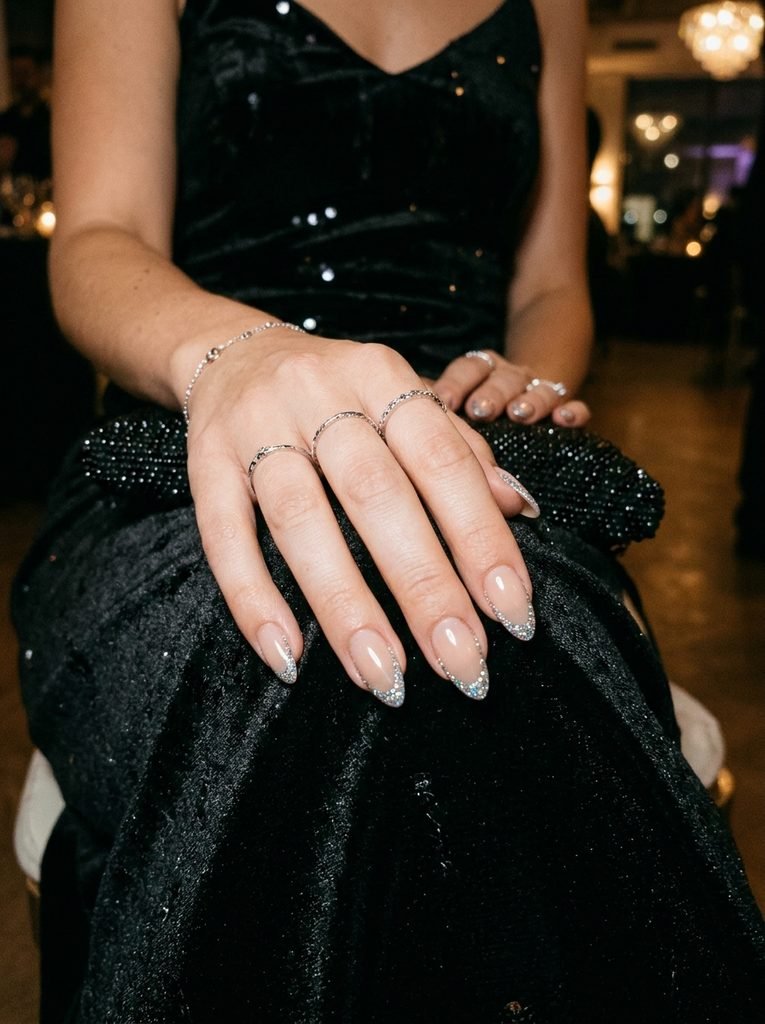
| Wedding guest | Glitter frame over a sheer nude | Subtle shimmer that stays out of the way |
| Concert or dance floor | Glitter press-ons or full jelly | Sealed sparkle that holds up to movement |
Outfit matters as much as occasion. A dress with heavy embellishment already supplies plenty of sparkle, so a contained design such as the stripe or the frame keeps the look balanced. For ideas on the rest of the look, these New Year’s Eve outfit ideas offer a helpful starting point.
Taking Glitter Off Without the Aftermath
Removal is where glitter earns its reputation, but a little planning makes it manageable.
For glitter polish, a peel-off base coat applied before the colour lets the whole layer lift away in one piece, which is why some people use it under glitter. It is meant for regular polish rather than gel.
For gel, the usual route is a soak-off. Acetone-soaked cotton pads are held against the nails with foil or wrap and left long enough to loosen the gel, then the softened layer is eased off gently. Glitter layers can take longer than plain colour, so allow extra time. Resisting the urge to peel or scrape matters, since pulling at the surface can damage the natural nail. Healthline’s guide to removing gel nail polish makes the same point.
Dermatologists at the American Academy of Dermatology also suggest keeping gel manicures for special occasions and applying a broad-spectrum, water-resistant sunscreen with an SPF of 30 or higher to the hands before the lamp. Their gel manicure tips cover the rest, and party season suits that approach well.
Finally, wrap used pads and foil together and put them in the bin rather than rinsing them down the sink. That keeps loose sparkle out of the drain. Cuticle oil or hand cream afterward helps the skin settle.
Quick Answers
What is the least messy way to wear glitter nails?
Glitter that is already suspended in polish or gel, or built into a press-on, is the tidiest route. Loose glitter offers more control but needs more cleanup.
Does glitter work on short nails?
Yes. Fine glitter, jelly finishes, and placed accents such as stripes and dots all suit limited space, and they avoid the crowded look that chunky glitter can create.
How can I stop glitter from snagging on clothes?
Choose finer particles, seal the surface with thin layers of top coat, and keep larger pieces away from the tip. A cotton pad drawn across the nail is a quick way to check for roughness.
A Little Sparkle, Well Contained
Glitter does not have to leave a trail. Picking the right format, placing the sparkle with intention, and giving removal as much thought as application keeps the shine on your nails and off everything else. One contained design is often all a party season manicure needs.

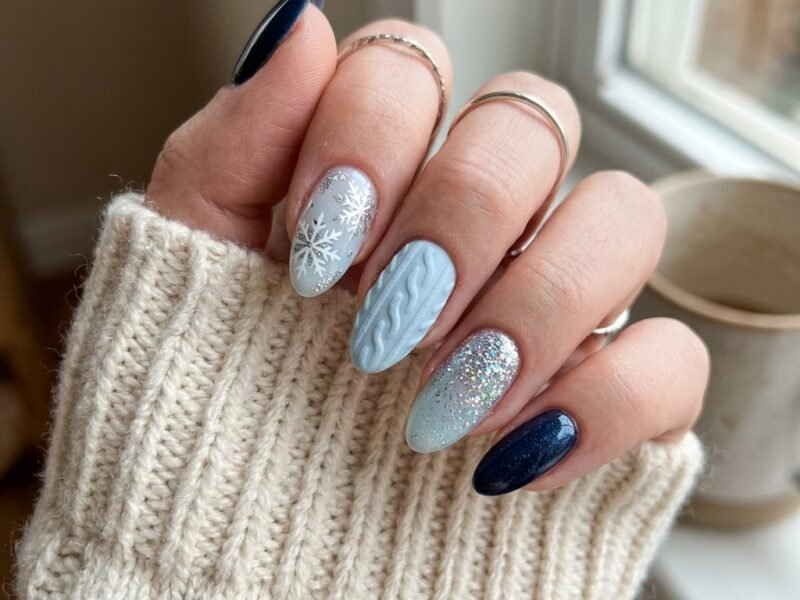
[…] has a reputation for being tricky to wear and remove, so a guide to glitter nail ideas for party season covers the practical side in more […]