
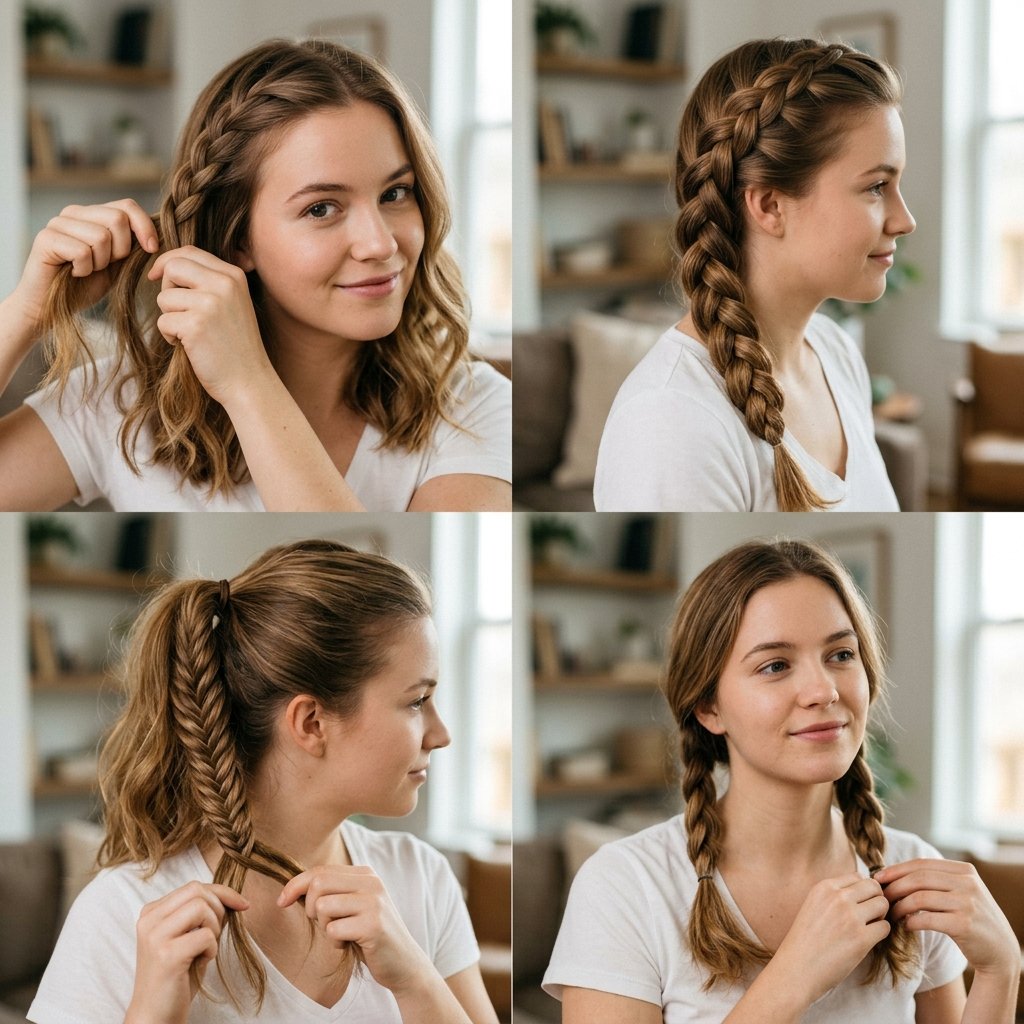
Braiding often looks like a skill some people are simply born knowing. A beginner watches a tutorial, then loses track of the steps by the third section. That frustration is common. It fades quickly, too, since braiding relies far more on repetition than natural talent.
This guide walks through eight beginner-friendly braids. It starts with the simplest technique and builds toward slightly more detailed styles. Each style breaks down into short, mirror-friendly steps. None require losing track halfway through. By the end, most readers have a handful of go-to braids they can create almost without thinking.
Why Braiding Feels Hard at First (and Why It Gets Easier)
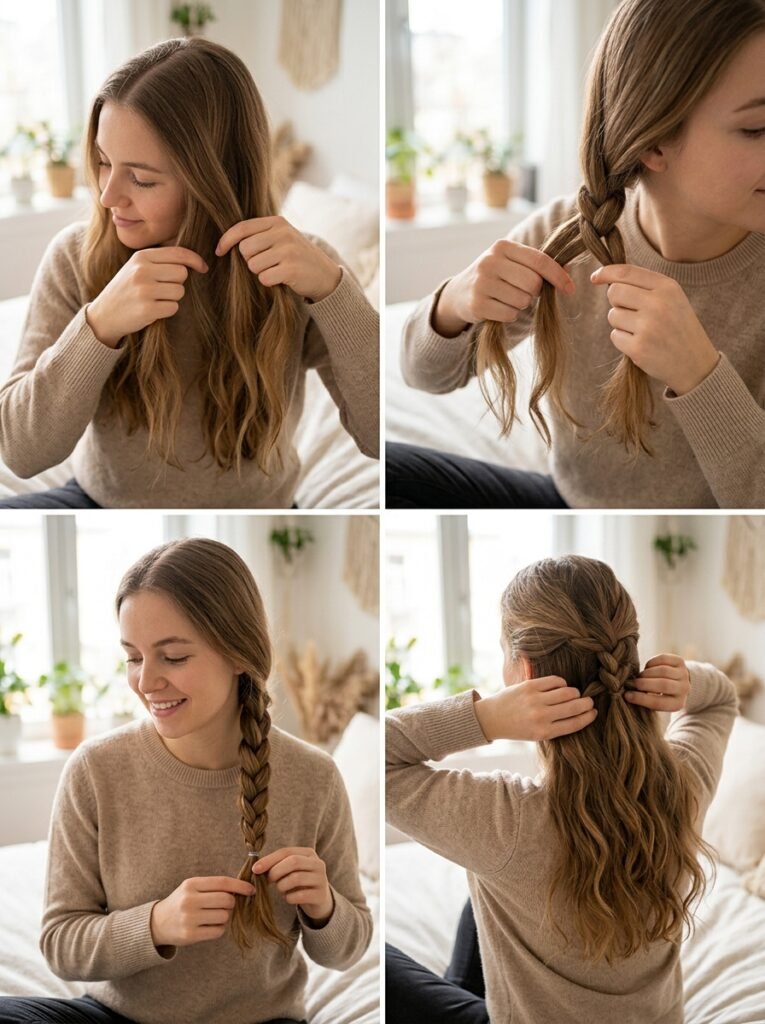
Braiding is a hands-on skill, so reading about it only goes so far. The first few attempts usually feel slow and clumsy. That’s mainly because the hands aren’t yet used to holding tension across several sections at once.
Braiding follows repeatable patterns. Once the hands learn the pattern, the rest becomes automatic. Most beginners notice real improvement after just a few practice attempts, even when the earliest tries look uneven.
Practicing in front of a mirror helps build that muscle memory faster. So does practicing on a doll or a willing friend first. Both beat practicing directly on the back of one’s own head, where the hands work blind the whole time.
Short, frequent practice sessions tend to work better than one long marathon attempt. Ten or fifteen minutes a day, repeated over a week, usually builds more real skill than a single hour spent on one braid. The hands need repetition spread out over several days to actually retain the pattern, rather than just muscling through it once and forgetting the sequence the next morning.
What You’ll Need Before You Start
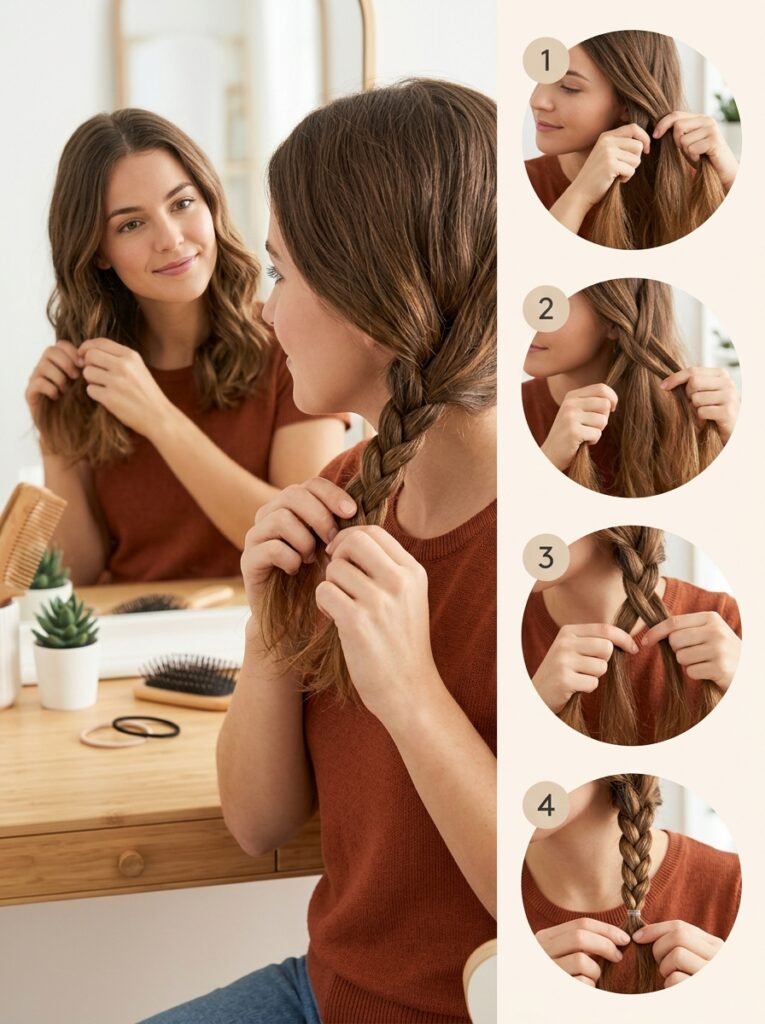
Basic braiding doesn’t call for a large kit. A handful of simple tools make the process noticeably easier while the technique is still new.
A few helpful basics include:
- A wide tooth comb or detangling brush
- Small hair elastics that match your hair color
- Bobby pins for securing loose pieces
- A lightweight texturizing spray to add grip to slippery hair
- A handheld mirror if you’re practicing braids at the back of your head
Slightly textured or second-day hair generally holds a braid better than freshly washed, slippery hair. Braiding immediately after a wash isn’t necessary for good results. Readers dealing with especially fine strands may want extra grip. The volume-building prep techniques in this guide to braided hairstyles for thin hair cover that in more depth.
Hair length matters, too, though less than most beginners expect. Shoulder-length hair and longer both work well for every style on this list. Shorter hair can still hold a three-strand or Dutch braid, though loose face-framing pieces tend to slip free more easily and may need an extra bobby pin to stay put.

Easy Braids Worth Learning First
The eight styles below move from the simplest technique to slightly more advanced variations. Starting at the top makes sense for anyone brand new to braiding.
Classic Three Strand Braid
This braid forms the foundation for nearly every other style on this list. It’s worth mastering first. The hair splits into three even sections. The right section crosses over the middle, then the left section crosses over the new middle. Repeating this pattern down the length, while keeping tension even, produces a clean, classic braid. An elastic secures the end once the braid reaches the desired point. Beginners often find their sections drifting uneven in size after a few crossings. Pausing every third or fourth crossing to compare section widths by eye catches that drift early, before it shows at the bottom.

Dutch Braid
A Dutch braid uses the same crossing pattern as a classic braid. The difference is that each section crosses under the middle rather than over it. This creates a raised, woven look that sits on top of the hair instead of blending into it. The braid starts at the crown. Sections cross underneath one another while small pieces join in from the sides while working downward. Because the braid sits on top of the hair, any missed section shows immediately. Gathering each new piece from directly above the ear, rather than wherever is convenient, keeps the line looking straight instead of veering sideways.
French Braid
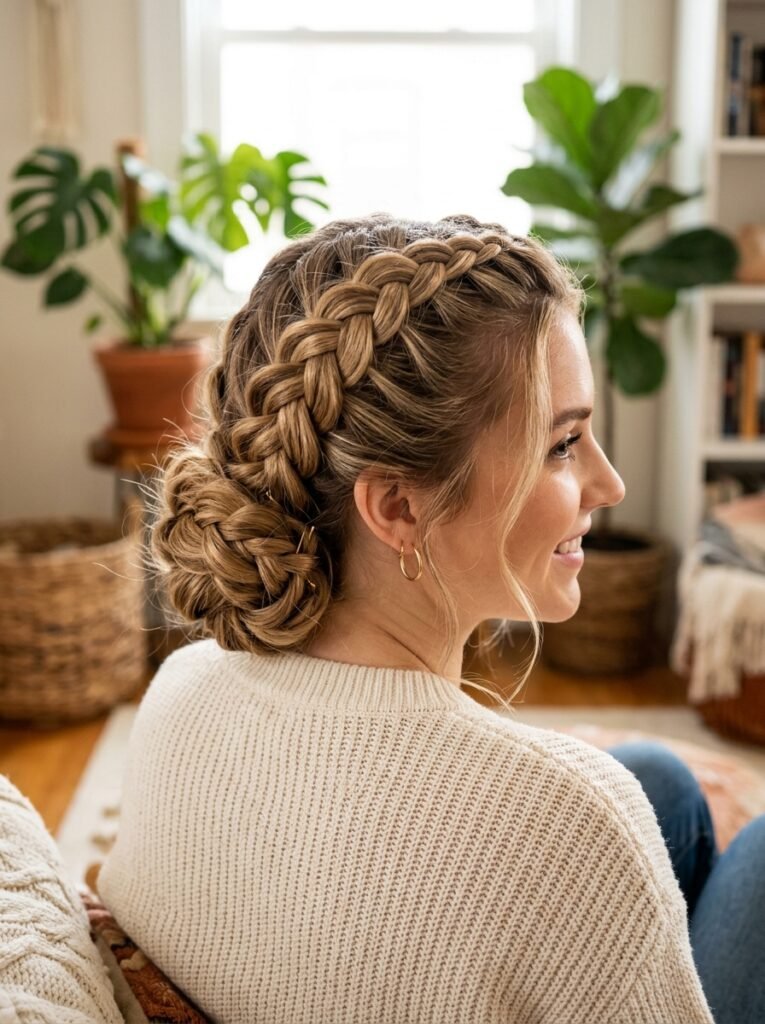
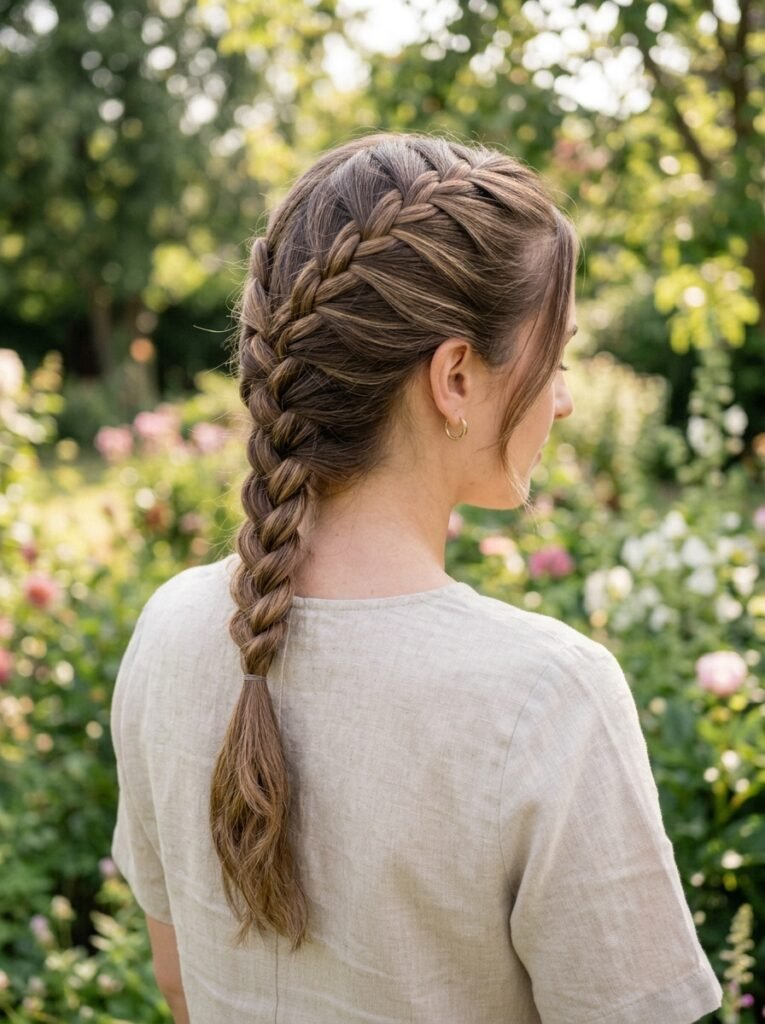
A French braid closely resembles a Dutch braid. The sections cross over the middle instead of under it, which produces a flatter, more woven appearance. It begins at the crown. The outer sections cross over the middle while small pieces join from each side while braiding toward the nape of the neck. Tension matters most in the first few crossings, since a loose start tends to loosen further as the braid grows heavier near the bottom. Holding slightly firmer tension for the top third, then easing off gradually, tends to produce a more even finished result.
Fishtail Braid
A fishtail braid relies on only two sections rather than three. That gives it an intricate look, though it stays fairly simple once the rhythm sets in. The hair splits into two sections. A thin piece from the outer edge of one section crosses over to join the other. Alternating sides while keeping each piece thin produces the most detailed result. This braid takes noticeably longer than a three-strand version, since each crossing moves the braid forward only slightly. Working near a table or countertop, rather than standing, tends to keep the hands steadier through the repetition.

Braided Ponytail
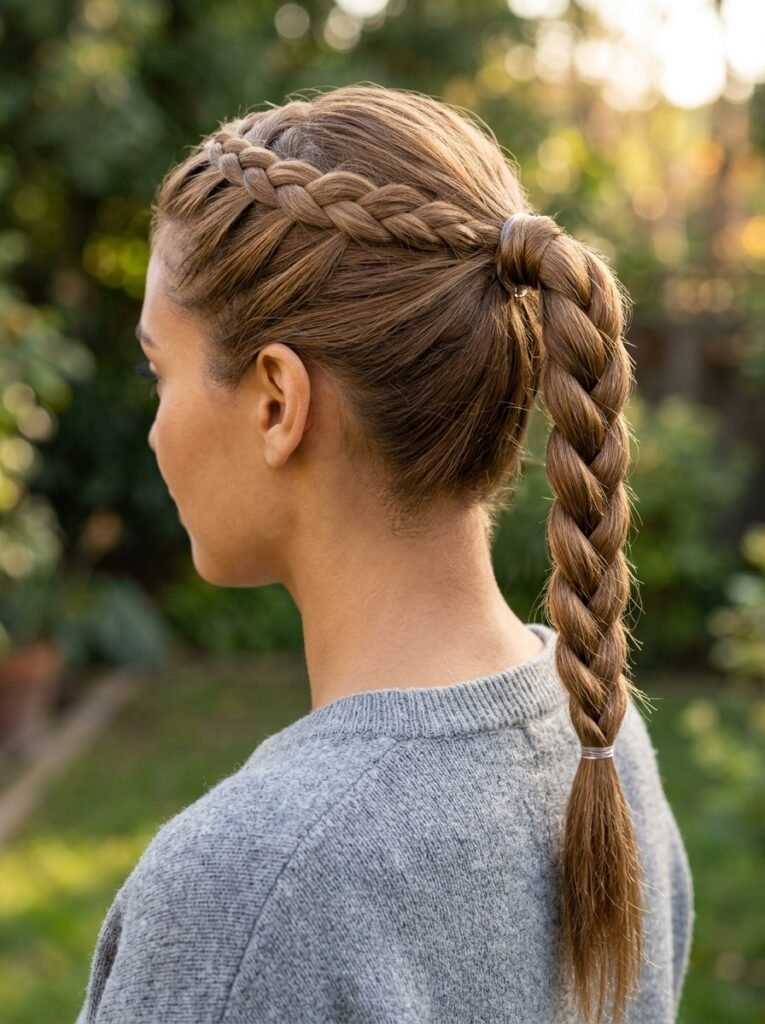
This style turns any of the braids above into an easy everyday look. Hair gathers into a ponytail first. Then the ponytail itself gets braided using a classic three-strand or Dutch technique. Securing the ponytail before braiding keeps the braid even, since loose hair around the face no longer competes for attention. Wrapping a thin strand from the ponytail around the base elastic before braiding hides the elastic completely. That small step gives the finished style a more polished, intentional look, without adding real time to the process.
Half Up Braided Crown
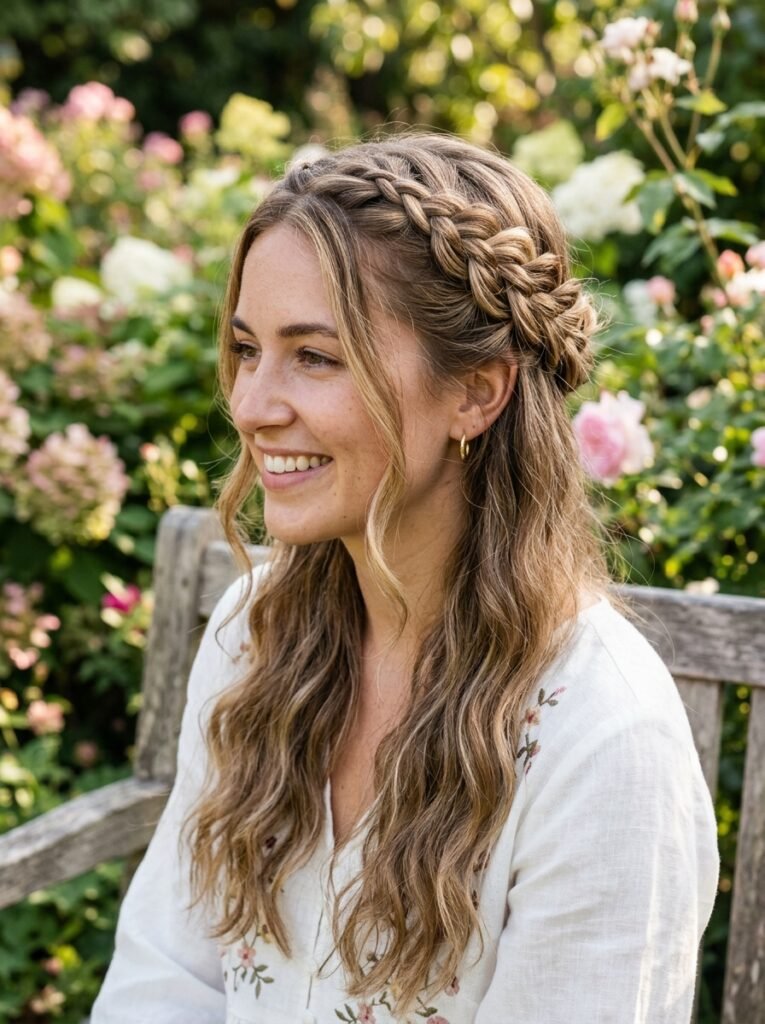
This style combines two small braids on either side of the head. Both start near the temples and braid back toward the crown. Once both braids reach the back of the head, a small elastic or a few bobby pins secure them together, leaving the rest of the hair down. Keeping both starting points level, measured from the same spot above each ear, is what makes the finished crown look symmetrical rather than lopsided. It’s worth checking that placement in a mirror before braiding either side.
Two Braided Pigtails
Simple and consistently reliable, this style begins with a middle part dividing the hair into two even sections. Each side gets braided using a classic three-strand or Dutch technique. Similar tension on both sides keeps the finished pigtails matching. A small elastic secures each braid at the end. Braiding one full pigtail before starting the second, rather than alternating a few crossings on each side, tends to produce a more even match. Muscle memory carries directly from one side to the next that way.

Waterfall Braid
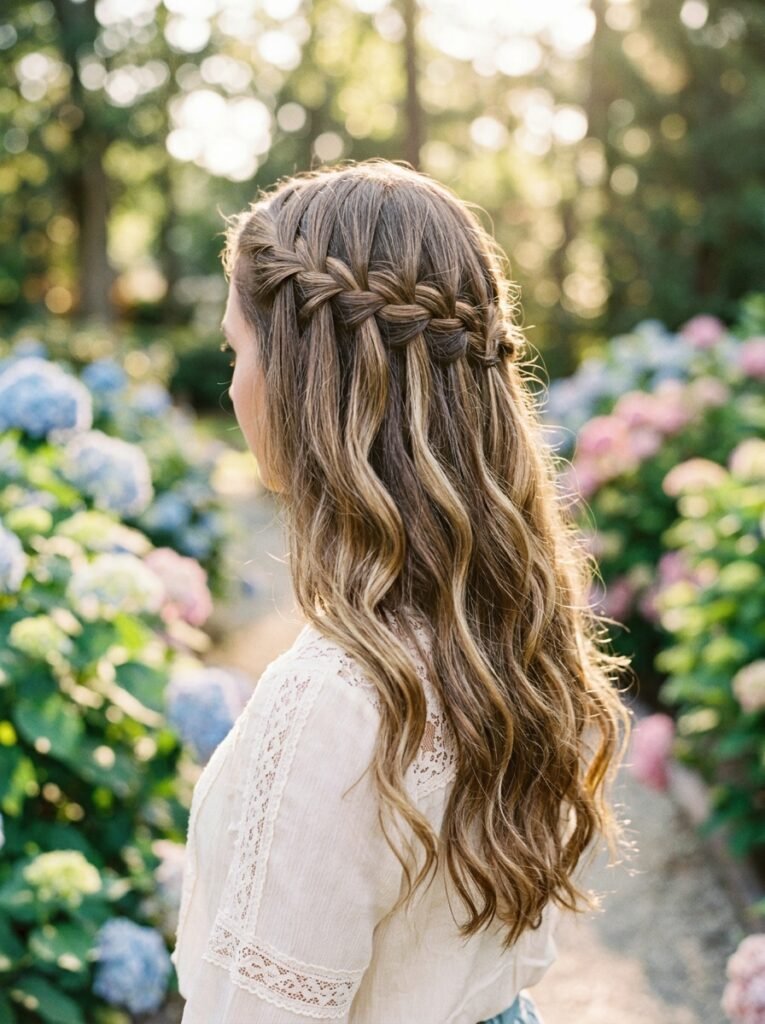
A waterfall braid looks the most advanced style on this list. It’s really just a variation of a French braid, though, in which one section drops instead of crossing every time. The braid starts along one side of the head. Each time a new section would normally join from the top, the bottom piece falls loose instead, while a fresh piece of hair joins to continue the pattern. This style works best on hair with at least some texture or wave. The dropped sections tend to blend more naturally into hair that already holds some shape.
Tips for Making Any Braid Look Neater
A few small habits make a noticeable difference in how polished any braid looks, regardless of the style being practiced.
Keeping tension even throughout the braid ranks among the biggest factors. Sections pulled too tight or too loose create a lumpy, uneven appearance. Working in front of a mirror while confidence builds also helps catch mistakes early. That beats discovering halfway down that one section is far smaller than the others.
Applying a texturizing spray before braiding gives the hands something to grip. That helps especially with fine or slippery hair. When a braid comes out slightly imperfect, gently loosening the sections with the fingers afterward often helps. It can make the braid look more polished and intentional rather than stiff.
Common Mistakes Beginners Make
A handful of mistakes tend to repeat themselves when people first learn to braid.
Uneven section sizes rank among the most frequent issues. This shows up especially when new hair joins a French or Dutch braid. Checking that each new section roughly matches the size of the last one keeps the braid looking consistent from top to bottom.
Pulling too tightly is another common mistake. Beginners often assume tighter automatically means neater, but that isn’t quite true. Overly tight braids can trigger headaches. They also tend to look stiff rather than soft and natural. For readers who wear braided styles on repeat busy mornings, this guide to quick braided hairstyles covers looser options. Those hold up without straining the scalp.
Rushing through the first few sections is also common, since that stretch is usually the hardest part to get right. Slowing down at the very start helps. Even practicing that first section more than once makes the rest of the braid far easier to keep even.
Many beginners give up after just one or two attempts. Braiding genuinely takes repetition to feel natural. Most people notice real improvement by the fourth or fifth try.
Skipping the detangling step is another mistake that causes trouble later. Knots and tangles catch mid-braid, which forces the hands to stop and pick them apart instead of maintaining a steady rhythm. A quick pass with a wide-tooth comb before starting saves time overall, even though it adds a minute up front.
Expert Insights: Tips from Professional Stylists
Professional stylists often recommend practicing braids on damp, detangled hair at first. It responds more predictably than fully dry hair. Stylists suggest gradually shifting to dry hair once the pattern feels familiar.
Many stylists also suggest starting with a Dutch braid before a French braid. That’s true even though French braids tend to be taught first more often. The under-crossing motion in a Dutch braid can feel more intuitive for some beginners. It mirrors the same movement as a classic three-strand braid.
Tension deserves attention beyond just neatness, too. Researchers at Johns Hopkins reviewed nineteen studies on hairstyling practices. They found a clear link between prolonged, tight tension and hair thinning at the follicle. Their guidance recommends keeping any tightly tensioned style, braids included, in place for no longer than two to three months at a stretch. It also recommends loosening high-tension sections whenever the scalp feels sore. For the loose, everyday styles in this guide, that mainly means one thing. Resist the urge to pull each section as tight as possible in the name of neatness.
Another tip that comes up often is braiding in sections while using a mirror positioned at an angle. That beats working entirely by feel right away. Seeing progress, even indirectly, helps catch uneven sections before they become a bigger problem further down the braid.
Stylists also point out that the right hand tends to dominate for right-handed beginners, and the left for left-handed ones. That dominant hand often pulls sections slightly tighter without the beginner noticing. Paying deliberate attention to matching pressure between both hands helps prevent the finished braid from leaning subtly to one side.
Frequently Asked Questions
What is the easiest braid for a complete beginner to learn first? The classic three-strand braid works best as a starting point. It uses the most basic crossing pattern and forms the foundation for nearly every other braid style.
Why does a braid keep coming out lumpy or uneven? This usually happens when sections vary in size or when tension shifts throughout the braid. Slowing down and checking section sizes while braiding helps resolve the issue over time.
Are special products necessary to braid hair? Not necessarily. A texturizing spray can add helpful grip, though, especially for fine or freshly washed hair that tends to slip out of place.
How long does it take to get good at braiding? Most people notice a real improvement after just a handful of practice attempts. Building full confidence typically takes a few weeks of occasional practice.
Is a Dutch braid harder than a French braid? Not necessarily. Both use the same basic pattern, just crossing in opposite directions. Many beginners find one more intuitive than the other, depending on hand coordination.
Does braiding damage fine or thinning hair? Loose, low-tension braids generally cause no harm. They can even protect fine strands from daily friction. Problems tend to arise only when a braid stays tightly tensioned for weeks at a time.
How should a braid feel while it’s being worn? A comfortable braid should feel secure but not sore. Mild tightness right after braiding is normal and usually eases within an hour. Ongoing pain, tenderness, or a headache at the hairline signals that the style is pulled too tight and should be loosened.
Can these braids work on curly or coily hair? Yes, all eight styles work on curly and coily textures. The main adjustment is prep: detangling gently in sections beforehand, and using a leave-in conditioner or cream for extra grip, since curl patterns can make sections slide apart more easily mid-braid.
Conclusion
Learning to braid is one of those skills that feels frustrating right up until it clicks. Once the hands adjust to the pattern, the whole process becomes faster. That’s true whether the pattern is a classic three-strand braid or a more detailed fishtail. It also becomes far less stressful.
Starting with the basics helps. So does staying patient through the first uneven attempts, and practicing in front of a mirror until the movements become automatic. Before long, a handful of easy braids come together in just a few minutes. No tutorial required.


[…] Hairstyle Ideas […]
[…] and level of commitment. Readers newer to shaved styling may find useful groundwork in this beginner’s guide to easy braids. Several looks below pair a shaved section with a simple […]