

Fine hair and braids carry a reputation for not getting along. A three strand plait that looks rope-thick on dense hair often finishes narrow and slightly stringy on finer strands. The braid pattern is rarely the culprit. What happens in the ten minutes before the first cross-over decides most of the result.
Two separate traits also get bundled under the word thin. Density describes how many hairs grow across a given patch of scalp. Diameter describes how thick each individual strand measures. A braid can read as sparse for either reason, and the fixes overlap without being identical.
The styles gathered here suit both situations. Each one pairs with prep and finishing steps that widen the braid rather than compress it. Small adjustments shift the outcome further than most people expect.
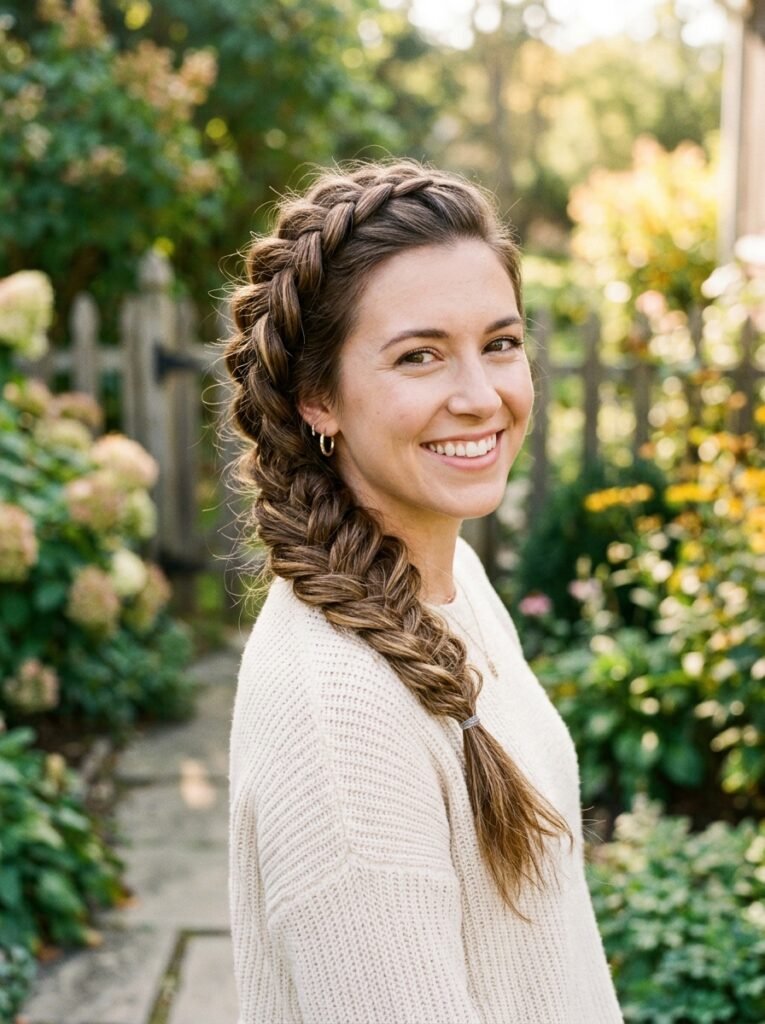
Why Thin Hair Needs a Different Approach to Braiding
Braid width comes directly from the width of the three sections feeding into it. Fewer strands per section produce a narrower plait. A smooth, tight pull then strips out whatever bulk did exist. The finished braid reads as thin in photographs even when the mirror suggests otherwise.
Scalp visibility compounds the effect. Light travels through the gaps between crossed sections on lower density hair. The paler scalp underneath creates contrast, and that contrast makes the braid look narrower still. Closing those gaps helps enormously. Wide, flat sections close them far better than tight, rounded ones.
Haircut plays a supporting role that often goes unnoticed. Blunt ends carry weight and hold the shape of a braid right down to the tail. Heavy internal layering leaves short pieces that slip loose partway through. The trade-off between layering and apparent fullness runs deeper than most salon consultations cover, and this breakdown of layered haircuts maps out where the line sits.
None of this rules braids out for finer hair. It simply means the technique has to build width on purpose, instead of assuming the hair supplies it.

What You’ll Need Before You Start
Standard braiding supplies cover the basics. A short list of extras addresses the specific problem finer hair presents, which is a shortage of grip between strands.
Helpful items to keep on hand include:
- A teasing comb or fine tooth comb for backcombing
- A volumizing or texturizing spray
- Small hair elastics that won’t weigh sections down
- Bobby pins for securing loose pieces
- Dry shampoo, even on freshly washed hair, for added grip
Elastic choice carries more weight than the list suggests. Thick padded bands squeeze a small ponytail into a narrow point, cutting off width exactly where a braid needs it. Fine snag-free elastics in a shade near the hair colour hold the same amount with far less bulk.
Dry shampoo earns its spot even on clean hair. Starch and silica particles settle between strands and stop them sliding past each other. That friction is precisely what fine hair lacks. A light dusting at the roots does the work. Heavy application dulls the surface and leaves a grey cast on darker shades.
Comb design deserves a brief mention too. A teasing comb with a narrow tapered tail parts sections cleanly and reaches the root without disturbing the surface layer that will eventually cover the teased hair.
Pins round out the kit. Standard bobby pins grip well on fine hair when the wavy side faces the scalp, since those ridges catch strands that a flat edge slides straight past. Smaller pins hold better than large ones here, and a handful in the right shade beats a single oversized clip.
Volume Boosting Techniques to Use Before You Braid
A handful of techniques carry across almost every style below. Together they account for most of the gap between a flat braid and a full one.
Backcombing performs best in thin horizontal layers rather than one thick clump. Lifting a section straight upward, then pushing the comb toward the scalp three or four times, packs a small cushion at the base. The untouched surface layer then falls over the top and hides the work underneath. Combing through the mid-lengths instead simply creates tangles that fight the braid later.
Pancaking widens a finished braid, and direction changes the outcome. Holding the tail steady and easing each loop outward from the bottom of the braid upward preserves the structure. Working from the crown downward loosens the whole plait and drags it lower on the head, which undoes the lift built earlier.
Product choice adds a different kind of support. A light volumizing spray at the root props hair away from the scalp, so the braid begins with height already built in. Dry texturizing sprays and salt sprays roughen the cuticle, which raises friction between strands and stops sections slipping.
Timing matters as well. Hair braided while still warm from a dryer relaxes as it cools, and the plait settles looser than intended. Letting the hair cool completely first locks in a firmer shape without any extra tension.
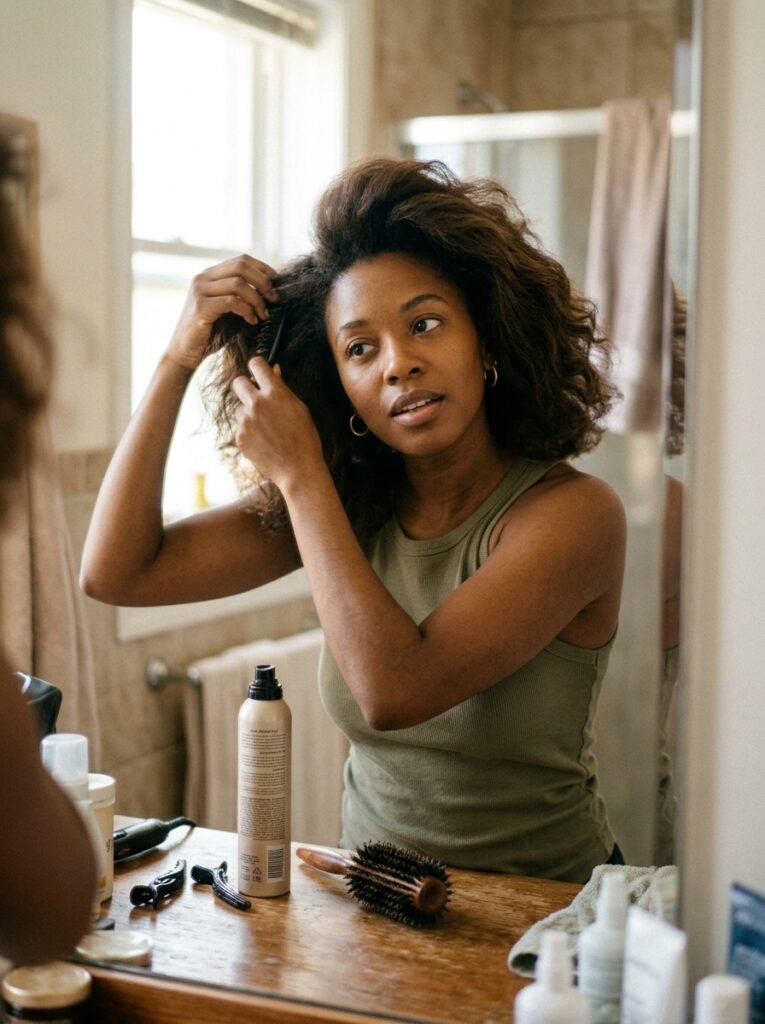
Braided Hairstyles That Add Volume
Five styles follow. Each earned its place through how well it layers with the prep above, not through how impressive it looks on thick hair. Anyone hunting for braids aimed at evening events rather than everyday wear can browse this round-up of party and night event braids instead.

Dutch Braid Crown with Backcombing
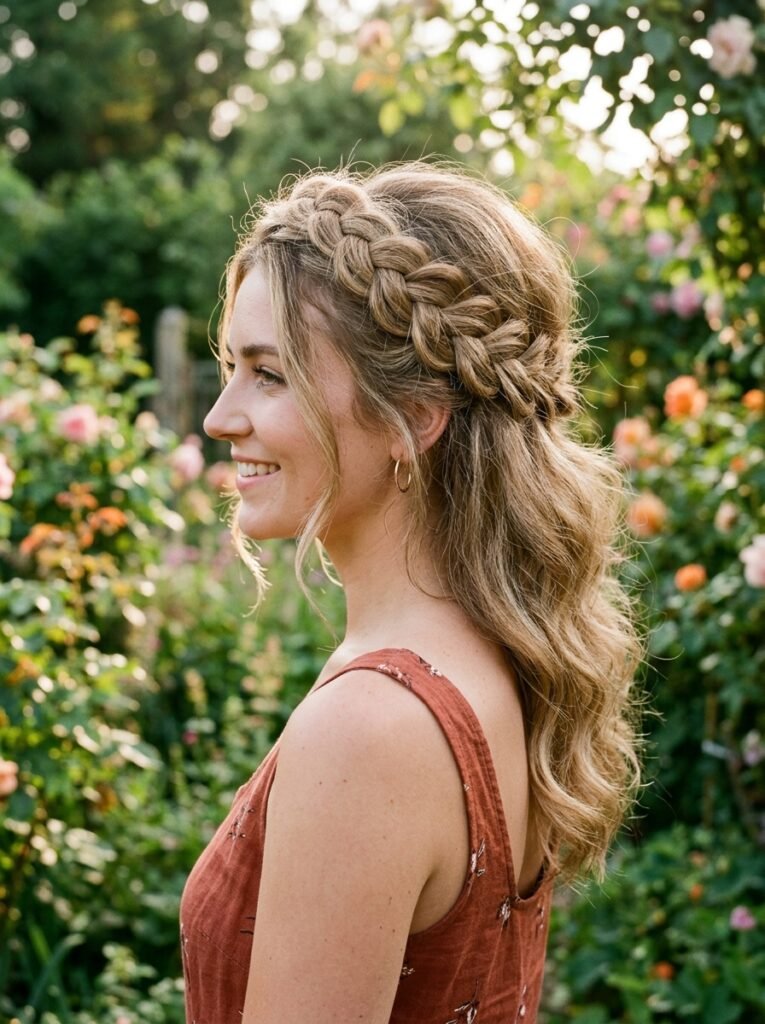
Preparation starts at the crown, with one teased layer set just behind the hairline. The braid then begins above the forehead and travels back toward that teased zone. Dutch braiding crosses each section underneath the middle rather than over it, which lifts the whole plait onto the surface of the hair. Small pick-ups from either side keep the width growing steadily.
A small elastic secures the end at the back of the head. Widening comes last, loop by loop, moving upward toward the forehead. The raised Dutch structure gives fingers more to grip than a French braid offers, which makes this style forgiving on hair that resists holding a shape.
The crown placement pays off in a second way. A braid sitting across the top of the head casts a soft shadow along the parting, and that shadow disguises scalp show-through better than any braid worn lower down.
Braided Half-Up with Bubble Sections
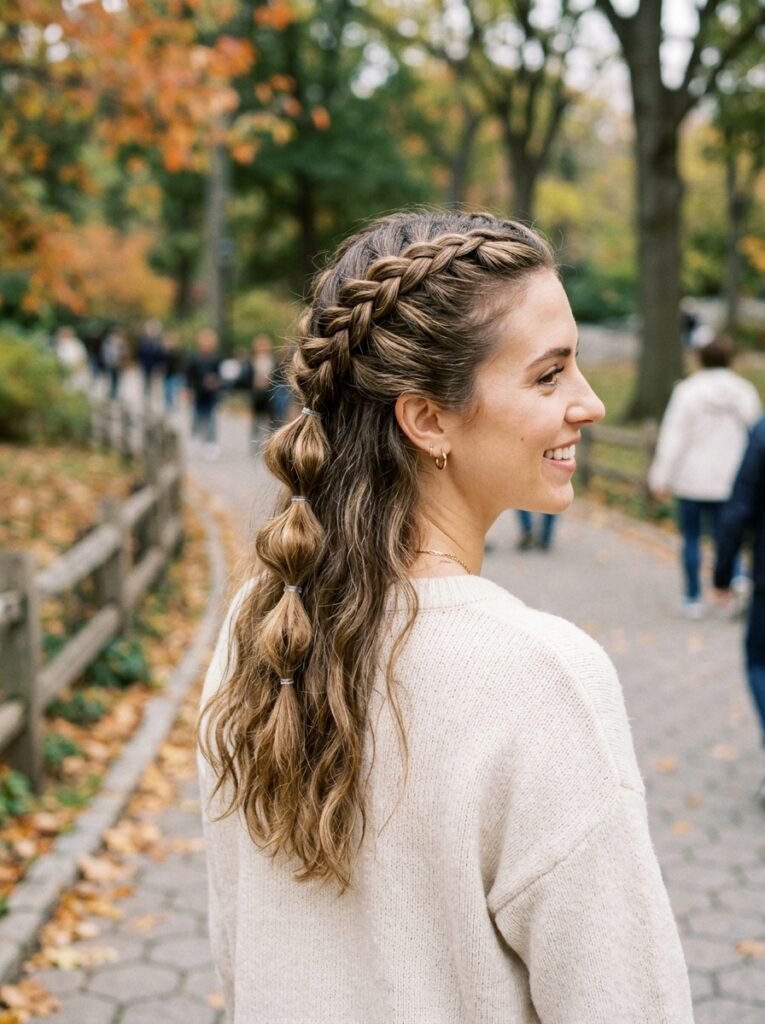
This one skips braiding almost entirely, which is the point. The top section gathers into a small half-up ponytail. Two or three additional elastics then space out down the length, and the hair between each pair spreads outward into rounded segments.
Spacing controls the effect. Gaps of roughly three inches produce plump, distinct shapes on fine hair, while tighter spacing yields cramped bubbles that read as lumpy. Clear elastics disappear into the segments and let each rounded shape carry the eye instead.
The half-up placement also solves a common frustration. Lengths stay down and visible, so the style never exposes the crown of the scalp the way a full updo can on lower density hair.
Double Braided Pigtails with Pancaking
Splitting the hair in two halves the work each braid has to do. Each side gathers into its own low ponytail, then follows a classic three strand pattern with deliberately relaxed tension. Two narrower braids often photograph fuller than one, because the eye reads the combined width rather than a single plait.
Widening then happens on both sides in matched steps, working a few loops on one braid before switching to the other. That back-and-forth keeps the pair symmetrical. Finishing one braid completely first almost always produces a mismatched result.
Parting choice fine-tunes the balance. A dead-centre part exposes a strip of scalp down the middle, which fine hair rarely flatters. Shifting the part slightly off-centre, or zig-zagging it with a comb tail, breaks that line and lets the two braids sit fuller against the head.

Fishtail Braid with Pulled Sections
Light teasing at the crown sets the base, then the hair sweeps over one shoulder. Two sections replace the usual three. Small pieces cross from the outer edge of one half into the other, building the fine chevron pattern that gives the fishtail its name.
Piece size determines how much width the finish can gain. Thicker crossings on fine hair leave sturdier loops to widen afterwards, whereas very small pieces produce a delicate plait with little to pull. The pattern repeats so many times that the widening step transforms this braid more dramatically than any other on the list.
Side placement helps too. Draping the braid forward over one shoulder fills the space beside the face, an area where thin hair usually looks flattest.
Braided Bun with a Hair Donut Base
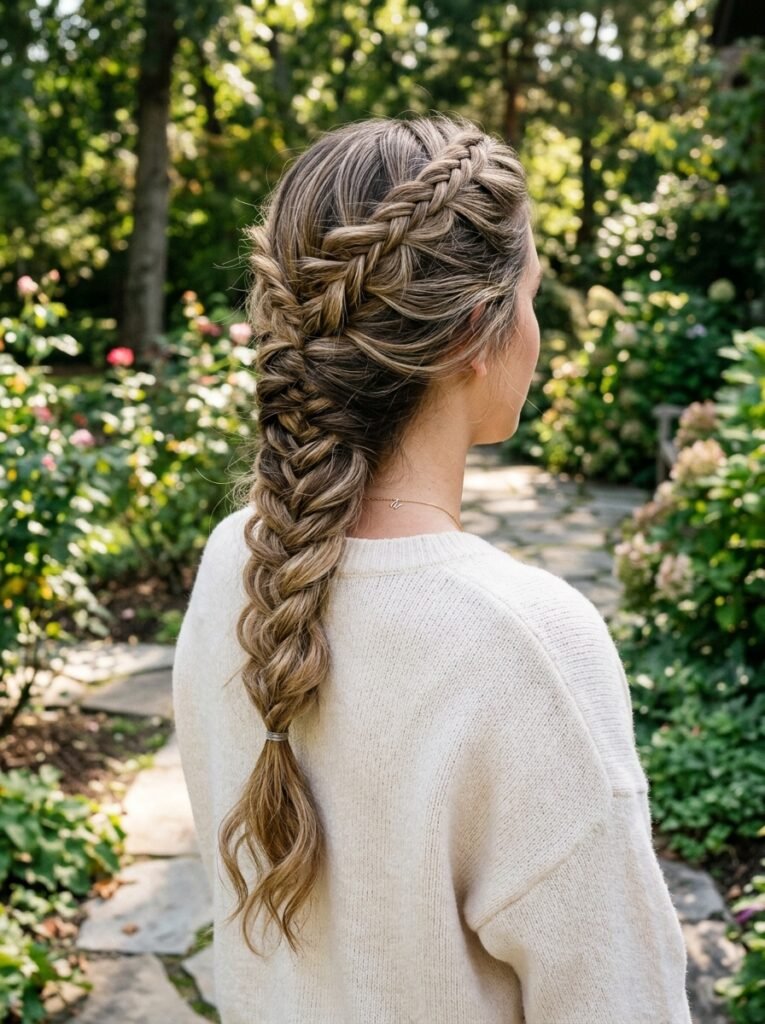
A donut supplies the bulk that fine hair cannot. The hair gathers into a ponytail, follows a simple three strand pattern down the length, and then coils around a small foam ring seated at the base. Bobby pins anchor the coil against the ring at four points, spaced like compass markers.
Colour matching does the rest of the work. A ring close to the hair shade stays invisible through the inevitable gaps, while a mismatched one shows through and defeats the purpose. Widening the braid slightly before coiling helps it wrap further around the ring and cover more surface.
Tips for Making Braids Look Fuller All Day
Volume built in the morning tends to drain away by mid-afternoon. Gravity, movement, and natural oil all pull hair back toward the scalp. A few habits slow that process considerably.
Tension sets the ceiling on how full a braid can stay. Compressed sections cannot spread, so a braid pulled firm at nine in the morning has nowhere left to go by noon. A slightly relaxed plait with widened loops holds its shape longer and looks fuller from the start.
Humidity works against the same goal. Damp air softens the cuticle and lets sections settle closer together, which shrinks the braid visibly. A light flexible-hold spray applied once, from about ten inches away, slows that collapse without stiffening the hair.
Mid-day repairs are quick when needed. A little dry shampoo at the crown restores lift where the hairline flattens first. Re-widening a few loops near the top of the braid takes seconds and refreshes the shape more effectively than redoing the whole style.
Common Mistakes to Avoid
Several habits quietly cancel out the volume work that went in beforehand.
Excess tension leads the list. Tight braiding narrows the plait immediately, and repeated over months it also strains the follicles along the hairline. Johns Hopkins Medicine names tight styles among the causes of traction alopecia and advises looser braiding as a first protective step. Fine hair benefits twice over, since the looser plait looks fuller as well.
Skipping the widening step is the second common error. Many people finish a braid, judge it too narrow, and start again from scratch. The braid rarely needs redoing. It needs opening out.
Heavy products cause a slower kind of failure. Rich creams and oils coat fine strands and drag them flat within an hour, erasing whatever the comb and spray achieved. Lightweight formulas suit this hair type far better, and a little goes further than the bottle suggests.
Finally, plenty of people skip root prep altogether and start braiding on bare, freshly brushed hair. The braid then sits flat against the scalp with no lift behind it. Sixty seconds of backcombing or a quick mist of texturizing spray changes the finished shape noticeably.
Expert Insights: Tips from Stylists
Stylists working with fine hair tend to schedule braiding for the second day after a wash. Clean hair sits slick and slides apart, while a day of natural oil supplies grip that no product fully replicates.
Many also push the widening step further than clients expect. A braid that looks overworked in the first minute usually relaxes into a balanced shape as the hair settles. Stopping early is the more common regret.
Layering methods beats relying on any single one. Teased roots, a texturizing mist, and generous widening each contribute a fraction, and the combination produces a result that none of them reaches alone. Stylists describe the effect as cumulative rather than dramatic.
One further note comes up often in salon chairs. Braids photograph differently from how they appear in a mirror, because a camera flattens depth. Checking the back with a phone camera catches narrow spots that a mirror hides.
Frequently Asked Questions
Do braids suit thin hair? They suit it well, provided the technique builds width deliberately. Teased roots and widened loops turn a narrow plait into a much fuller one.
What does pancaking a braid mean? The term describes easing each loop of a finished braid outward with the fingers. Every section then appears larger, and the braid gains visible width.
Is wet or dry hair better for braiding fine strands? Dry hair wins, ideally on the second day after washing. Wet hair shrinks as it dries and leaves a tighter, thinner braid behind.
Which products add volume before braiding? A volumizing or texturizing spray at the roots covers most of the need. A light pass of dry shampoo adds grip that fine hair does not produce naturally.
How tight should a braid be on thin hair? Looser than the tension that works on thick hair. Firm braiding compresses the sections and cancels out the lift created during prep.
Conclusion
Thin hair rules out fewer braided styles than its reputation suggests. Teased roots, relaxed tension, and a thorough widening pass carry most of the load. The styles above simply give those three habits somewhere useful to go.
Once the prep becomes routine, the whole sequence adds a couple of minutes at most. Braiding then stops working against fine hair and starts standing in for the length and thickness it never had.


Leave a Reply