

Most curtain bang disappointments start the same way: a saved photo, a quick “can I get this” at the salon, and a result that technically matches the reference but somehow doesn’t look the same on an actual, different face. The gap between the photo and the outcome usually comes down to what never got said out loud, not the stylist’s skill or the reference itself.
The second half of the curtain bang experience causes its own kind of confusion. The cut looks great for a few weeks, then enters a stretch of months where it’s neither short bangs nor blended layers, and most people aren’t sure whether to keep trimming, let it ride out, or start over entirely.
This covers both halves: the specific language that gets a stylist to the actual result you’re picturing, and the styling approach for every stage of growing curtain bangs out without a full redo.
What Curtain Bangs Actually Are
Before requesting them, it helps to know what technically separates curtain bangs from the several other fringe styles they often get lumped in with.
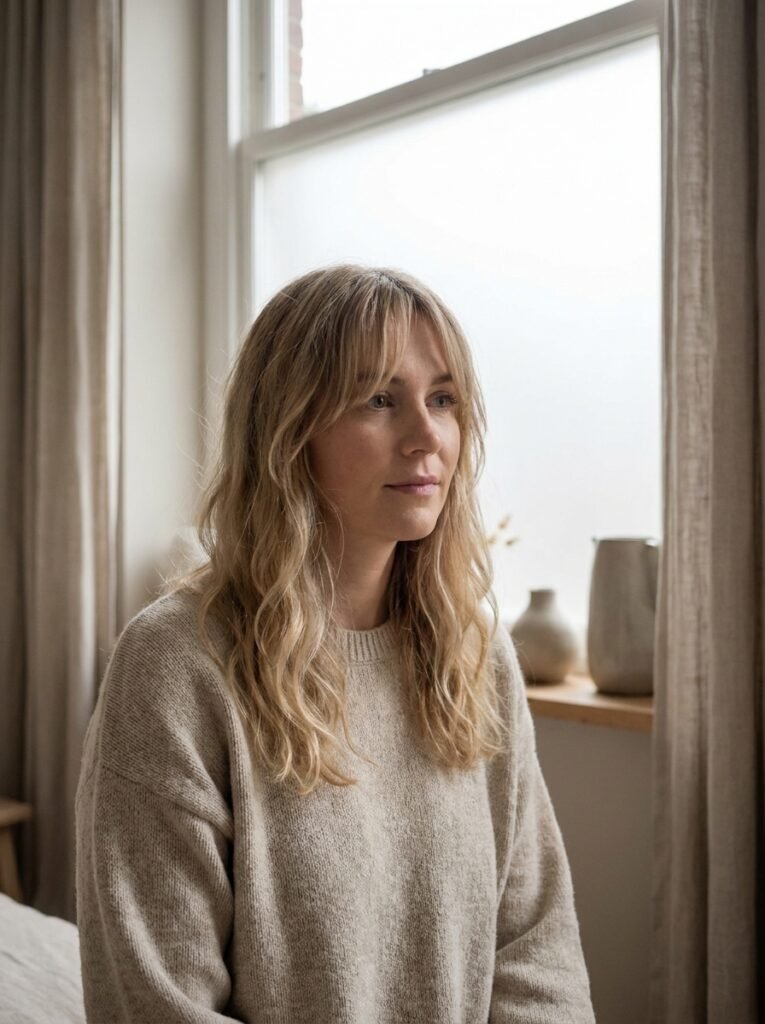
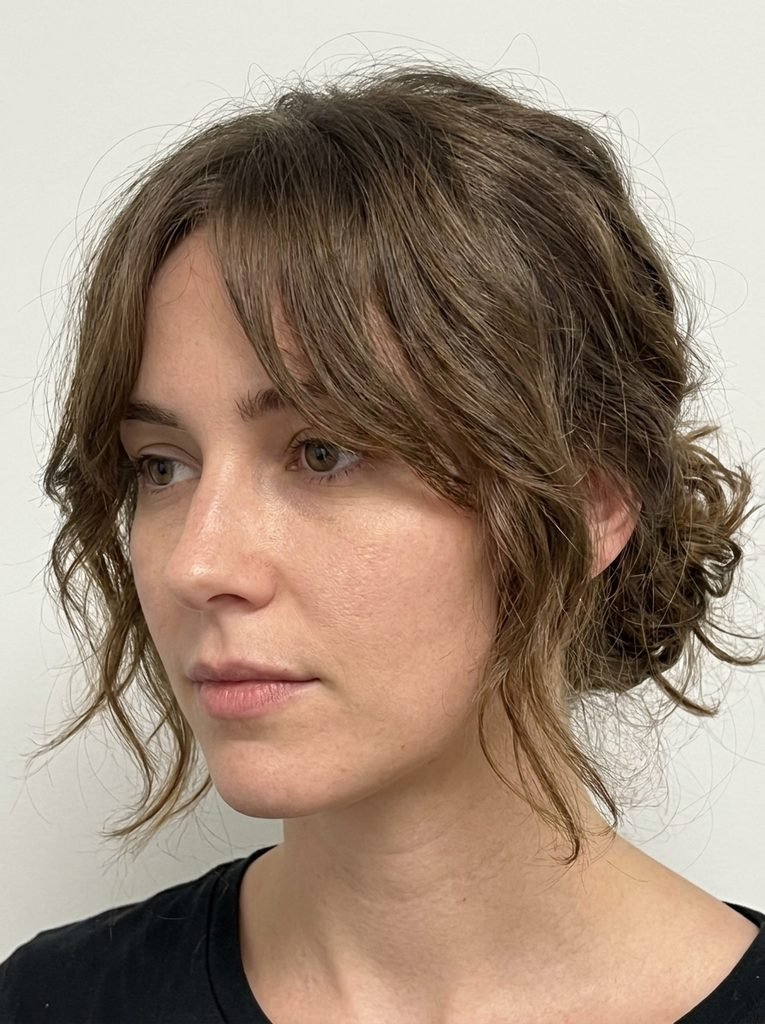
Curtain bangs part down the center and sweep outward on both sides, framing the face rather than sitting flat across the forehead. They’re cut shorter in the middle and taper longer toward the outer edges, which is the detail that creates the “parting” effect and lets them blend into the rest of the hair rather than reading as a separate section.
This is different from a blunt fringe, which sits at one length across the forehead, and from bottleneck bangs, which start slim near the part and widen out more dramatically before curving around the eyes. Curtain bangs sit in a middle zone: more face-framing than a blunt cut, less structured than a bottleneck fringe.
That soft, tapered shape is also exactly why curtain bangs have a reputation for a forgiving grow-out. There’s no hard line to maintain, which means the transition between “bangs” and “long face-framing layers” happens gradually rather than all at once.
What to Actually Say to Your Stylist
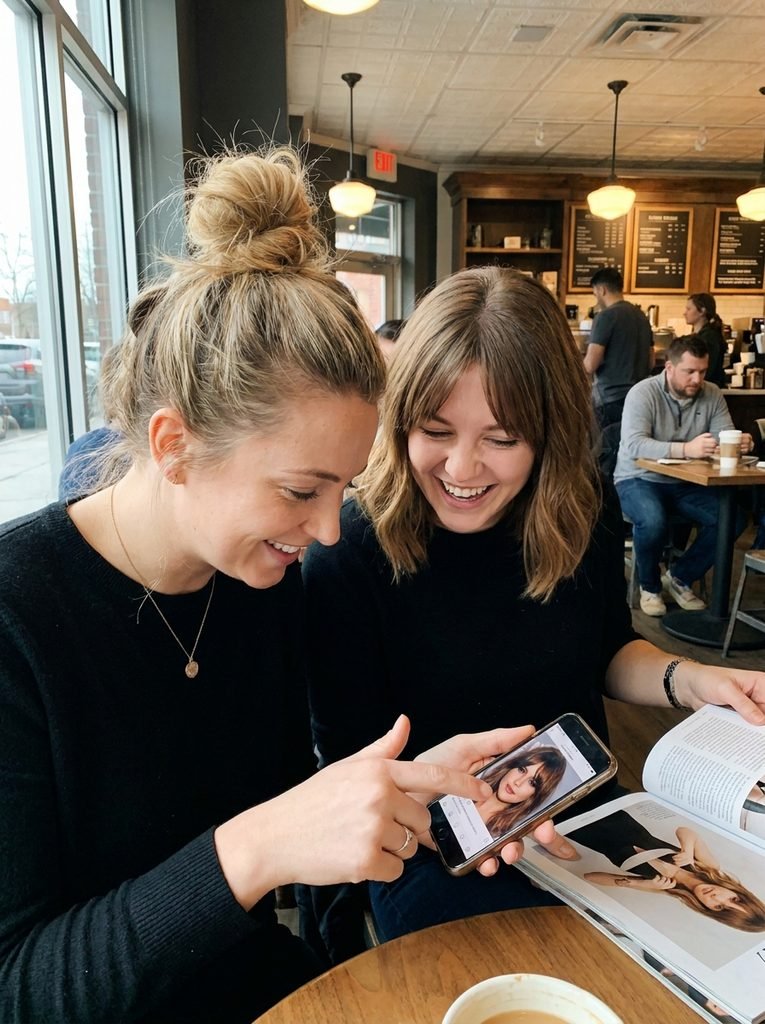
A reference photo helps, but it rarely survives translation on its own, mostly because photos don’t capture length, density, or how the bangs are meant to connect to the rest of the cut. A few specific details close that gap.
- Name a length landmark, not just “curtain bangs.” Brow-skimming, cheekbone-length, and chin-length all produce noticeably different results from the same general request. Point to where you want the shortest point to land.
- Describe density. A full, more visible fringe reads differently from a wispy, barely-there version, even with the identical shape. If the reference photo shows thin, piece-y bangs and your hair is naturally thick, say so, since the stylist may need to thin the section more than the photo implies.
- Clarify how they should blend. Curtain bangs can either merge seamlessly into face-framing layers throughout the rest of the hair, or exist as a slightly more distinct section. Both are valid, but they require different cutting approaches.
- Bring up your natural texture directly. Wavy and curly hair shortens noticeably once cut and dry, sometimes by an inch or more compared to how it looked wet. A stylist working with curly texture should be cutting dry, or at least accounting for the shrinkage, rather than cutting to a wet-hair length that ends up shorter than intended once it dries.
- Ask how they’ll be cut in relation to a part you don’t always wear. If you sometimes wear hair pulled straight back or in a middle part versus a side part, mention it, since curtain bangs styled off-center can look different from the same cut worn center-parted.
None of this requires technical hairstyling vocabulary. Specific, concrete language, pointing to landmarks on your own face and describing what you actually do with your hair day to day, gets a far more accurate result than a photo and a general description alone.
Matching Curtain Bangs to Face Shape and Hair Type
Curtain bangs have a reputation for suiting nearly everyone, and that reputation holds up reasonably well, though a few adjustments make a real difference depending on face shape and texture.
Rounder face shapes tend to benefit from curtain bangs cut slightly longer, closer to the cheekbone, since more length elongates the face rather than adding width at the forehead.
Longer or narrower face shapes often look balanced with a slightly shorter, fuller version, since more visible fringe adds width and breaks up length.
Fine, straight hair usually benefits from a slightly thinner, more piece-y cut, since a dense, heavy fringe can look flat rather than face-framing on finer strands.
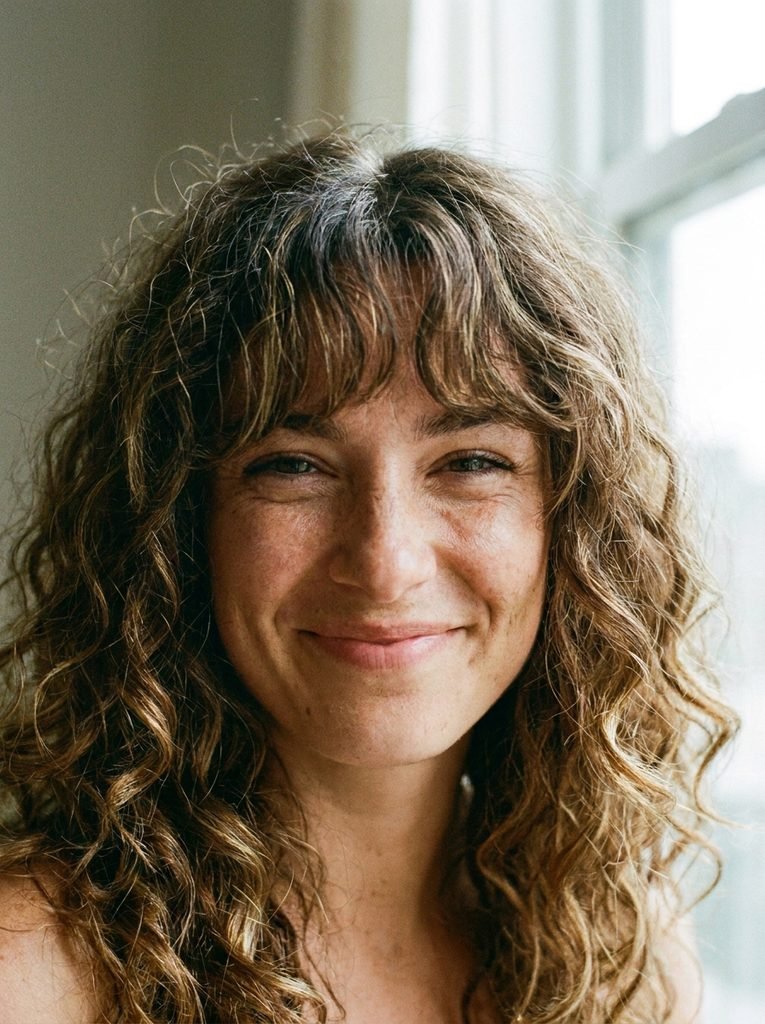
Thick or curly hair often needs the opposite adjustment: more length and a dry cut, since the natural volume and shrinkage both change how the finished bangs actually sit once styled.
None of this is a hard rule. It’s simply useful context to bring into the conversation with a stylist, since it explains why the exact photo reference might need small adjustments to work with your specific hair rather than someone else’s.
The First Two Weeks: Settling In
New curtain bangs often look and feel slightly different for the first week or two, which surprises people who expect the fresh-cut version to be the permanent one.
Fresh bangs sit a little more structured immediately after cutting, since the ends haven’t softened through washing and normal wear yet. A few washes in, the shape typically relaxes into the more natural, face-framing movement most people were picturing when they asked for the cut.
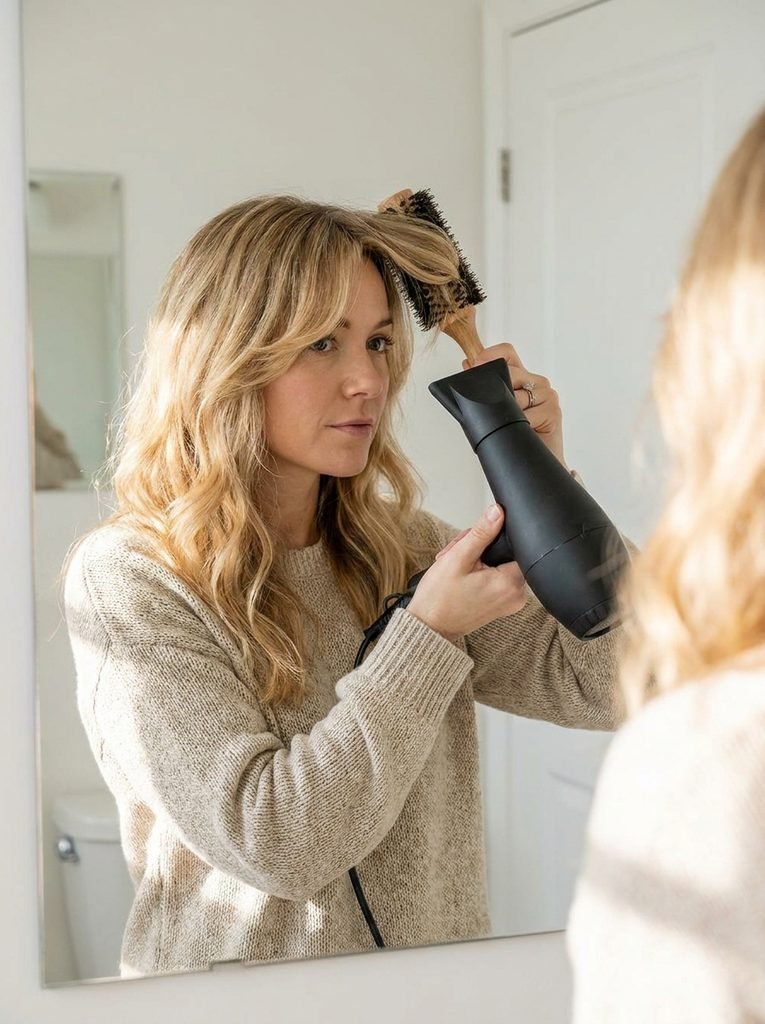
It’s worth resisting the urge to over-style during this window. A round brush and blow dryer, angled outward on each side, help the bangs settle into their intended sweep faster than air drying alone, but heavy product or repeated flat-ironing in the first days can work against the texture rather than with it.
The Grown-Out Timeline and What Changes at Each Stage
Curtain bangs move through a few distinct phases on their way to blending fully into the rest of the hair, and knowing what to expect at each stage makes the transition far less confusing.
Weeks two through six. The bangs are still clearly a distinct section, generally landing somewhere between the brow and cheekbone. Styling stays close to the original cut: blow-dried outward with a round brush, or lightly waved to match the rest of the hair.
Months two through four. This is the stage most people find frustrating, since the bangs are long enough to fall past the cheekbone but not yet long enough to fully blend with the surrounding layers. They tend to separate from the rest of the hair or fall into the eyes more than earlier in the grow-out. This is also the point where a lot of people either book a trim to reset the shape or start actively working with the length using the techniques below.
Months four through six and beyond. The bangs typically reach chin length or past it, at which point they start blending naturally into face-framing layers. Styling becomes far more flexible here, since the length allows for tucking, twisting, and half-up styles that weren’t possible earlier in the grow-out.
The overall timeline varies with how fast hair grows and how much length was cut initially, but this general shape holds for most people moving through a curtain bang grow-out without repeated trims.
How to Style Them at Each Stage
During the distinct-fringe stage, a round brush and blow dryer remain the most reliable tools, sweeping the bangs outward and slightly back from the face. A small barrel curling wand can add a soft bend at the ends for anyone who wants a less flat, more textured look.
During the awkward middle stage, a few specific techniques solve most of the frustration:
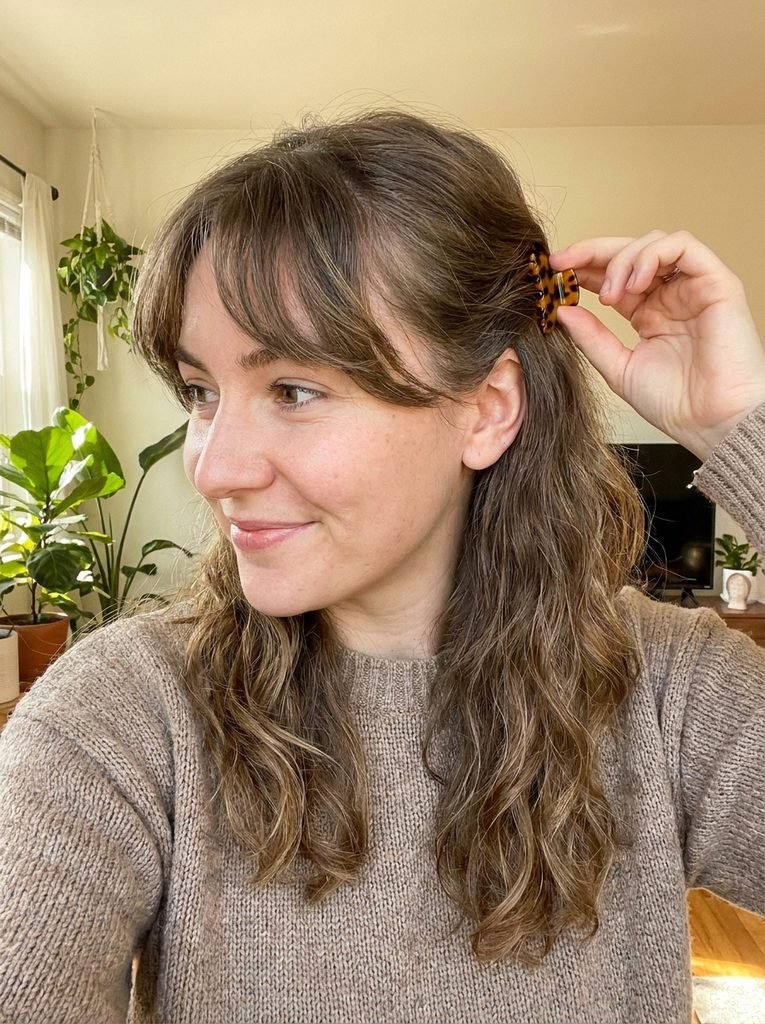
- The clip-back. Twisting each side away from the face and securing with a small clip keeps the length out of the eyes without cutting it, and reads as an intentional style rather than a growing-out compromise.
- The tuck. Simply tucking both sides behind the ears works for low-effort days and photographs cleanly, especially with a bit of texture spray to keep the pieces from sliding forward.
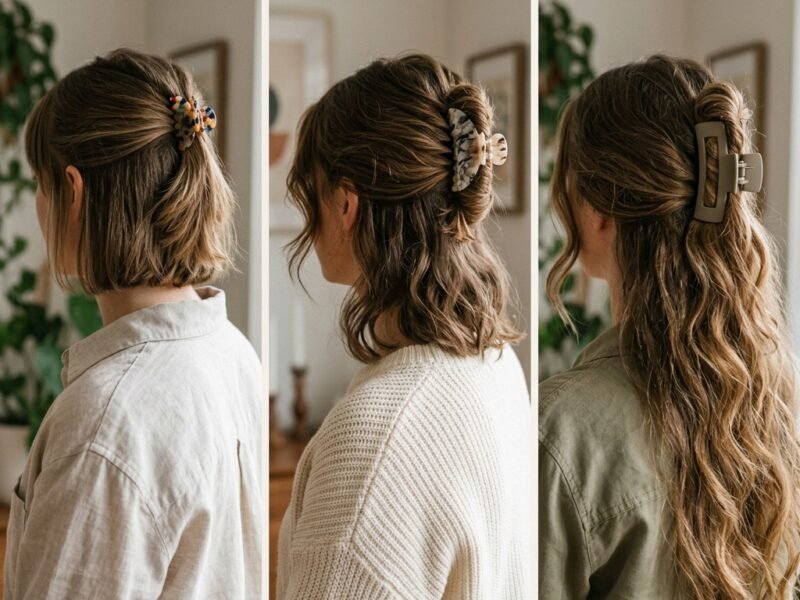
- The half-up incorporation. Pulling the bangs back into a small half-up section, along with a bit of hair from either side, blends the awkward length into a deliberate style rather than isolating it.
- A soft wave throughout. Adding movement to the rest of the hair, not just the bangs, makes the mid-length fringe read as part of an overall textured look rather than a separate, oddly-timed section. A simple approach to loose waves works well here, since it blends length differences across the whole head rather than isolating the bangs.
Once the bangs reach blending length, styling opens up considerably. A center part with the length swept back into the rest of the hair, a low ponytail with a few pieces left out to frame the face, or a fully blended blowout using the same round-brush technique as a fresh cut all work at this stage. The layering that comes with a longer curtain fringe pairs particularly well with cuts built around movement and softness, similar to the layering approach used in a butterfly-style haircut, where face-framing pieces are already part of the overall shape rather than a separate element.
Tools and Products Worth Having
A small collection of tools makes the entire grow-out period noticeably easier to manage.
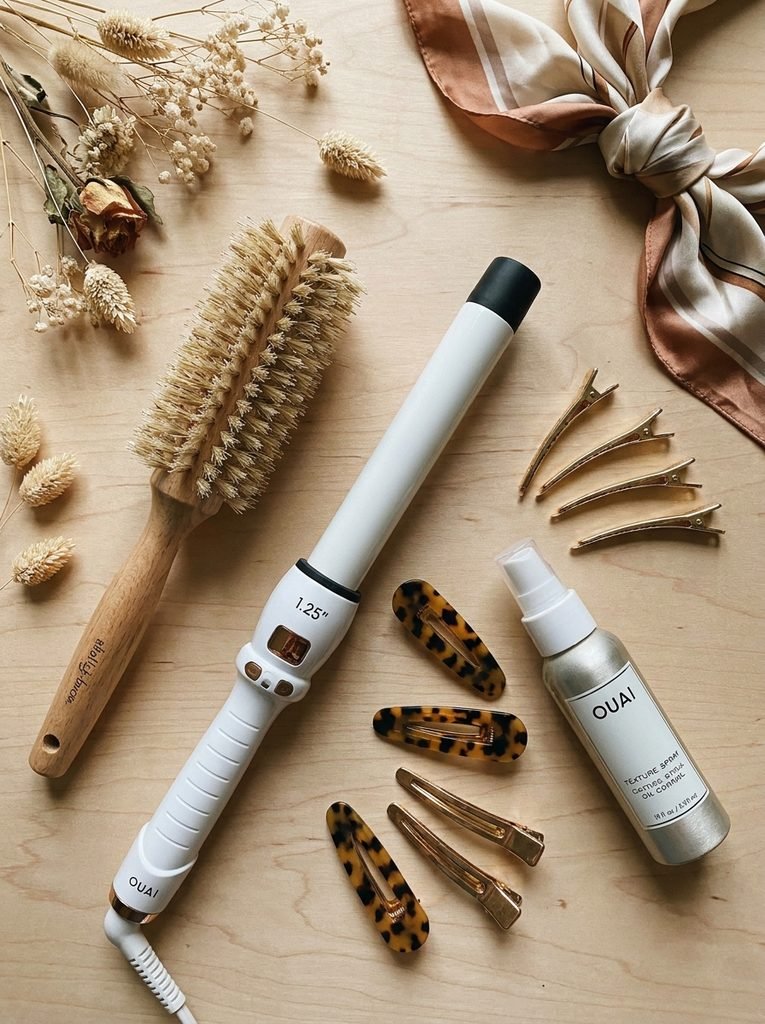
- A round brush, ideally a medium barrel size, for blow-drying the bangs into their sweep during the early and middle stages.
- A small-barrel curling wand or iron, useful for adding soft bend once the bangs are too long for a round brush alone to shape effectively.
- A texturizing or dry styling spray, which helps mid-length bangs hold a tucked or clipped style without sliding forward throughout the day.
- Small, flat clips, for the clip-back technique specifically. Bulkier clips tend to create a visible bump rather than a clean sweep.
- A light-hold pomade or wax, useful for taming flyaways along the part line, which tends to be the area most prone to frizz throughout a curtain bang grow-out.
None of these require a large investment, and most people already own at least a few of them for other parts of their routine. A handful of other quick styling techniques built around minimal daily effort apply directly to a curtain bang grow-out, since most of the awkward-stage solutions above are designed to take under a few minutes.
Common Mistakes Worth Avoiding
Cutting them at home during the awkward stage. A DIY trim to “fix” the middle stage often shortens the bangs back into the earlier phase, resetting the grow-out rather than moving it forward.
Ignoring texture during the initial cut request. Wavy and curly hair needs a different cutting approach than straight hair to land at the intended length once it dries or curls, and skipping this conversation is the most common source of “these aren’t what I asked for” disappointment.
Over-drying with heat every single day. Curtain bangs, like any face-framing section, tend to show damage and dryness faster than the rest of the hair, since they’re styled with heat more frequently. A heat protectant and the occasional air-dried day help preserve the texture over the full grow-out period.
Skipping trims entirely to “speed up” the grow-out. A trim every six to eight weeks, taking off a small amount rather than committing to a full re-cut, keeps the shape intentional throughout the transition instead of leaving it looking neglected.
Expecting the bangs to look identical to the reference photo from day one. Hair texture, density, and growth pattern all shift the final result slightly from any single reference image, and the version that settles in after a few washes is usually closer to the intended look than the very first blowout.
When to Get a Trim
A light trim, sometimes called a “dusting,” every six to eight weeks keeps the shape of curtain bangs intentional without resetting the length back to the beginning. This is different from a full re-cut, and it’s worth being specific with a stylist about the difference: the goal is maintaining the existing shape and removing split ends, not shortening the fringe back to its original length.
Anyone planning to grow curtain bangs out entirely into the rest of their hair can space these trims further apart or skip them in the final stretch, once the length has mostly caught up to the surrounding layers.
Frequently Asked Questions
How long does it take for curtain bangs to grow out completely? Most people reach a fully blended length somewhere between four and six months, though this varies with hair growth rate and how much length was originally cut.
What’s the most awkward stage of growing out curtain bangs? The stretch between roughly two and four months, when the bangs pass cheekbone length but haven’t yet reached a point where they blend naturally with the rest of the hair.
Can curly or wavy hair get curtain bangs? Yes, though it’s worth asking for a dry cut or a cut that accounts for how much the hair shortens once it dries or curls, since curly and wavy textures shrink more than straight hair does after cutting.
Do curtain bangs need to be trimmed regularly? A light trim every six to eight weeks helps maintain the shape without resetting the length, though this can be spaced out or skipped once you’re intentionally growing them into the rest of your hair.
What should I bring to a salon appointment for the best result? A reference photo helps, but pairing it with a specific length landmark, a note on density, and any relevant detail about your natural texture gives a stylist far more to work with than the photo alone.
How do I style curtain bangs when they’re too long to sweep but too short to tuck fully behind my ears? A small clip, a texture spray, or incorporating the bangs into a loose half-up style all work well for this particular in-between length.
The Long View
Curtain bangs earn their popularity honestly: they’re flattering across a wide range of face shapes and hair types, and the grow-out process, while occasionally awkward in the middle, never demands the all-or-nothing commitment that a blunt fringe does. A clear, specific conversation with a stylist at the start and a few simple styling tricks through the middle stretch are usually all it takes to get the version you actually pictured, and to keep it looking intentional the whole way through.



[…] from curtain bangs, which part in the center and move outward on both sides Soreva Style’s curtain bangs guide explains that distinction and how longer fringe eventually blends into face-framing […]