
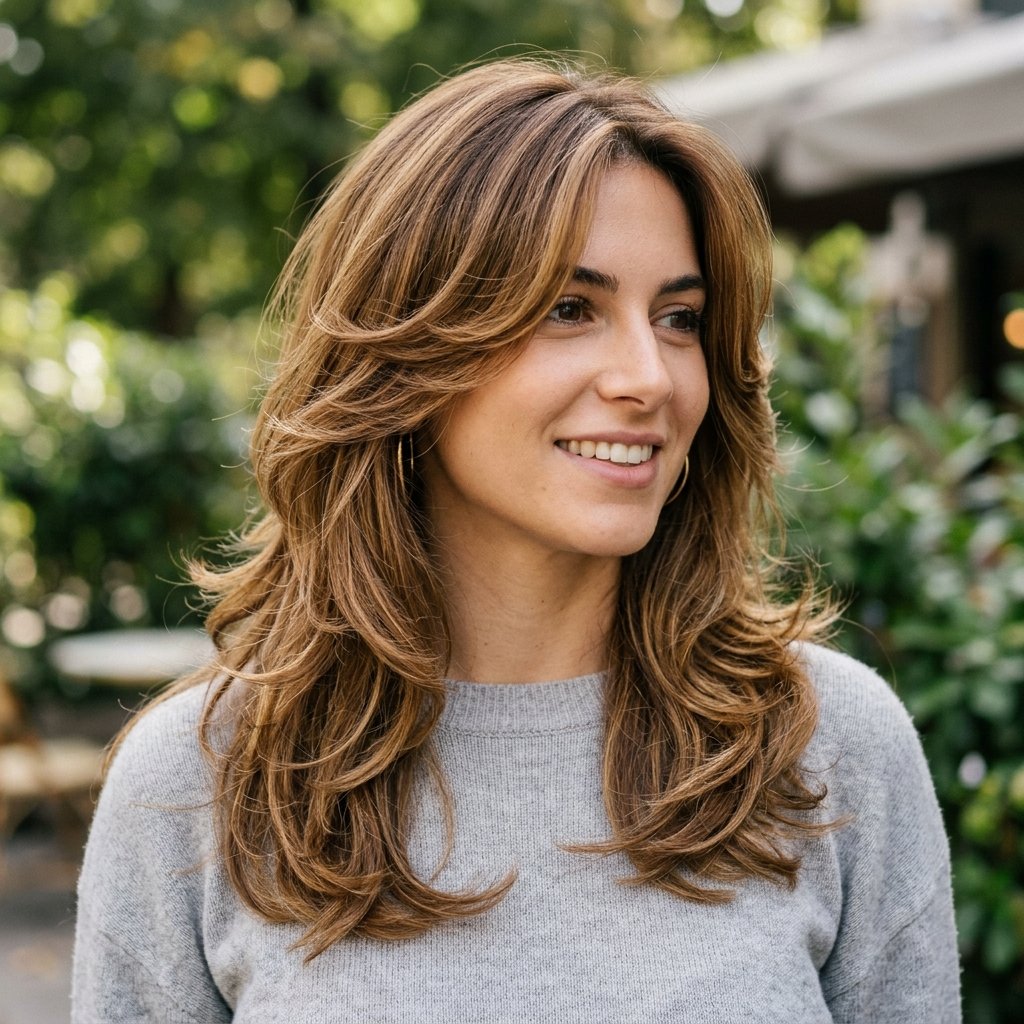
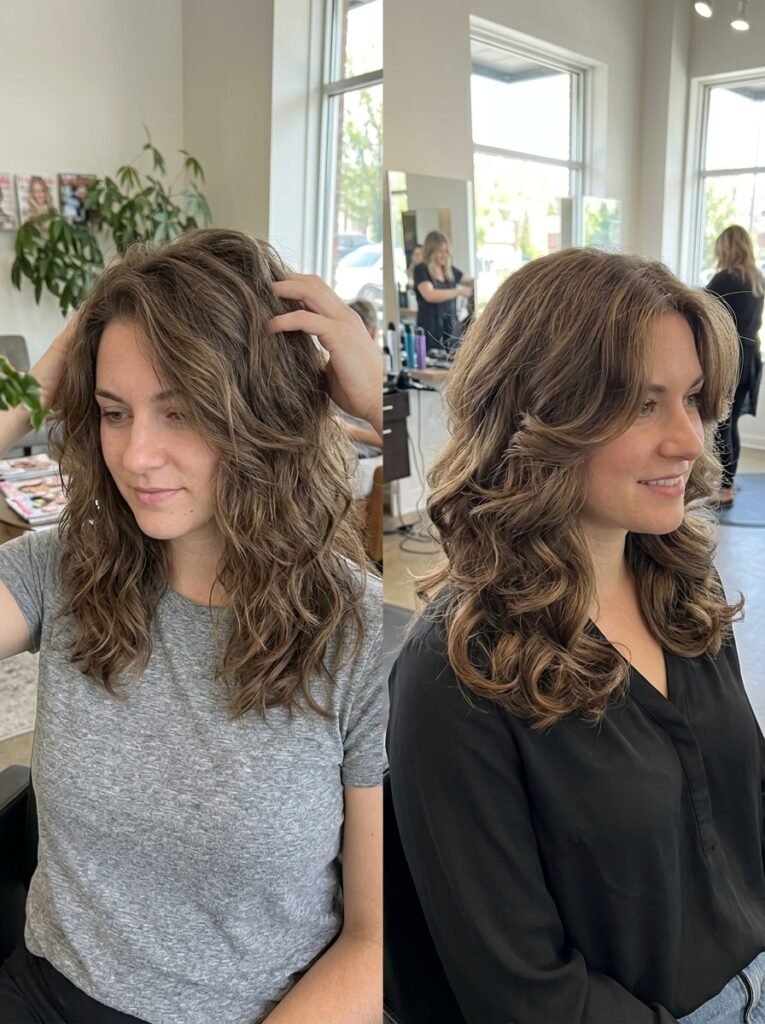
The butterfly haircut has become one of the most requested styles in salons, showing up on inspiration boards and hairstylists’ social media feeds alike. The cut is built around soft, face-framing layers that open up like wings once styled correctly, which is where the name originates.
The style photographs as effortless, yet many people find it intimidating to recreate at home, especially those accustomed to a single-length haircut. Understanding the underlying technique changes that. Once the method clicks, styling a butterfly cut becomes a quick, repeatable part of a daily routine rather than something that requires a salon visit. This guide breaks down exactly how to style a butterfly haircut at home, step by step, with adjustments for different hair types and textures.
Part of the reason the butterfly cut has stayed popular across so many hair lengths comes down to flexibility. Shoulder-length hair, mid-back lengths, and even longer styles can all carry the layering without losing overall length. That flexibility also means the styling technique below applies broadly, whether the goal is a subtle everyday wave or a fuller, more dramatic shape for a night out.

What Makes a Butterfly Haircut Different
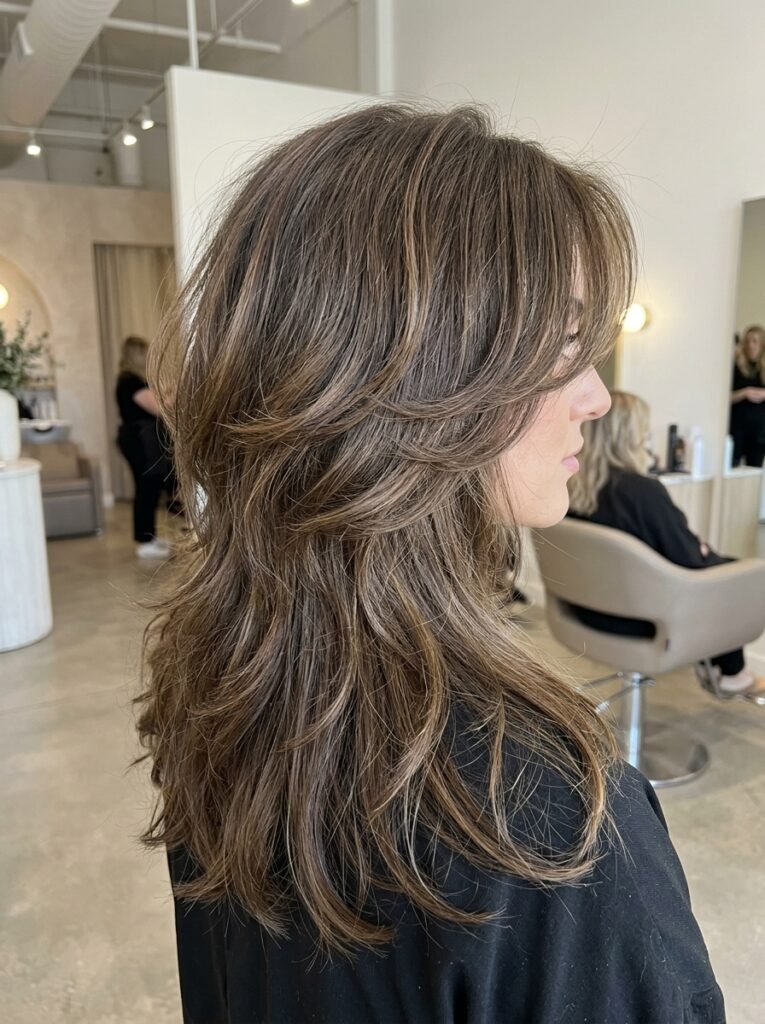
A butterfly haircut relies on heavily layered pieces around the face and crown, while longer lengths stay toward the back and ends. The layering runs more dramatic than a standard long-layered cut, and that contrast produces the airy, movement-filled shape the style is known for.
Because the layers sit shorter near the face and blend gradually into longer lengths, the cut depends on styling to reveal its shape fully. Without styling, a butterfly cut can look flat or uneven in places. With the right technique, the layers separate and frame the face in a way that reads as soft and intentional rather than choppy.
This dependence on styling is exactly why understanding the process matters more with a butterfly cut than it does with a blunt, one-length haircut. Stylists often note that clients who skip the styling step are the ones most likely to feel disappointed with the cut at home.
What You’ll Need Before You Start
A few tools make a noticeable difference before diving into the steps. None of the essentials are complicated, but skipping the basics tends to show up in the finished result.
The following items cover most of what a butterfly cut needs for a polished, salon-like finish:
- A round brush for blow-drying with volume and shape
- A curling iron or wand between one inch and one and a quarter inch in diameter
- A heat protectant spray
- A lightweight texturizing or finishing spray
- A wide-tooth comb or detangling brush
Not every product on the market is necessary, but two shortcuts tend to backfire consistently. Skipping heat protectant and reaching for the wrong barrel size are the fastest routes to a style that won’t hold or looks less refined than intended. Dermatology researchers who study cosmetic hair treatments have pointed out that repeated heat exposure without protection changes the hair fiber’s surface structure over time. That’s one reason a heat protectant step matters, even for a single styling session.
A few optional extras can make the process smoother without being strictly necessary. Sectioning clips help keep unstyled hair out of the way while curling one part at a time, which reduces the risk of double-processing sections with extra heat. A cool-shot setting on a blow dryer can also help set the volume built during the round-brush step, locking the shape in place before curling begins.
Most people can expect the full process to take between twenty and thirty-five minutes, depending on hair length and thickness. Shorter, thinner styles typically land at the faster end, while longer, denser hair takes closer to the higher end of that range.
Step-by-Step: How to Style a Butterfly Haircut at Home
Once the tools are ready, styling a butterfly cut comes down to five main steps. Each step builds toward the soft, layered shape the cut is known for, and skipping one usually shows in the final result.
Step One: Prep the Hair
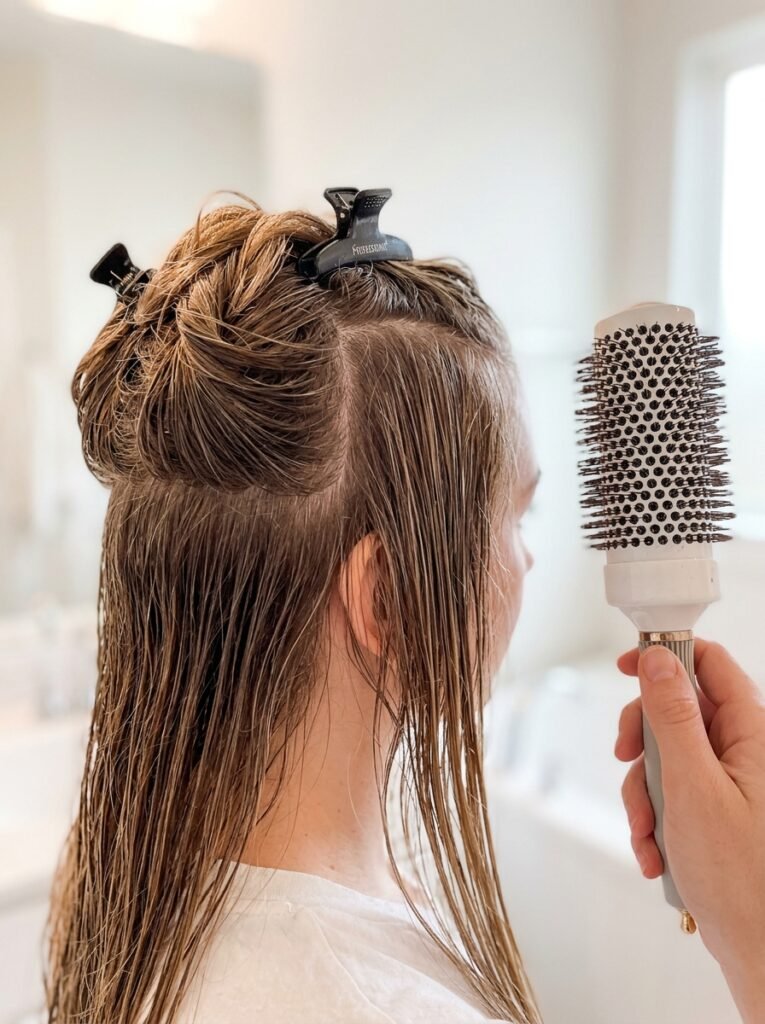
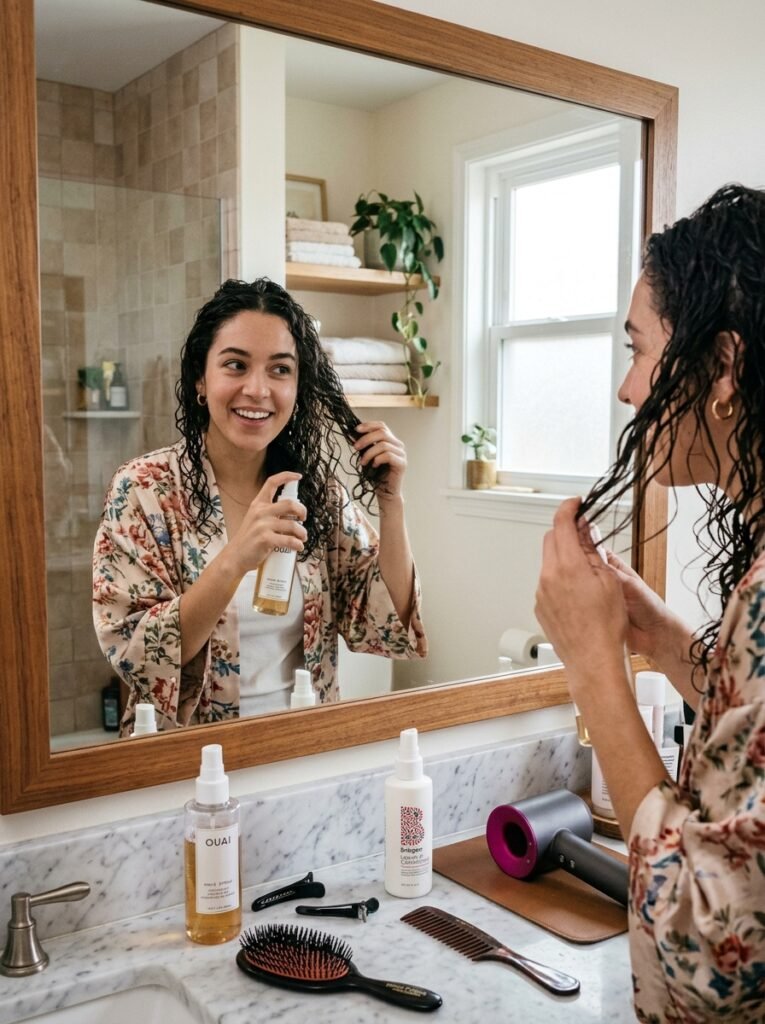
Clean or slightly second-day hair works best, since freshly washed hair that’s too soft can struggle to hold curls or shape. A heat protectant spray should go on from mid-length to ends, with extra attention on the shorter, face-framing pieces since those see the most heat exposure.
For hair prone to frizz, a lightweight smoothing serum applied before blow-drying keeps flyaways under control through the rest of the process.
Detangling before applying any product also matters more than it might seem. Working through knots with a wide-tooth comb first prevents the heat protectant from distributing unevenly, which can leave some sections more exposed to heat damage than others.
Step Two: Blow-Dry With the Right Technique
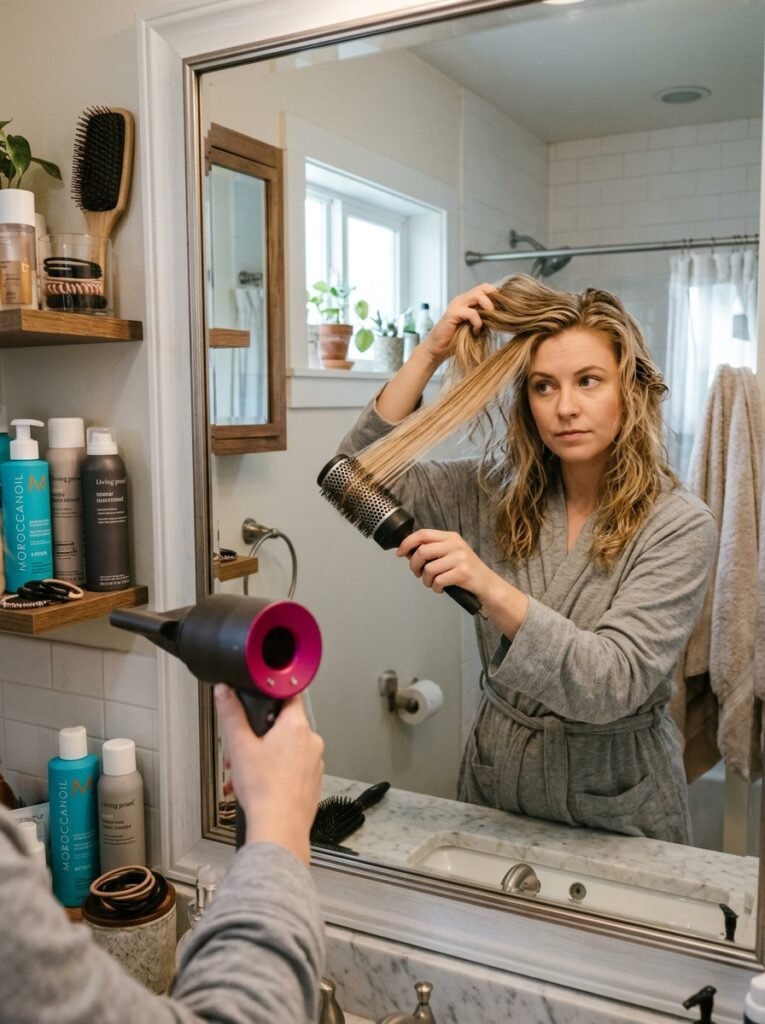
Using a round brush, the hair should be blow-dried in sections, pulling each section slightly away from the face and rolling the ends under. This step forms most of the natural volume and shape, especially around the crown and face-framing layers.
Extra attention on the shorter pieces near the face matters here. Rolling them slightly inward or outward, depending on the desired direction, sets the foundation for the rest of the style.
Working in smaller sections, rather than trying to dry large chunks at once, produces a cleaner result. A medium heat setting also protects the hair better than the highest setting, and it still dries fast enough for a home styling routine.
Step Three: Curl or Wave the Layers
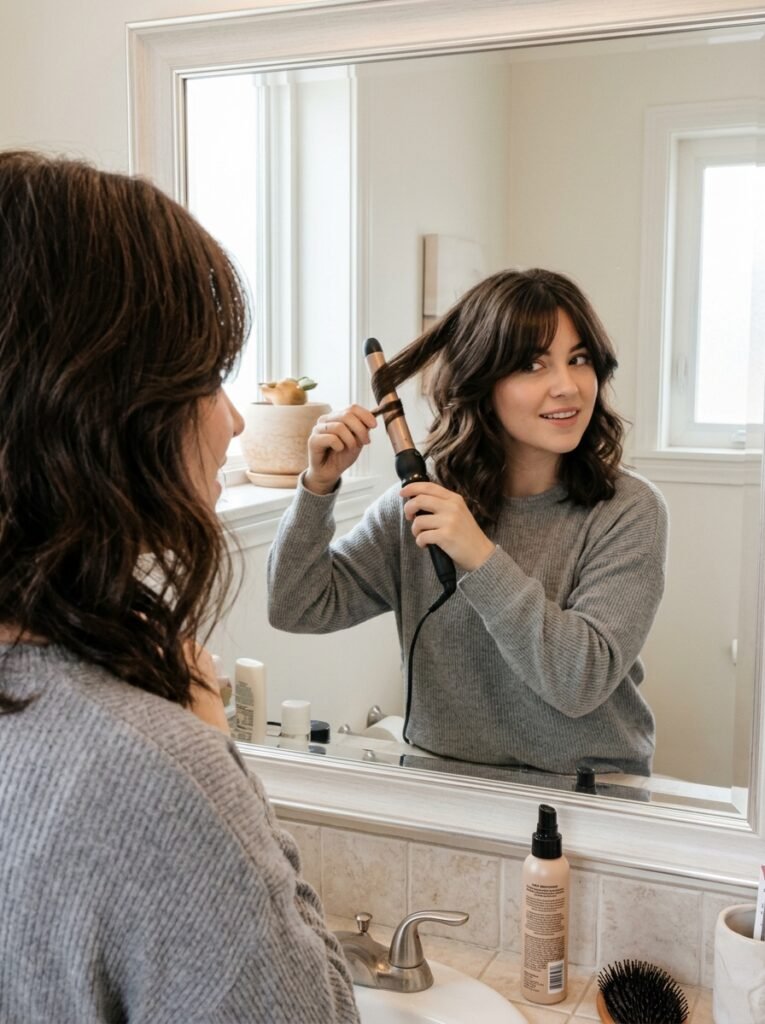
Once the hair is fully dry, small sections should be curled with a curling iron or wand. Alternating the direction of each curl, some away from the face and others toward it, mimics the natural, undone movement that makes butterfly cuts look effortless.
Extra focus on the shorter layers around the face and crown pays off here, since those pieces create the signature wing-like shape once curled.
Step Four: Style the Face-Framing Pieces
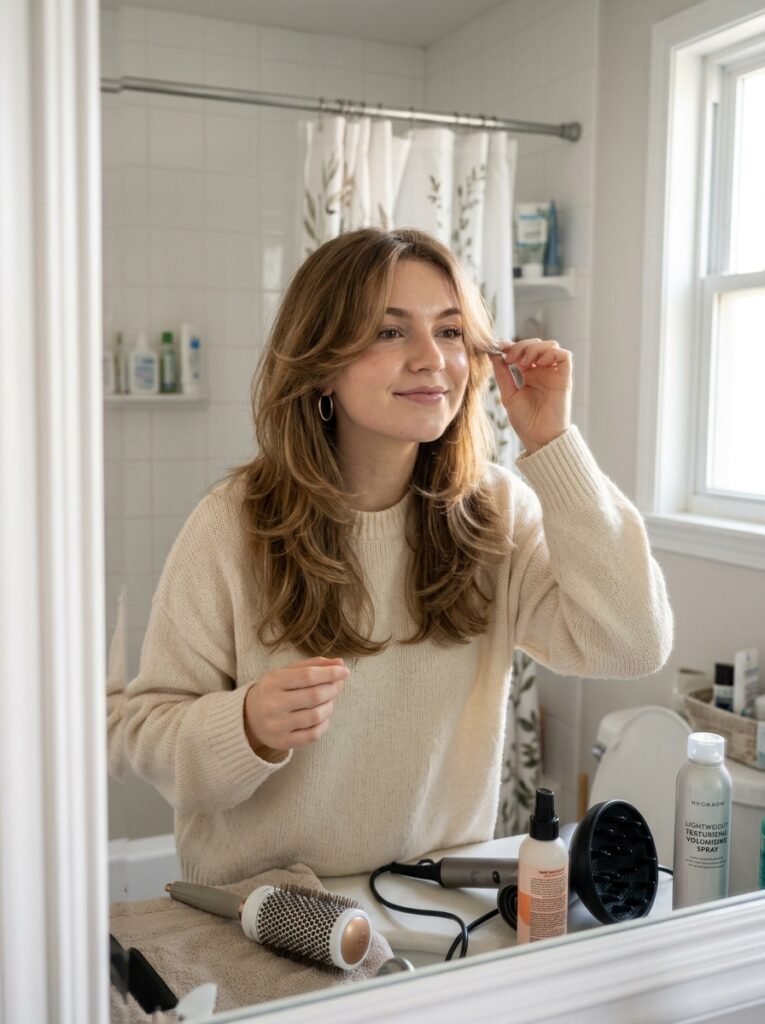
After curling, fingers or a wide-tooth comb should gently separate the curls rather than brushing them out completely. This keeps the movement soft instead of collapsing it into one solid wave.
The face-framing layers can then be shaped slightly away from the face. Tucking them behind the ears shows off the layering, while leaving them loose gives a fuller look around the cheeks.
Step Five: Set and Finish
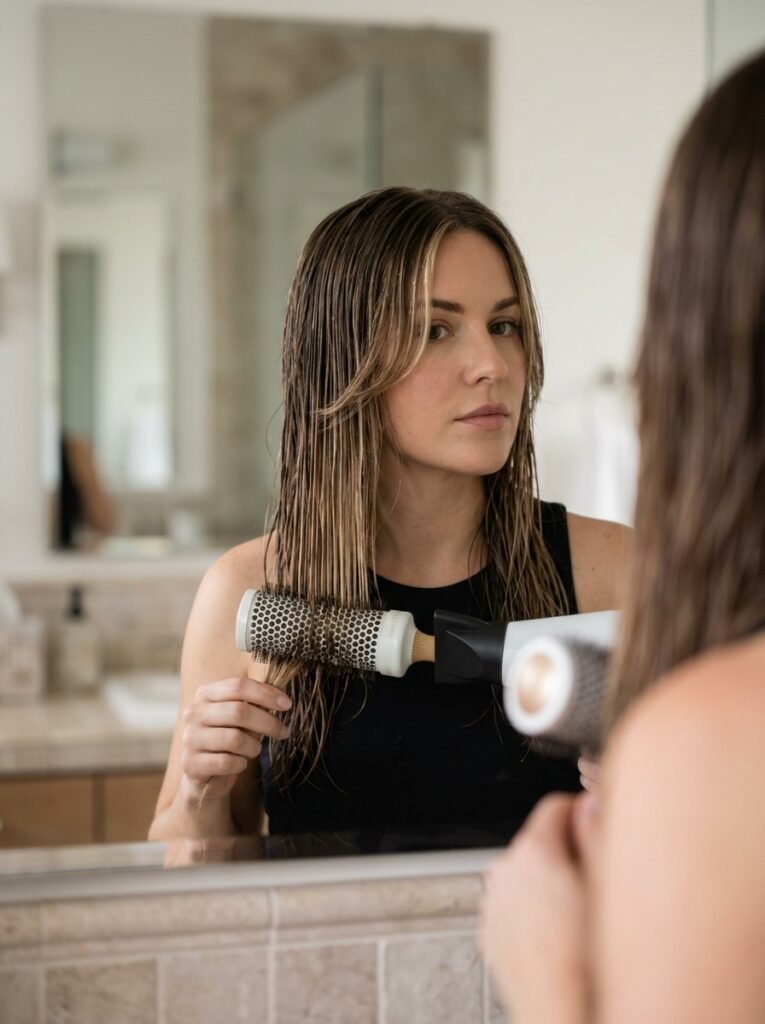
A light mist of texturizing or finishing spray completes the style, applied at the roots for volume and at the ends for definition. Heavy products should be avoided at this stage, since the goal is soft movement rather than a stiff, overly set look.
For extra volume at the crown, a small amount of backcombing at the roots before finishing helps the layers stand up and separate further.
Styling a Butterfly Cut for Different Hair Types
Not all hair textures respond to styling the same way. A few small adjustments make a noticeable difference depending on the texture involved.
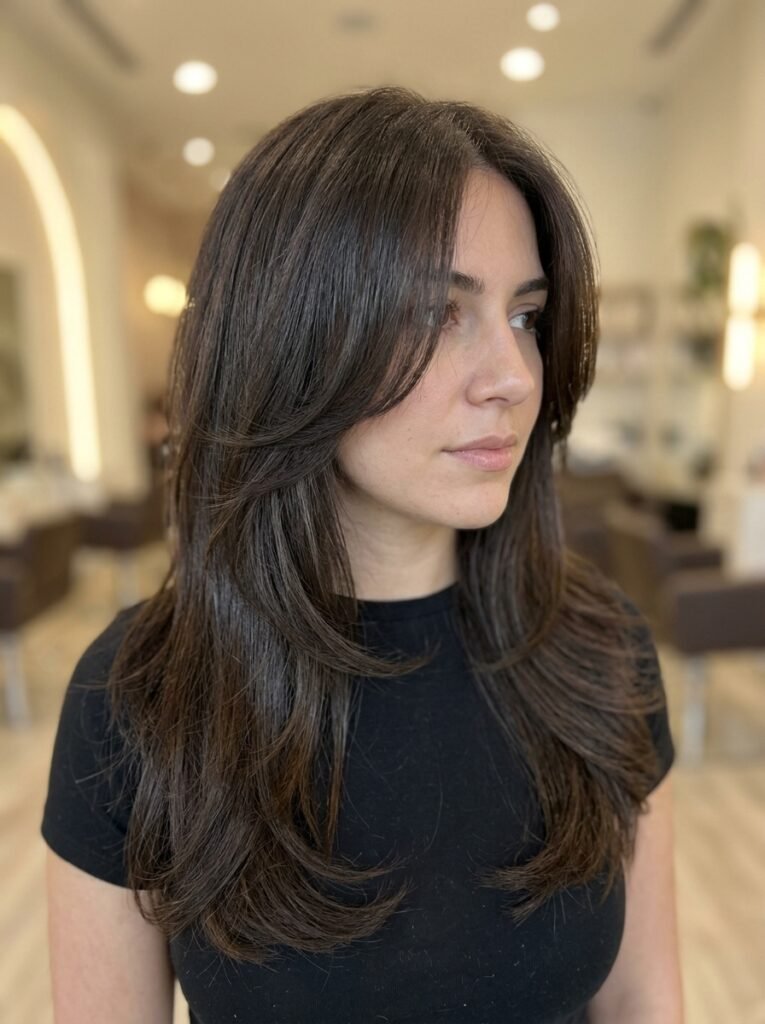
Straight Hair
Straight hair tends to lose curl definition faster than other textures. A slightly smaller barrel curling iron, paired with pinning the curls for a few minutes before releasing them, helps the shape last longer throughout the day. Straight strands also benefit from a stronger-hold finishing spray, since the hair’s natural weight can pull curls out early otherwise.
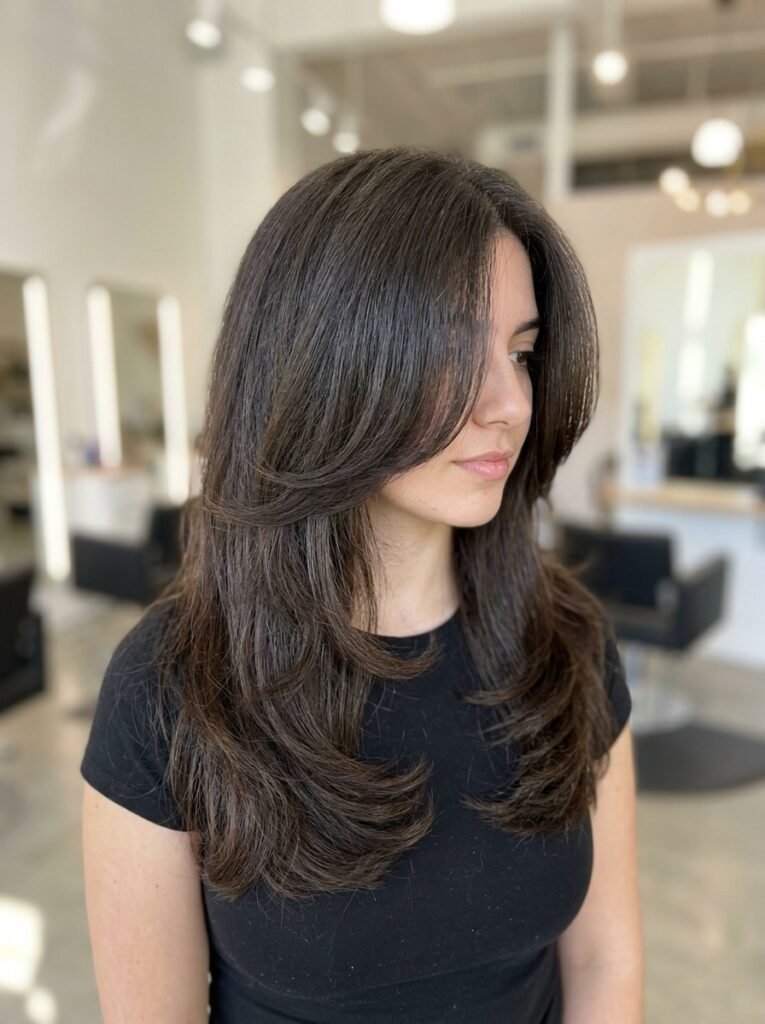
Wavy Hair
Wavy hair generally needs less heat styling overall, since the natural texture already provides movement. Curling attention should focus mainly on the face-framing pieces, allowing the rest of the natural wave pattern to do most of the work. A texturizing spray applied mid-length can also help waves hold their shape without extra heat.
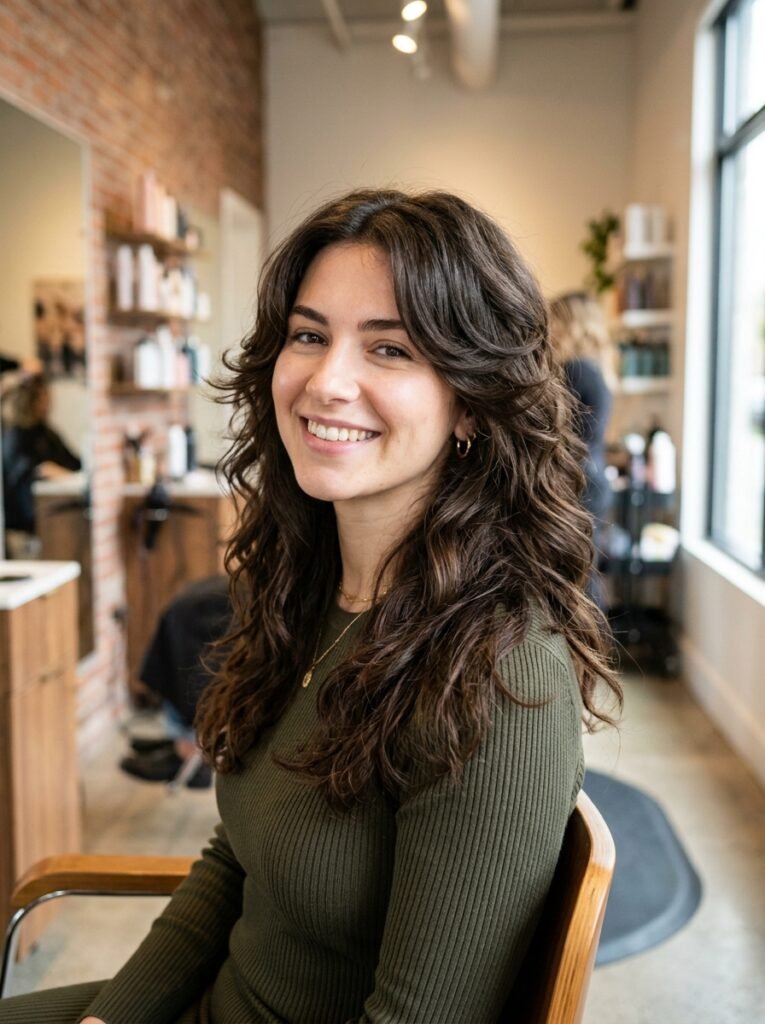
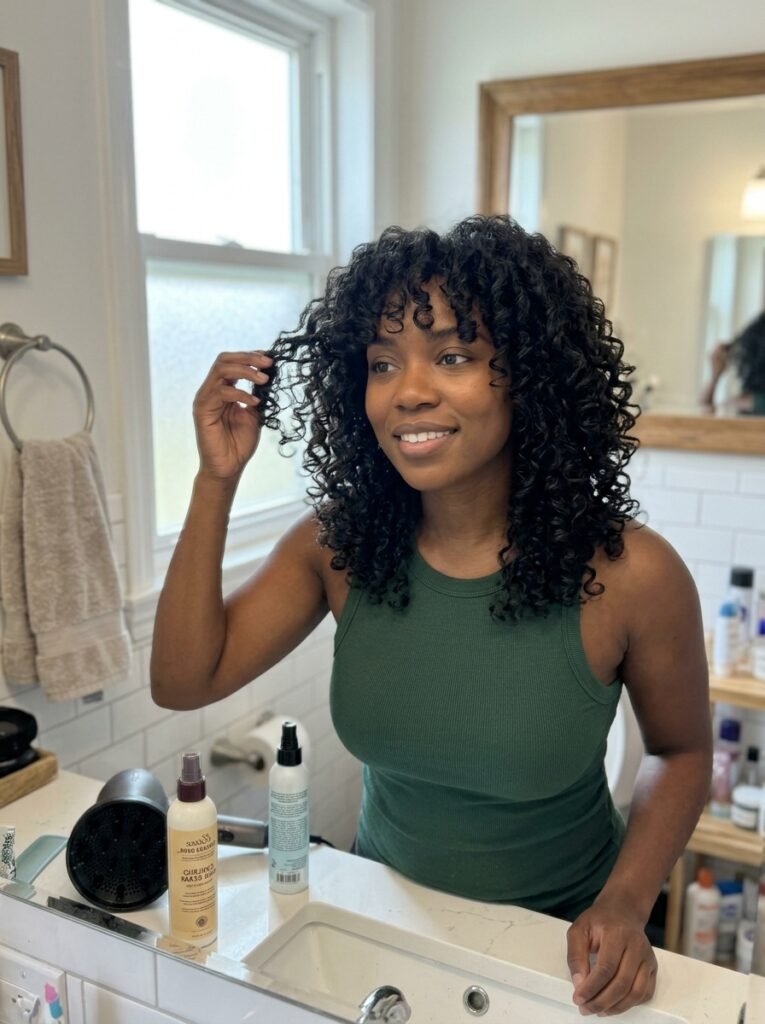
Curly Hair
Curly hair butterfly cuts typically rely less on a curling iron and more on diffusing while scrunching the layers upward. Enhancing the natural curl pattern works better than fighting against it. A lightweight curl cream defines the face-framing layers without weighing them down, which keeps the shape from collapsing by midday.
Fine or thin strands often benefit from the same layering principle in reverse, using volume-building techniques rather than curl definition. A closer look at hairstyles that make thin hair look thicker covers additional volume tricks that pair well with a butterfly cut on finer textures.
Everyday vs Special Occasion Styling
A quicker version of this routine works fine for everyday styling. Blow-drying with a round brush and adding light curls only to the face-framing pieces saves time while still keeping the cut’s shape visible.
For special occasions, the full five-step process works best. Slightly more defined curls throughout, plus extra volume at the roots, create a polished look that photographs well for events.
Common Mistakes to Avoid
A handful of mistakes show up repeatedly when people first start styling a butterfly cut at home.
Skipping the round-brush blow-dry step ranks among the most common issues, since this step builds the foundation the rest of the style relies on. Jumping straight to curling without it often produces a flatter, less defined look overall.
Choosing too large a curling iron barrel is another frequent misstep. Butterfly cuts depend on tighter, more defined movement in the shorter layers, and an oversized barrel can blend the layers together instead of letting them stand out individually.
Brushing curls out completely after styling also causes problems. Doing so loosens the shape too much and makes the layers look less intentional. Finger-separating or using a wide-tooth comb keeps the texture soft without sacrificing the overall shape.
Applying too much heavy product weighs down the face-framing layers, which need lift and movement to read correctly. A light hand with finishing products tends to produce the best result across most hair types.
Curling every section at the exact same temperature is a subtler mistake that’s easy to overlook. Finer, previously colored, or damaged sections generally need a slightly lower setting than thicker, virgin hair to avoid uneven damage across the head. Adjusting the iron between sections, rather than leaving it on one fixed setting, protects the overall health of the style over time.
Expert Insights: Tips from Stylists
Many stylists recommend curling hair in alternating directions rather than curling every section the same way. This approach creates a more natural, undone movement that suits the butterfly shape especially well and avoids the “helmet” effect uniform curling can produce.
Styling the face-framing pieces last, after the rest of the hair is curled and set, is another tip that comes up often among professionals. This order makes it easier to judge how those pieces should sit relative to the rest of the style, rather than guessing at placement too early in the process.
Touching up curls the next day, rather than fully restyling from scratch, is a habit many stylists encourage. A quick refresh with a curling iron limited to the face-framing pieces can extend the style for an extra day or two without much added effort.
Research published in the Indian Dermatology Online Journal on cosmetic trichology notes that repeated heat styling gradually alters the hair fiber’s cuticle structure. That finding is part of why stylists favor lower, controlled heat passes over repeated re-styling with high heat. Limiting a butterfly cut to one full styling session, with light touch-ups afterward, aligns with that guidance. The shape still looks fresh without adding extra heat exposure.
Frequently Asked Questions
What curling iron size works best for a butterfly haircut? A barrel between one inch and one and a quarter inch tends to work well for most butterfly cuts. It creates defined movement without making the curls too tight or too loose.
How often does a butterfly haircut need restyling? Many people find a full restyle is only necessary every two to three days, with quick touch-ups on the face-framing pieces in between.
Can a butterfly cut be styled without heat tools? Yes, though the shape reads as less defined without them. Air-drying with a diffuser, or setting the hair with foam rollers, creates soft movement for anyone who prefers to skip heat styling. Those exploring heat-free options may also find the routine in this guide to heatless overnight curls useful for adapting the face-framing steps without a curling iron.
Is a butterfly haircut good for fine hair? Yes, the layering can add the appearance of volume and movement, which tends to work especially well for finer hair textures that otherwise look flat.
How can the face-framing layers avoid looking too flat? Curling them in alternating directions, and avoiding heavy product buildup, keeps them looking soft and lifted rather than falling flat against the face.
Does a butterfly cut work on shorter hair lengths? Yes, though the layering typically starts higher on the head to create the same wing-like effect within a shorter overall length. Stylists often adjust the layer placement rather than the layering concept itself.
What’s the biggest difference between a butterfly cut and standard long layers? The layering sits more dramatically shorter near the face and crown on a butterfly cut, while standard long layers blend more gradually and evenly throughout the length.
Conclusion
Styling a butterfly haircut at home can feel unfamiliar at first. The process becomes quick and repeatable once the round-brush foundation, alternating curl direction, and light touch with finishing products all click into place.
The beauty of this cut lies in its slightly undone finish, so perfection isn’t the goal for every attempt. With practice, most people find the rhythm that works best for their hair type and can recreate that soft, layered shape whenever they want it.

Leave a Reply